
Tools
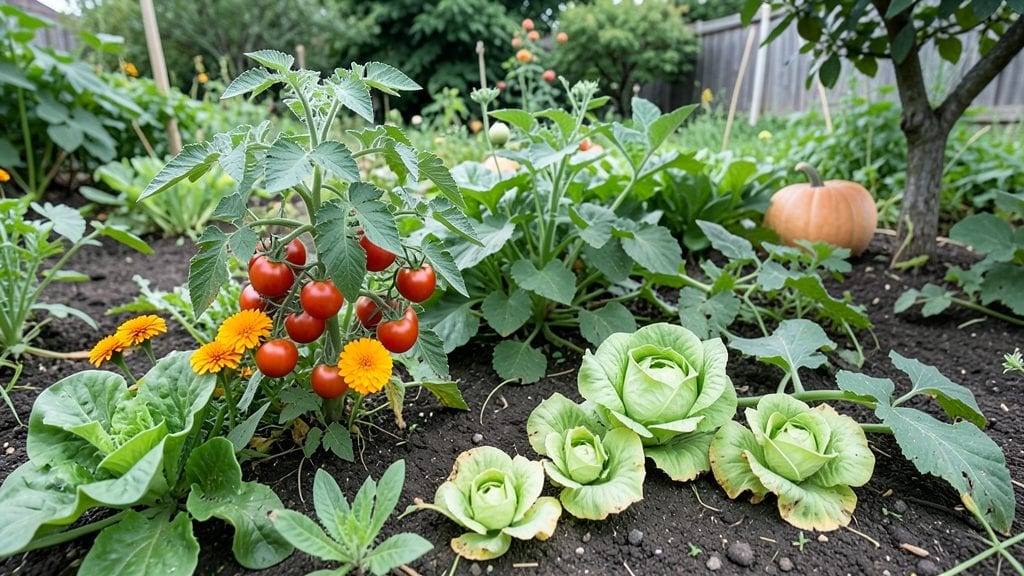
My garden almanac calendar became the secret weapon after three years of missed planting windows and bolted lettuce. 🌱 The right timing turns a good garden into a shockingly productive one—no more guessing when to sow seeds or harvest before frost ruins everything.
Start with your local frost dates and moon phases, then layer in regional adjustments. Most almanacs include planting charts for your zone, but I add notes for my microclimate—like how my backyard stays warmer than the official records. A simple notebook or free printable calendar keeps everything organized.
By following the seasonal checklists, you'll know exactly when to start tomatoes indoors, when to mulch for winter, and when to harvest before the first frost. The payoff? A garden that delivers fresh produce from spring to fall without the chaos of last-minute scrambling.
Works for container gardens, raised beds, or full yards—just adjust quantities. The key is consistency. Once you sync your planting with the seasons, your harvests will too.
📚 In This Guide
- What you need
- Instructions
- Tips and common mistakes
- Wrapping up and next steps
What you need
- ● Printed or digital The Old Farmer’s Almanac (or a trusted gardening almanac) – for planting dates, moon phases, and frost charts.
- ● Large wall calendar or planner – 12-month, grid-style (e.g., 2024 or blank template).
- ● Color-coded markers or highlighters – 4-6 colors (e.g., green for veggies, blue for flowers, yellow for herbs).
- ● Sticky notes or index cards – for quick adjustments or reminders.
- ● Ruler or measuring tape – to section off months/weeks neatly.
- ○ Laminator + laminating sheets (optional) – to protect your calendar from spills or wear.
- ● Printable garden planning templates – free downloads from sites like Garden Planner Apps or Etsy.
- ● Washi tape or decorative borders – to divide seasons or plant categories.
- ○ Dry-erase board + magnets (optional) – for a reusable, erasable calendar.
- ● Digital tools (e.g., Canva, Google Sheets) – if designing a custom digital almanac.
- ● Know your USDA Hardiness Zone – check this map to tailor planting dates.
- ● Identify your last frost date – critical for warm-season crops!.
- ● List your go-to plants – veggies, herbs, or flowers you love growing.
- ● Gather seed packets or plant tags – for variety names and days to maturity.
How to plan your year-round garden using the almanac calendar
This isn't about memorizing dates—it's about aligning your planting with nature's rhythm.
🌱 Step 1: Mark Your Key Seasonal Dates
Grab your Old Farmer's Almanac or trusted gardening calendar and highlight these four dates: your last frost date in spring, first frost date in fall, and the summer solstice (around June 21). These anchor points tell you when to start seeds indoors, transplant outdoors, and begin succession planting. I always circle these with a highlighter so I don't miss them during busy spring planting season.
Next, note your soil temperature thresholds—most cool-season crops (like spinach and peas) need soil at 45°F or warmer, while warm-season crops (tomatoes, peppers) require 60°F or above. Your local extension office can provide exact soil temperature data if you're unsure. This prevents you from planting too early and risking frost damage.
☀️ Step 2: Organize by Planting Phases
Divide your calendar into four phases: Early Spring (2-4 weeks before last frost), Late Spring (2 weeks before to 2 weeks after last frost), Summer (after last frost to summer solstice), and Fall (after summer solstice to first frost). Each phase has specific crops that thrive during its conditions. For example, I always plant cool-season crops like lettuce and kale in early spring and again in late summer for fall harvests.
Use colored markers or tabs to separate these phases visually. I like red for spring, blue for summer, and green for fall—it makes planning intuitive at a glance. This visual system helps me quickly see what should be growing at any given time without overcomplicating things.
🌿 Step 3: Schedule Succession Plantings
Succession planting is where you get continuous harvests instead of one big bounty followed by empty beds. For leafy greens like spinach or Swiss chard, I plant new seeds every 2-3 weeks from spring through early fall. For crops like beans or zucchini, I stagger plantings every 10-14 days to ensure a steady supply. The almanac's moon planting guides can also help time these for optimal growth.
Write these dates on your calendar with arrows showing the progression. For example, if your last frost is April 15, you might plant:
- First batch of spinach: March 20 (6 weeks before last frost)
- Second batch: April 5 (3 weeks before last frost)
- Third batch: May 1 (2 weeks after last frost)
This ensures you're always harvesting something fresh.
⏰ Step 4: Plan for Seasonal Maintenance
Mark soil testing dates (early spring), mulching times (late spring/early summer), and harvest seasons for each crop. I schedule soil amendments right after my first harvest to replenish nutrients. The almanac's moon phases can also guide pruning and weeding—root crops grow best during the waxing moon, while leafy greens thrive during the waning moon.
Add reminders for pest monitoring (like checking for tomato hornworms every 7-10 days in summer) and seasonal cleanup (removing spent plants before first frost). This keeps your garden productive without overwhelming you. Think of it like a to-do list that works with nature, not against it.
🪴 Step 5: Adjust for Your Microclimate
Your almanac dates are a starting point, but your local microclimate (like a sunny south-facing slope or a shady north side) dictates fine-tuning. If your area gets hotter summers, you might plant heat-tolerant varieties like Malabar spinach instead of traditional spinach. If you have longer growing seasons, extend your fall plantings into October. I always keep a garden journal to note what works each year—this helps me refine my calendar over time.
Use sticky notes to adjust dates for specific beds or containers. For example, if your container garden heats up faster, you might delay warm-season crops by a week compared to in-ground plantings. The key is flexibility—your calendar is a guide, not a rigid rulebook.
Tips & tricks for perfect almanac garden planning
These practical insights will help you turn your seasonal planting calendar into a thriving year-round harvest.
Soil Temperature Tip: The 45°F and 60°F soil temperature thresholds are your best friends for timing plantings. Use a soil thermometer to check temperatures in the morning when soil is coolest. If your soil runs cooler than 45°F, consider using black plastic mulch or row covers to warm it up faster for cool-season crops like lettuce and kale. This simple adjustment can extend your planting window by weeks in cooler climates.
Visual Organization Strategy: Color-coding your planting phases makes all the difference when you're juggling multiple crops. I recommend using red for spring plantings, blue for summer, and green for fall—it creates an instant visual reference. Add small icons next to each phase (like a snowflake for frost dates) to reinforce key reminders at a glance. This visual system helps prevent overwhelm during busy planting seasons.
Succession Planting Hack: For leafy greens, I've found that planting every 2-3 weeks creates the perfect balance between continuous harvests and manageable garden space. Mark these intervals with small flags or colored dots on your calendar. For crops like beans or zucchini, use a different color for each 10-14 day planting cycle—this visual separation prevents confusion when checking your garden journal later in the season.
Microclimate Adjustments: Your local microclimate can shift planting windows by weeks, so be prepared to adjust. If you notice certain areas in your garden getting hotter (like south-facing beds), plant heat-tolerant varieties there first. For container gardens, consider delaying warm-season crops by a week compared to in-ground plantings—they heat up faster. I always test one container with a temperature probe to understand the differences in my own garden.
Pro Tips for Almanac Garden Calendar
- These practical insights will help you turn your seasonal planting calendar into a thriving year-round harvest.
- Soil Temperature Tip: The 45°F and 60°F soil temperature thresholds are your best friends for timing plantings.
- Visual Organization Strategy: Color-coding your planting phases makes all the difference when you're juggling multiple crops.
Frequently asked questions
What’s the best way to use an almanac garden calendar for beginners?
Start by matching your local frost dates (available in the almanac) to your region. Use the calendar to note when to plant, sow, harvest, and prune for each crop. Pro tip: Highlight key dates in your planner or mark them with sticky notes for quick reference!
Can I adjust the almanac’s planting times for my specific microclimate?
The almanac provides general guidelines, but your yard’s unique conditions (sun exposure, soil type, or wind) may require tweaks. For example, if your spring arrives earlier, shift cool-season crops like lettuce 2–3 weeks ahead. Test and track what works best over a few seasons!
What if I miss a planting window? Can I still grow vegetables?
Don’t panic! Many crops tolerate late starts if you choose fast-growing varieties (e.g., radishes, bush beans, or green onions). For others, opt for successive planting—sow small batches every 2 weeks to extend harvests. Container gardening also lets you adjust timing for heat-sensitive plants.
Is a printed almanac garden calendar better than a digital one?
Both have perks! A printed almanac is great for tactile planners who love marking dates with pens or stickers. Digital versions (apps or PDFs) offer searchable filters, reminders, and weather overlays. Try both—many gardeners use a hybrid approach (e.g., digital for research + printed for hands-on tracking).
How do I troubleshoot if my plants aren’t thriving despite following the calendar?
Check these first:
- Soil health: Test pH and amend with compost if needed.
- Watering: Over/under-watering can mimic "off-calendar" stress.
- Pests/disease: Note symptoms (yellowing leaves, holes) to diagnose issues.
- Sunlight: Verify your plants get the minimum hours listed in the almanac.
Wrapping up and next steps
An almanac garden calendar is your secret weapon for turning seasonal planting into a year-round harvest bonanza! 🌱 By aligning your gardening tasks with the moon phases, frost dates, and local climate, you’ll maximize yields, save time, and enjoy fresher produce straight from your plot.
Whether you’re a seasoned green thumb or just starting, this guide makes it easy to plan, adapt, and thrive.
Ready to grow with confidence? Start by picking one season to dive into—spring’s early greens, summer’s sun-lovers, or fall’s hearty crops—and let the calendar do the rest. Happy planting! 🌿