
Landscaping
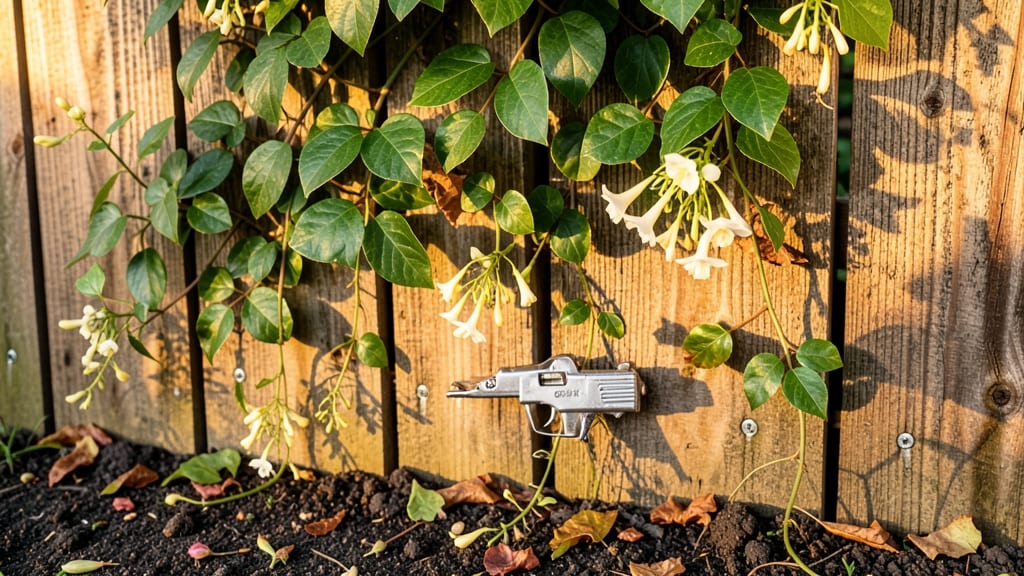
Building a garden fence from natural wood transforms your yard into a private sanctuary where every plant thrives without prying eyes. 🌿 I’ve installed three fences over the years, and cedar always wins for its natural beauty and rot resistance—no chemical treatments needed.
The right fence doesn’t just block views; it frames your garden like a living painting, making every season’s colors pop against the wood’s warm tones.
Start with a simple design: 6-foot height for privacy, 4x4 posts buried 12 inches deep, and 5-inch spacing between boards for airflow (trust me, this prevents warping). You’ll need basic tools—a circular saw, drill, level, and galvanized screws—but no fancy skills.
The key is marking post locations first with stakes and string, so everything stays straight. Most projects finish in a weekend if you prep the wood ahead of time.
Once installed, your fence becomes more than a barrier—it’s the perfect backdrop for climbing roses or clematis, or a sturdy support for trellised vegetables. The cedar scent lingers in the air for years, and the natural grain adds texture that store-bought fences can’t match.
Maintenance is minimal: annual sanding keeps it looking fresh, and sealing every 2-3 years extends its life. Imagine sipping morning coffee while watching your tomatoes ripen, completely shielded from the world.
Before you swing that first hammer, check local setback rules (usually 5-10 feet from property lines) and whether permits are needed—some areas require them for heights over 6 feet.
For extra durability, pre-drill screw holes to avoid splitting the wood. This fence won’t just last decades; it’ll become the heart of your garden’s story.
📚 In This Guide
- What you need
- Instructions
- Tips and common mistakes
- Wrapping up and next steps
What you need
- ● Pressure-treated lumber: 4x4 posts (8–10 ft long, depending on height), 2x4s (for framing), and 1x4 or 1x6 boards (for pickets or panels). Quantity: Adjust based on fence length (e.g., 10 ft posts every 6–8 ft, ~10–15 boards per 8-ft section).
- ● Concrete mix: Quick-setting or regular (50 lb bags, ~2–3 bags per post).
- ● Galvanized or stainless steel hardware: Deck screws (2.5–3 inches), post anchors, and corner braces. Quantity: ~50–100 screws per 8-ft section, plus extras for reinforcement.
- ● Landscape fabric: To prevent weeds (1 roll for ~100 sq ft).
- ● Wood preservative or stain: For longevity (1 gallon covers ~200 sq ft).
- ● Post hole digger or auger (rent if needed).
- ● Circular saw or miter saw (for cutting lumber).
- ● Drill/driver with impact setting.
- ● Level (4-ft for posts, torpedo for boards).
- ● Measuring tape (25 ft).
- ● Speed square and chalk line.
- ● Wheelbarrow (for mixing concrete).
- ● Safety gear: Gloves, goggles, ear protection, and knee pads.
- ● Pre-cut fence panels (saves time if DIY isn’t your jam).
- ● Post caps or decorative brackets (for a polished look).
- ● Outdoor-rated paint or sealant (for extra protection).
- ● Battery-powered tools (for cord-free convenience).
- ● Temporary stakes or string line (to mark layout before digging).
Step-by-Step instructions for building a natural wood privacy screen
Here's how I transform raw wood into a functional, beautiful garden enclosure that lasts.
🪴 Step 1: Mark and Prepare Your Layout
Measure your garden perimeter and mark the fence line with wooden stakes and string. I use a 4-foot spacing between posts for standard privacy screens—this gives you room to walk behind later for maintenance. Drive stakes at each corner and every 6 feet along the line, then stretch the string taut for a perfectly straight guide.
Check for level at each stake using a 4-foot level—drive deeper if the top tilts. Uneven posts will make your fence lean, and no one wants a lopsided privacy screen. I always double-check diagonals too; if they're equal, your corners are square.
🌱 Step 2: Set Concrete Footings for Posts
Dig holes 12 inches deep at each stake mark, with a diameter of 8 inches. The hole should be 6 inches deeper than your post length to ensure stability. Mix 1 bag of concrete with 6 gallons of water (follow bag instructions) and pour into each hole, inserting a 4×4 post while the concrete sets.
Use a 2×4 brace to hold posts plumb while the concrete cures—this takes 24 hours. I like to add a 1-inch layer of gravel at the bottom of each hole first; it improves drainage and prevents rot at the base. Never skip this step—waterlogged posts rot in 2-3 years if not properly supported.
✂️ Step 3: Cut and Attach Horizontal Rails
Measure the distance between top and bottom of your posts and mark 2×4 rails at 8-inch intervals for standard privacy height. Cut rails to fit between posts, leaving ½-inch overhang on each side for screws. I pre-drill holes to prevent wood splitting when attaching with 3-inch deck screws.
Start with the bottom rail, then add the top rail and middle rail for extra strength. Space them evenly—this creates a sturdy grid for your fence panels. Use a speed square to ensure rails are level before securing. Uneven rails make the fence look amateurish and can cause panels to sag over time.
🌿 Step 4: Install Privacy Panels
Cut 6-foot tall fence panels from your 6×6 privacy slats (or use pre-made lattice panels if preferred). Slide panels between rails, starting at one corner and working your way along. Secure each panel with 2-inch deck screws into the rails, driving screws at a 45-degree angle into the panel edges for maximum hold.
Leave a ¼-inch gap between panels for natural expansion—wood shifts with humidity, and no one wants a fence that buckles in summer heat. I stagger the end joints of adjacent panels to create a more visually appealing pattern. Check for gaps larger than ½-inch; fill them with wood filler if needed before painting.
☀️ Step 5: Finish and Protect Your Fence
Sand all edges and surfaces with 80-grit sandpaper to remove splinters and smooth rough spots. Apply a waterproof wood sealant first, then follow with semi-transparent stain in your chosen color. I use a brush for edges and a roller for large surfaces—this ensures even coverage and prevents streaks.
Let the stain dry 4-6 hours, then apply a second coat if needed. Avoid painting in direct sunlight—temperature swings cause uneven drying and peeling. Once fully cured (24 hours), your fence is ready for years of garden privacy. I like to add post caps to the tops for a polished look and extra protection against rain.
Tips & tricks for building a natural wood privacy screen
Between us, these small details make the difference between a fence that lasts decades and one that sags within a few years. Here's what nobody tells you about building a privacy screen that actually stays beautiful.
Precision in Step 1: Use a laser level instead of just a 4-foot level for marking stakes—it eliminates human error and ensures every post is perfectly vertical from the start. I've seen fences that look crooked because the stakes weren't perfectly aligned before the posts went in. Trust me on this: take the extra 10 minutes to get this step right.
Concrete Curing Strategy: The 24-hour concrete cure time is non-negotiable, but here's the secret: keep the posts braced for an additional 12 hours after the 24-hour mark if you're working in windy conditions. I've seen posts shift during high winds right after removal of braces—this extra precaution prevents that. Also, add a plastic bag around the brace post to keep concrete moist during curing for stronger adhesion.
Rail Alignment Hack: Before attaching your 2×4 rails in Step 3, clamp a straightedge across the posts and check for perfect alignment. I use a 2×6 board as my straightedge—any deviation means your fence will look uneven. This is where most DIYers cut corners, and it shows in the final result. The 8-inch intervals between rails should be measured from the center of each rail, not the edges.
Panel Installation Technique: When installing your 6-foot tall panels in Step 4, work from the inside out—this prevents panels from bowing outward as you secure them. Start with the center panel first, then work toward the corners. The ¼-inch gap between panels is crucial; use spacers while securing to maintain this gap consistently. I've seen fences that buckled because panels were installed too tightly without expansion room.
Pro Tips for Build Garden Fence
- Between us, these small details make the difference between a fence that lasts decades and one that sags within a few years.
- Precision in Step 1: Use a laser level instead of just a 4-foot level for marking stakes—it eliminates human error and ensures every post is perfectly vertical from the start.
- Concrete Curing Strategy: The 24-hour concrete cure time is non-negotiable, but here's the secret: keep the posts braced for an additional 12 hours after the 24-hour mark if you're working in windy conditions.
Frequently asked questions
Got questions about building your dream garden fence? You’re not alone! Here are some of the most common concerns—and answers—to help you get started with confidence.
What’s the best time of year to build a garden fence?
Spring or early fall are ideal! Spring offers mild weather and fresh soil for digging, while fall avoids summer heat and pests. Avoid winter (frozen ground) or peak summer (drought stress). If you’re in a milder climate, any dry season works—just plan for rain delays!
Do I need a permit to build a garden fence?
It depends on your location! Many areas require permits for fences over 6 feet tall or near property lines. Check with your local building department or zoning office—some neighborhoods have HOA rules too. When in doubt, ask before you dig!
Can I use untreated wood for a garden fence?
Untreated wood is budget-friendly but needs maintenance. Expect to seal or stain it every 1–3 years to prevent rot, warping, or insect damage. For longevity, opt for pressure-treated wood or cedar (naturally resistant). If privacy is key, consider composite or vinyl—low-maintenance but pricier.
How do I fix a fence that’s leaning or sagging?
Start by checking the posts: Loose soil or weak footings cause sagging. Dig around the post, add gravel for drainage, and backfill with concrete if needed. Tighten loose screws or braces, and replace damaged boards. For severe leans, sister the post with a new one or reinforce with metal brackets.
Are there cheaper alternatives to a solid wood fence?
Consider:
- Vinyl or composite panels: Low-maintenance but pricier upfront.
- Metal or bamboo screens: Stylish and durable (but may need painting).
- Living fences: Fast-growing shrubs like arborvitae or bamboo (privacy in 2–3 years!).
- Pallet or reclaimed wood: Eco-friendly and budget-friendly with a rustic look.
How do I keep critters (squirrels, rabbits) from chewing my fence?
Use animal-repellent treatments (like hot pepper spray) or wrap the base in hardware cloth. Plant thorny bushes (e.g., roses) near the fence, or install motion-activated sprinklers. Avoid untreated wood—it’s a buffet for pests!
Wrapping up and next steps
Building your own garden fence with natural wood isn’t just a practical project—it’s a chance to enhance your outdoor space with beauty and privacy.
From selecting the right materials to mastering the installation steps, you now have the confidence and know-how to create a stunning, functional fence that reflects your style. Take that first step today!
Ready to transform your yard? Grab your tools, gather your supplies, and start building—your dream garden fence awaits! 🌿✨