Tools
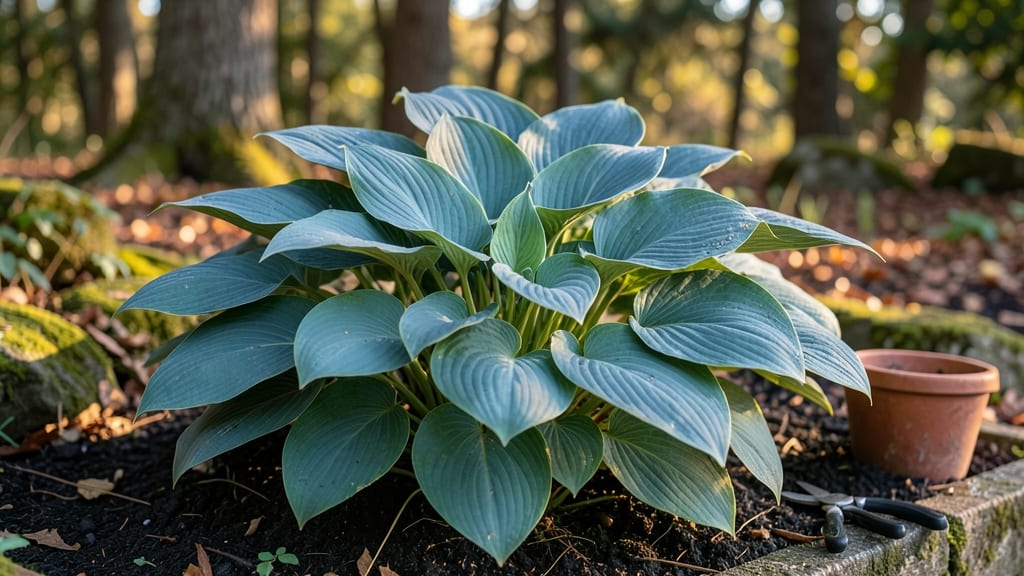
A circle garden bed transforms awkward corners into lush, high-impact focal points that actually work with your space—not against it. 🌿 I designed mine after realizing my rectangular beds wasted precious square footage, and now I get twice the harvest in half the footprint.
The secret lies in the curve: it creates a natural flow, hides edges, and lets you grow more plants in less space.
You’ll need basic materials—cedar planks, corner brackets, landscape fabric, and a sturdy base like pavers or gravel—to build one that lasts years.
The real magic happens in the planting: layer herbs at the center where they get partial shade, surround them with sun-loving veggies, and add trailing flowers along the outer edge for a soft, inviting look. My 4-foot diameter bed now produces enough basil, tomatoes, and marigolds to share with neighbors.
The payoff isn’t just practical—it’s visual. A well-planned circle garden draws the eye, softens harsh lines, and makes maintenance easier (no more reaching across a long bed). Plus, the curved shape naturally channels rainwater toward the center, reducing irrigation needs.
You’ll end up with a space that’s both productive and a showstopper, no matter your yard size.
Works for everything from pollinator-friendly meadows to kitchen herb spirals—just adjust the diameter and plant choices. Here’s how to design yours for beauty and bounty, step by step.
📚 In This Guide
- What you need
- Instructions
- Tips and common mistakes
- Wrapping up and next steps
What you need
- ● Lumber: 4–6 pieces of cedar or redwood (rot-resistant, 2x6 or 2x8 boards, 8–10 feet long each, depending on desired diameter).
- ○ Optional: Pre-cut corner stakes or notches for seamless joints.
- ● Hardware: Galvanized or stainless steel 3-inch deck screws (100–150 screws, depending on size).
- ○ Optional: Landscape fabric (to line the bed and suppress weeds).
- ● Soil & Amendments: High-quality garden soil (2–3 cubic feet per square foot of bed area).
- ● Compost or aged manure (1–2 bags to enrich soil).
- ○ Optional: Perlite or vermiculite (for drainage in heavy clay soil).
- ● Tools: Circular saw or handsaw (for cutting lumber).
- ● Drill + driver bit (for screws).
- ● Measuring tape, pencil, and stakes (to mark layout).
- ○ Optional: Knee pads (for comfort during assembly!).
- ● A level spot (use a spirit level to check for slopes).
- ● Access to water (for soil prep and future irrigation).
- ○ Optional: Mulch (straw or wood chips to retain moisture).
Step-by-Step instructions for building a circle garden bed
Here's how to create a stunning, space-efficient raised bed that turns any yard into a focal point.
🪴 Step 1: Mark and Dig the Circle Outline
Use a 10-foot diameter as your circle template—this creates a 314-square-foot growing area perfect for 4 plants. Drive a 4-foot stake into the ground at the center, then tie a 10-foot string to it. Walk around the stake while holding the string taut to trace your circle with a garden hose or spray paint. This gives you a clear guide for digging.
Dig a 6-inch deep trench along the marked line using a shovel or edging tool. The trench should be just wide enough to accommodate your 2x6 lumber edges. I like to work in 2-foot sections—this keeps the soil from piling up and makes cleanup easier. Remove all grass and weeds from the trench area; any left behind will compete with your plants for nutrients.
🪴 Step 2: Assemble the Raised Bed Frame
Cut your 2x6 lumber into 10-foot lengths—you’ll need 4 pieces total. Use a circular saw or ask at your local hardware store for pre-cut boards. Assemble the frame by screwing the boards together at the corners with 3-inch deck screws. I pre-drill holes to prevent splitting, especially at the corners where stress builds up. A speed square helps keep your angles perfect for a smooth circle.
Lay the frame over the trench and adjust until it sits flush with the ground. Use stakes and string to hold it in place while you test the fit. The frame should sit evenly—if one side sags, add a temporary support underneath until you secure it permanently. Once positioned, screw the frame into the ground at 12-inch intervals using 4-inch deck screws for stability.
🌱 Step 3: Fill With Soil and Planting Mix
Start with a 4-inch layer of coarse gravel at the bottom of the bed. This improves drainage and prevents root rot—critical for a raised bed. Next, add 2 inches of compost to enrich the soil. Now, fill the remaining 10 inches with a 50/50 mix of topsoil and compost. I like to sift the soil slightly to remove large clumps, which helps roots penetrate more easily.
Moisten the soil mixture until it’s damp but not soggy—think of a wrung-out sponge. This ensures your plants won’t dry out during the first critical weeks. For a 4-plant circle bed, space your plants 2 feet apart in a symmetrical layout. Plant in the morning to give roots time to settle before evening heat. Water deeply right after planting to eliminate air pockets around the roots.
☀️ Step 4: Add Mulch and Final Touches
Spread 2 inches of mulch evenly over the soil surface. I use shredded bark because it breaks down slowly and suppresses weeds naturally. Keep the mulch 2 inches away from plant stems to prevent rot. For extra beauty, add ornamental edging made from stone or metal around the outer rim. This not only looks great but also keeps the soil contained and prevents erosion.
Here’s the thing—mulch also regulates soil temperature. In summer, it keeps roots cool; in winter, it insulates them. Check the mulch every 2-3 months and top it up as it decomposes. Avoid piling mulch too high, or it can smother plants. Now, step back and admire your low-maintenance, high-impact circle garden—it’s ready for years of lush growth!
Tips & tricks for perfect circle garden beds
A few simple tricks will ensure your circle garden bed looks stunning and thrives for years to come.
Precision is Key in Step 1: That 10-foot diameter might seem arbitrary, but it's perfect for creating a 314-square-foot growing area that accommodates exactly 4 plants with proper spacing. If you're working with a different yard size, you can scale the diameter proportionally—just maintain the same 2-foot spacing between plants. A garden hose works better than spray paint for marking because you can adjust the circle's position without permanent stains.
The Frame Stability Secret: In Step 2, when screwing your frame into the ground at 12-inch intervals, don't skip the temporary supports for sagging sections. I've seen frames fail when people rush this step—it's worth taking the extra 10 minutes to check for evenness before finalizing. For extra durability, consider using galvanized screws that resist rust, especially if your garden bed will be exposed to moisture.
Soil Science in Step 3: That 4-inch gravel layer might seem like overkill, but it's what prevents root rot in raised beds. If you're working with heavy clay soil, you can increase the gravel to 6 inches for even better drainage. When mixing your topsoil and compost, aim for a texture similar to crumbly cake batter—not too loose, not too compact. This ideal texture encourages root growth while preventing compaction.
Mulch Maintenance Strategy: The 2-inch mulch layer in Step 4 isn't just decorative—it's your garden's temperature regulator. In summer, it can keep soil 10-15°F cooler than exposed soil, while in winter it provides insulation. Check your mulch every 2-3 months because different types break down at different rates. Shredded bark lasts longest, but straw decomposes faster and adds nutrients as it breaks down.
Pro Tips for Circle Garden Bed
- A few simple tricks will ensure your circle garden bed looks stunning and thrives for years to come.
- Precision is Key in Step 1: That 10-foot diameter might seem arbitrary, but it's perfect for creating a 314-square-foot growing area that accommodates exactly 4 plants with proper spacing.
- The Frame Stability Secret: In Step 2, when screwing your frame into the ground at 12-inch intervals, don't skip the temporary supports for sagging sections.
Frequently asked questions
Got questions about creating or maintaining your circle garden bed? You’re not alone! Here are answers to the most common queries to help you grow confidently.
What’s the best time of year to install a circle garden bed?
Plant your circle garden bed in early spring (after the last frost) or late summer/early fall for a head start. Avoid winter installation unless you’re in a mild climate—soil prep and root establishment are key! If you’re planting perennials, spring is ideal.
How do I choose the right size for my circle garden bed?
Size depends on your space and needs! A 3- to 5-foot diameter works well for herbs, veggies, or small flowers. For larger plants like tomatoes or shrubs, opt for 6+ feet. Pro tip: Measure your space first—circle beds fit snugly in corners or between patio furniture!
Can I use a circle garden bed in clay or rocky soil?
Circle beds are perfect for poor soil because you fill them with high-quality compost or potting mix. This gives roots the ideal environment, regardless of what’s beneath. Just ensure proper drainage—add a layer of gravel at the bottom if needed.
How do I keep pests out of my circular raised bed?
Prevent pests with physical barriers (like fine mesh for veggies) and natural deterrents such as marigolds or basil. Regularly inspect leaves for early signs of trouble, and remove affected plants immediately. Companion planting (e.g., onions with carrots) also works wonders!
What are some creative ways to decorate a circle garden bed?
Get artistic! Use painted stones as edging, add a small fountain or solar light in the center, or weave in ornamental grasses for texture. For a whimsical touch, try a mini trellis or hanging baskets. Personalize it to match your garden’s vibe!
Wrapping up and next steps
A circle garden bed isn’t just a smart way to grow more in less space—it’s a creative, functional upgrade for any garden or patio! Whether you’re a seasoned gardener or just starting out, these raised planters bring beauty, efficiency, and joy to your green space.
With the right materials and a little planning, you can transform even the smallest corner into a thriving, eye-catching garden.
Ready to get started? Roll up your sleeves and dig in! Grab your tools, pick your plants, and watch your circle garden bed become the star of your outdoor oasis. 🌱✨