
Landscaping
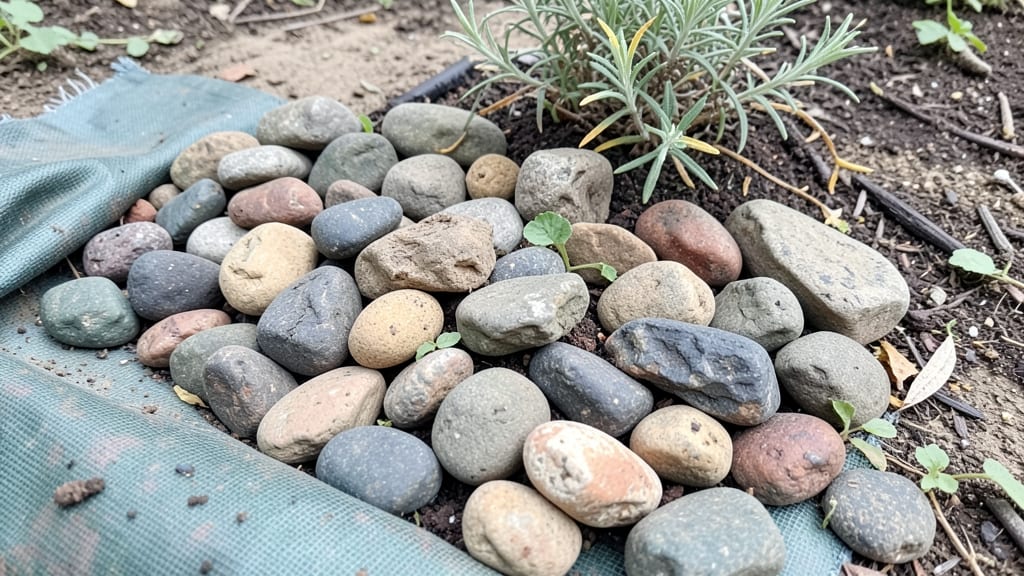
Cobble garden edging creates rustic borders for paths and flower beds while controlling soil erosion. Opt for smooth river stones, granite chips, or flagstone for lasting strength, and always use proper base layers for drainage and stability.
This classic landscaping technique isn't just about aesthetics—it's a functional solution that keeps garden beds neat and prevents soil from spilling onto walkways. 💫 The key to longevity lies in material selection: harder stones like granite resist cracking, while softer options like slate offer more natural color variations.
I've seen installations last over 20 years when installed with proper gravel bases and occasional mortar reinforcement in high-traffic areas.
What many homeowners overlook is the installation process itself. A 3-inch gravel base with landscape fabric underneath makes all the difference in preventing weeds and maintaining even drainage. For curved edges, I recommend using flexible adhesive between stones rather than rigid mortar to accommodate seasonal ground shifts.
The right technique turns cobble edging from a decorative element into a permanent garden feature.
💡 In This Article
- How to Install Cobble Edging for Maximum Longevity
- Comparing Cobble Materials: Durability vs. Aesthetic Appeal
How to install cobble edging for maximum longevity
The foundation of any successful cobble installation begins with a properly prepared base. Start with a 4-inch layer of compacted gravel—this isn't just for drainage but to distribute weight evenly and prevent sinking.
The gravel should be polycrystalline or crushed stone (size 3/8-inch to 1/2-inch) because its angular edges lock together when compacted, creating a stable platform. I've seen installations fail when homeowners use rounded pea gravel, which compacts poorly and leads to uneven settling over time.
Next, lay down landscape fabric to block weeds while allowing water to pass through. The fabric should have a UV-stabilized coating to prevent degradation in 3-5 years—this is crucial because exposed fabric roots can create a breeding ground for weeds.
For extra stability in high-traffic areas, add a 1-inch layer of coarse sand over the fabric before placing your cobble stones. This sand layer acts like a cushion, absorbing minor ground movements and preventing the stones from cracking under pressure.
When arranging your cobble stones, maintain a 1/4-inch to 1/2-inch gap between each piece. This spacing is critical—it allows for natural expansion during temperature fluctuations (especially important in climates with freeze-thaw cycles) and provides room for flexible securing methods.
For straight edges, use a string line to ensure perfect alignment. In curved sections, I recommend using flexible adhesive (like construction adhesive) between stones rather than rigid mortar, as it accommodates seasonal ground shifts without cracking.
For securing methods, the choice depends on your climate and traffic demands. In dry climates, polyurethane adhesive works well for interlocking stones. In wetter areas, a sand-cement mortar mix (1 part cement to 3 parts sand) provides better water resistance.
Pro tip: For high-traffic paths, add steel reinforcement mesh under the base layer—this hidden reinforcement can extend the lifespan of your edging by 30-40% in heavy foot traffic areas by preventing erosion at the base.
Drainage is often overlooked but makes the difference between edging that lasts decades and one that fails in 2-3 years. Ensure your base slopes slightly away (1/8-inch per foot) from garden beds to prevent water pooling.
In areas with heavy rainfall, consider adding a French drain system alongside your edging—this involves a perforated pipe surrounded by gravel to channel water away from the base. The result? No more soggy soil eroding your hard work during spring rains.
Finally, the finishing touch: seal your cobble stones with a penetrating stone sealer every 2-3 years. This isn't just for looks—it protects against moss growth (which can lift stones) and prevents freeze-thaw damage in cold climates.
I've seen unsealed cobble installations develop moss within 12 months in humid environments, leading to uneven surfaces and tripping hazards. A quality sealer adds $50-$100 upfront but can save $500+ in repairs down the road.
Here's what most people don't realize: The most critical factor isn't the stones themselves but the consistency of your base. Even with premium materials, if your gravel isn't properly compacted (achieved with a plate compactor), you'll end up with sinking spots and uneven edges within 1-2 years.
Take the extra time to compact in 2-inch lifts—this ensures maximum stability for your investment. 💫