
Tools
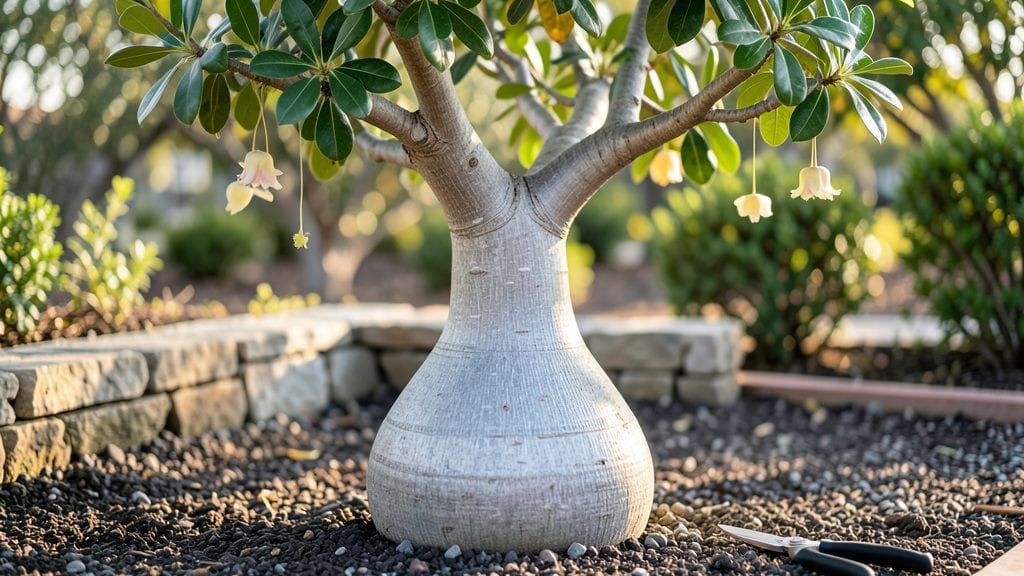
Transforming discarded bottles into a garden bottle tree turned my neglected corner into a conversation piece. 🌿 The concept is simple: string clean glass bottles along a sturdy branch or trellis, then fill them with soil and plants.
What was once trash becomes a vertical garden that adds texture and movement to any space.
You’ll need a few basic supplies: glass bottles (any size), a sturdy branch or metal rod, twine or wire, potting soil, and small plants like succulents, herbs, or trailing flowers.
The beauty is in the upcycling—no special skills required, just creativity. My first attempt used old wine bottles and a salvaged oak branch, and it’s been thriving for two seasons.
The result is a living sculpture that grows with your garden. Bottles catch light at dusk, creating a twinkling effect, while plants spill over the edges like a natural waterfall. It’s perfect for small spaces, patios, or even as a whimsical centerpiece in a larger yard.
The best part? You’re giving new life to materials that would otherwise end up in a landfill.
Works in any climate—just adjust plant choices for your zone. Once you’ve mastered the basics, you can experiment with colors, bottle shapes, or even add solar lights for extra charm. Let’s get creative with what you already have!
📚 In This Guide
- What you need
- Instructions
- Tips and common mistakes
- Wrapping up and next steps
What you need
- ● Plastic bottles: 5–10 (1–2 liter size, cleaned and dried). Pro tip: 💡 Use bottles with wide mouths for easier planting!
- ● Drill or box cutter: For cutting bottle caps and creating drainage holes.
- ● Strong twine, fishing line, or zip ties: To suspend bottles and create the "branching" effect.
- ● Scissors or wire cutters: For trimming twine or wire neatly.
- ○ Pebbles or small stones: (Optional) For drainage at the bottle base.
- ● Potting soil: Lightweight, well-draining mix (e.g., cactus or succulent soil).
- ● Small plants or seeds: Choose trailing or compact varieties like string of pearls, pothos, or succulents.
- ○ Decorative paint or markers: (Optional) For customizing bottles with patterns or colors.
- ● Sturdy base: A large pot, bucket, or wooden crate to anchor your tree.
- ● Measuring tape or ruler: To ensure even spacing between bottles.
- ● Gloves: (Recommended) To protect hands while handling soil or sharp edges.
- ● Watering can or spray bottle: For gentle hydration of plants.
- ○ Support structure: (Optional) A wooden dowel or metal rod for larger trees to add stability.
Step-by-Step instructions for building a garden bottle tree
Turn empty glass bottles into a charming vertical garden that adds personality to any space.
🪴 Step 1: Gather and Prepare Your Bottles
Collect 4 clean, empty glass bottles—any size works, but 8-16 ounce bottles create a balanced look. Remove labels and rinse thoroughly with warm soapy water to eliminate residue. I always check for cracks or sharp edges first; even a tiny nick can damage roots later. Let them dry completely before moving forward.
Next, trim the bottle necks to create a wider opening—about 2 inches in diameter—using a glass cutter or heavy-duty scissors. This makes planting easier and gives your future greens more room to grow. If you don’t have a cutter, wrap the neck in duct tape and snap it cleanly. Sand any rough edges with fine-grit sandpaper to prevent snagging.
🌱 Step 2: Create the Bottle Tree Structure
Take a sturdy wooden base (like a small tree stump or thick branch) and drill 4 evenly spaced holes—about 1 inch in diameter—near the top. The holes should be just wide enough to snugly fit your bottle necks. For a whimsical touch, I like to paint the base with non-toxic outdoor paint before assembling.
Insert the prepared bottles upside-down into the holes, securing them with a dab of waterproof glue or by wrapping the necks with plastic wrap for a temporary hold. The bottles should sit at a slight angle (about 30 degrees) to encourage drainage. Let the glue dry completely before planting—this ensures your tree stays upright even when watered.
💧 Step 3: Plant Your Bottles with Suitable Greens
Fill each bottle ¾ full with well-draining potting mix, leaving space at the top for roots to spread. For a lush look, I plant succulents, herbs like thyme or oregano, or trailing plants such as string of pearls. Press the soil gently around the stems to secure them without compacting it too tightly.
Water lightly until the soil is moist but not soggy—you’ll see moisture bead at the surface. Avoid overwatering now; the bottles’ narrow openings slow drainage, and soggy soil can rot delicate roots. Place your bottle tree in a spot with 4-6 hours of indirect sunlight (succulents need more; herbs prefer partial shade).
☀️ Step 4: Maintain and Watch It Grow
Check the soil every 5-7 days—when the top inch feels dry, water each bottle individually by pouring ¼ cup of water into the neck. You’ll notice condensation inside the bottles at first; this is normal as the plants adjust. After a few weeks, reduce watering to once every 10-14 days, as the bottles retain moisture longer than open pots.
Fertilize lightly once a month using a diluted liquid fertilizer (half-strength). I like to mix it with water and apply it directly to the soil. Watch for leggy growth—if stems stretch toward the light, rotate the tree a quarter turn weekly to keep it balanced. Your bottle tree will thrive for months, adding a playful, eco-friendly touch to your garden.
Tips & tricks for perfect garden bottle tree assembly
Here's what I learned after creating several bottle trees—these tricks make all the difference in how long your plants thrive.
Bottle Selection Matters: Don't just grab any bottles! Look for ones with straight sides and consistent thickness—these hold moisture better and create a more balanced look. I always check for thick glass (like soda bottles) rather than thin ones (like water bottles) because they're less likely to crack when roots expand. For extra stability, choose bottles with slightly wider bases.
The Angle is Everything: That 30-degree angle you see in Step 2 isn't arbitrary—it's perfect for drainage while still giving roots plenty of space. If your base isn't perfectly level, use a small block of wood under one side to create that angle. Pro tip: Test-fit your bottles before gluing to ensure they sit securely at this angle without wobbling.
Soil Science for Small Spaces: The ¾ full rule in Step 3 is crucial—leaving that top space prevents soil from spilling out when you water through the neck. For even better drainage, mix in a handful of perlite or coarse sand to your potting mix (about 10% of the total volume). This prevents waterlogging, which is especially important since these bottles drain more slowly than regular pots.
Sunlight Strategy: That 4-6 hours of indirect sunlight recommendation is a sweet spot for most herbs, but here's the thing: if you're using succulents, move your tree to 6+ hours of direct sun after the first week—they'll turn leggy otherwise. For shade-loving plants like parsley, reduce to 3-4 hours of bright, indirect light. I keep mine on a rotating tray so I can adjust their position as seasons change.
Pro Tips for Garden Bottle Tree
- Here's what I learned after creating several bottle trees—these tricks make all the difference in how long your plants thrive.
- Bottle Selection Matters: Don't just grab any bottles!
- The Angle is Everything: That 30-degree angle you see in Step 2 isn't arbitrary—it's perfect for drainage while still giving roots plenty of space.
Frequently asked questions
Got questions about growing a garden bottle tree? You’re not alone—this creative upcycling project sparks curiosity! Here are answers to the most common queries to help you get started with confidence.
What types of plants work best for a bottle tree?
A garden bottle tree thrives with lightweight, fast-growing plants like succulents (e.g., Sedum or Echeveria), herbs (basil, thyme), or trailing vines (string of pearls, pothos). Avoid heavy plants like ferns or large-leafed varieties—they can tip the bottles! Start with small cuttings or seedlings for stability.
How long does it take for a bottle tree to grow?
Growth speed depends on your plant choice and care routine. Succulents may show noticeable growth in 4–6 weeks, while herbs like basil can fill bottles in 2–3 weeks with proper sunlight (6+ hours/day) and watering. Patience is key—some bottle trees take 3–6 months to reach their full whimsical potential!
Can I reuse old bottles for this project?
Clean, food-grade plastic or glass bottles (like soda or water bottles) work perfectly. Rinse thoroughly, remove labels, and ensure no sharp edges. For a rustic look, leave labels on or paint the bottles with non-toxic acrylic paint. Pro tip: Drill drainage holes in the caps or bottoms to prevent root rot!
How often should I water a bottle tree?
Watering needs vary by plant, but a general rule is to check moisture every 5–7 days. Succulents need less (every 2–3 weeks), while herbs may require weekly watering. Stick your finger 1 inch into the soil—if it’s dry, it’s time to hydrate. Overwatering is the #1 killer, so ensure bottles have drainage!
What do I do if my bottle tree gets pests?
Pests like aphids or spider mites can hitch a ride on your plants. Treat them with a soapy water spray (1 tsp mild dish soap + 1 quart water) or neem oil. Isolate affected bottles and inspect regularly. Prevention tip: Keep your bottle tree in a well-ventilated spot and avoid overcrowding plants!
Can I move my bottle tree indoors?
Yes! If your bottles are lightweight and your plants tolerate indoor conditions (like pothos or spider plants), move them near a sunny window. Avoid drastic temperature changes, and reduce watering in winter. For best results, place the tree near a south- or west-facing window for optimal light.
Wrapping up and next steps
Transforming old bottles into a garden bottle tree isn’t just creative—it’s a sustainable way to add charm and greenery to your space! With just a few supplies and a dash of imagination, you can craft a unique vertical planter that thrives on upcycled magic. 🌿✨
Ready to take the next step? Start small—try repurposing a single bottle this weekend, or dive into a full DIY project for your garden. Share your bottle tree masterpiece with friends or even turn it into a gift for fellow plant lovers. The possibilities are as endless as your creativity!