Planting
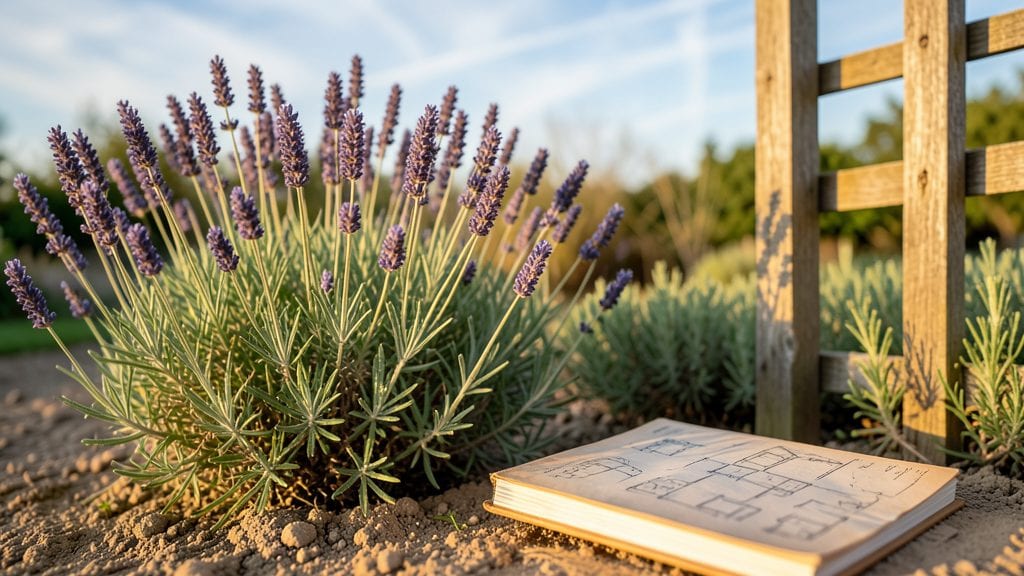
A garden plant planner turns your yard into a high-performance system, not just a pretty patch of dirt. 🌿 I’ve used mine to squeeze in twice the harvest from my 10x12-foot backyard—no fancy tools required, just smart choices about what goes where and when.
The key isn’t planting more; it’s planting right—matching sun-loving tomatoes with shade-tolerant lettuce and spacing everything so nothing competes for resources.
Start with a simple sketch or free digital tool like SketchUp’s free version. Note your yard’s sunlight patterns: that sunny corner? Perfect for peppers and basil. The shady spot? Ideal for spinach and ferns.
Then layer in seasonal swaps—cool-season crops in spring, heat-lovers in summer—so your beds stay productive year-round. I plot my biggest plants (like tomatoes) first, then fill gaps with fast growers like radishes or herbs.
By the time you’re done, you’ll have a layout that looks intentional, grows abundantly, and actually fits your space. No more wasted soil or crowded seedlings. The planner even helps time your planting so you’re harvesting something fresh every month—think crisp spring peas, summer zucchini, and fall kale.
It’s the difference between a garden that happens and one that delivers.
Works for containers, raised beds, or in-ground plots—just adjust the scale. Beginners can start with a notebook and pencil; pros might use apps like Planter. Either way, you’ll end up with a garden that’s both beautiful and shockingly productive. Here’s how to get started without overcomplicating it.
📚 In This Guide
- What you need
- Instructions
- Tips and common mistakes
- Wrapping up and next steps
What you need
- ● Sketchbook or digital planner (for drafting layouts—graph paper or apps like Garden Planner or SketchUp work great).
- ● Measuring tape (25-foot tape for accuracy).
- ● Ruler or yardstick (12-inch or longer for precise spacing).
- ● Pencil and erasers (for adjustments on paper).
- ● Plant catalogs or seed packets (pick varieties suited to your climate zone and space).
- ● Garden markers or labels (2–3 inch stakes or plant tags, 50+ for a medium-sized plot).
- ● Notebook or spreadsheet (to track plant names, sunlight needs, and growth stages).
- ● GPS or mapping app (to note sun/shade patterns in your yard).
- ● Soil test kit ($10–$20) to check pH and nutrient levels before planting.
- ● Compost or organic fertilizer (5–10 lbs, depending on garden size).
- ● Pruning shears (for shaping plants as they grow).
- ● Watering can or hose with adjustable nozzle (for gentle hydration).
How to design a season-long garden layout for small spaces
Let's create a functional, year-round garden that maximizes every square foot of your compact yard.
🌱 Step 1: Assess Your Space and Sunlight Patterns
Start by measuring your available area and mapping sunlight exposure. I like to use a simple grid system—mark off sections where plants will receive full sun (6+ hours), partial shade (3-6 hours), or full shade (less than 3 hours). Track sunlight throughout the day with a notebook or phone app for a week. You'll notice patterns like morning sun but afternoon shade that change with seasons.
Sketch your space on graph paper, labeling each zone. This becomes your foundation for plant placement. For example, a 4' x 6' area might have 3' of full sun in summer but only 2' in winter. Note these shifts—they dictate which plants thrive where. I always draw arrows showing sun direction to visualize plant growth angles later.
☀️ Step 2: Plan Seasonal Layers for Continuous Interest
Design your layout in three layers: tall plants (back), mid-height plants (middle), and low-growing plants (front). For compact yards, I focus on plants that provide spring color, summer blooms, and fall/winter structure. For example, place early bloomers like pansies in front, mid-season flowers like zinnias in the middle, and late-season performers like ornamental grasses at the back.
Use a color-coded system: mark spring plants in blue, summer in red, and fall/winter in green. This visual helps you spot gaps where one season might look bare. I always include at least one evergreen or drought-tolerant plant per section to maintain year-round interest. For a 4-plant layout, aim for 2 seasonal performers and 2 evergreens or structural plants.
🪴 Step 3: Group Plants by Water and Soil Needs
Cluster plants with similar water requirements together to simplify maintenance. For example, group drought-tolerant succulents and lavender in one corner where they'll receive less frequent watering, while moisture-loving hostas and ferns go in another area. This reduces the risk of over- or under-watering and creates microclimates that work to your advantage.
Next, consider soil preferences. If your soil is heavy clay, group plants like asters and black-eyed Susans that tolerate poor drainage together, while delicate perennials like peonies get their own well-amended section. I like to sketch soil amendments (like compost or sand) directly on my layout to visualize how they'll affect each plant group.
⏰ Step 4: Schedule Planting and Maintenance Dates
Create a timeline with key dates: spring planting (after last frost), summer mulching (when soil warms), fall division (after blooms fade), and winter pruning (before new growth starts). For a compact garden, I focus on 4 major maintenance windows per year—this keeps upkeep manageable. Mark these on your calendar alongside plant-specific deadlines, like deadheading annuals every 2 weeks to encourage more blooms.
Include notes for seasonal swaps, like replacing spring bulbs with fall mums in the same spot. This keeps your garden dynamic without requiring extra space. I always add a "first-year" column to track which plants need extra care, like staking or fertilizing, during their establishment phase.
🌿 Step 5: Finalize Your Layout with Plant Tags and Labels
Assign each plant a tag with its name, height at maturity, and sunlight needs. For a 4-plant layout, I use small wooden stakes or plant markers placed at the center of each plant's future home. This helps visualize spacing before digging. For example, a 2-foot-tall coneflower needs 18-24 inches of space, while a creeping thyme ground cover spreads 12-18 inches wide.
Double-check your layout by walking through it season by season. Ask: "Will this area look full in spring?" "Does the back row provide enough height for summer?" "Are there winter accents to prevent a blank canvas?" Adjust as needed—this is your chance to catch any gaps before planting begins. I always keep a spare sketch on hand to tweak until I'm satisfied.
Tips & tricks for perfect season-long garden layouts
These game-changing strategies will help you create a cohesive, year-round garden that thrives in even the smallest spaces.
Sunlight Mapping Secret: In Step 1, when tracking sunlight patterns, I recommend using a simple phone app like Sun Surveyor instead of just a notebook. These apps show you exact sun paths throughout the day and help visualize how shadows shift with seasons. This level of detail prevents those frustrating "why isn't my plant growing?" moments later. For example, that morning sun you thought was full sun might only hit for 2 hours before trees block it—critical info for plant selection!
Layering Technique: The three-layer system in Step 2 works best when you think vertically first. Start by placing your tallest plants (like ornamental grasses) in the back, then work forward with mid-height plants (zinnias) and finally low-growing ones (pansies). Pro tip: Leave at least 12 inches between each layer to prevent shading issues. I always sketch this vertical progression on my layout before planting—it saves me from having to rearrange later.
Soil Grouping Strategy: When grouping plants by water needs in Step 3, don't forget to consider their mature sizes too. That drought-tolerant lavender you love might spread wider than you think—give it at least 18 inches of space to prevent competition with moisture-loving plants nearby. I like to draw circles around each plant group on my layout with their mature spread marked, then check for overlaps. This visual approach catches potential problems before they happen.
Maintenance Timeline: The 4 major maintenance windows in Step 4 are a great starting point, but I recommend adding a "first-year" column to your calendar too. New plants need extra attention during their establishment phase—think of it as their "kindergarten year." Mark when each plant needs staking, fertilizing, or special care. For example, peonies need support when they reach 2 feet tall, while coneflowers benefit from a light feeding in early summer. This proactive approach keeps your compact garden looking its best with minimal effort.
Pro Tips for Garden Plant Planner
- These game-changing strategies will help you create a cohesive, year-round garden that thrives in even the smallest spaces.
- Sunlight Mapping Secret: In Step 1, when tracking sunlight patterns, I recommend using a simple phone app like Sun Surveyor instead of just a notebook.
- Layering Technique: The three-layer system in Step 2 works best when you think vertically first.
Frequently asked questions
Got questions about maximizing your compact garden with a season-long plant planner? You’re not alone! Here are answers to the most common concerns—whether you're a beginner or a seasoned green thumb looking to optimize space.
How do I start planning if I have limited space?
Begin by measuring your yard and sketching a rough layout. Focus on vertical gardening (trellises, hanging planters) and intercropping—pairing fast-growing crops with slower ones (e.g., lettuce under tomatoes). Use a garden plant planner tool to visualize layers and rotations before planting.
When is the best time to create my seasonal planting schedule?
Start indoors 6–8 weeks before your last frost date for cool-season crops (e.g., kale, peas). For warm-season plants (tomatoes, peppers), wait until 2–3 weeks after frost. Adjust for your climate zone—zone 5–7? Plan early! Pro tip: Use a local frost calendar to sync your planner.
Can I reuse the same garden space year after year?
While possible, crop rotation is key to preventing soil depletion and pests. Swap plant families (e.g., move tomatoes from last year’s spot to where beans grew). For tiny yards, use container gardening to rotate pots annually. Add compost yearly to replenish nutrients!
What if my plants aren’t thriving despite my planner?
Check these first:
- Sunlight: Are plants getting their labeled hours? Move or prune nearby structures.
- Water: Compact yards dry out fast—use drip irrigation or mulch.
- Soil: Test pH and amend with organic matter if needed.
Are there low-maintenance alternatives to traditional planting?
Try:
- Square-foot gardening: Divide space into 1ft² grids for easy density control.
- Self-watering planters: Reduce chores for herbs/veggies.
- Perennial edibles: Asparagus or rhubarb thrive for years with minimal prep.
Wrapping up and next steps
Ready to transform your compact yard into a thriving, seasonal paradise?
A garden plant planner is your secret weapon—helping you maximize space, reduce waste, and enjoy a lush, ever-changing garden with minimal effort. 🌱 Start small, track your progress, and soon, you’ll be the envy of the neighborhood with a space that’s both beautiful and functional!
Your next step? Grab a pencil, sketch your first layout, and plant with confidence! Happy gardening!