Lawn
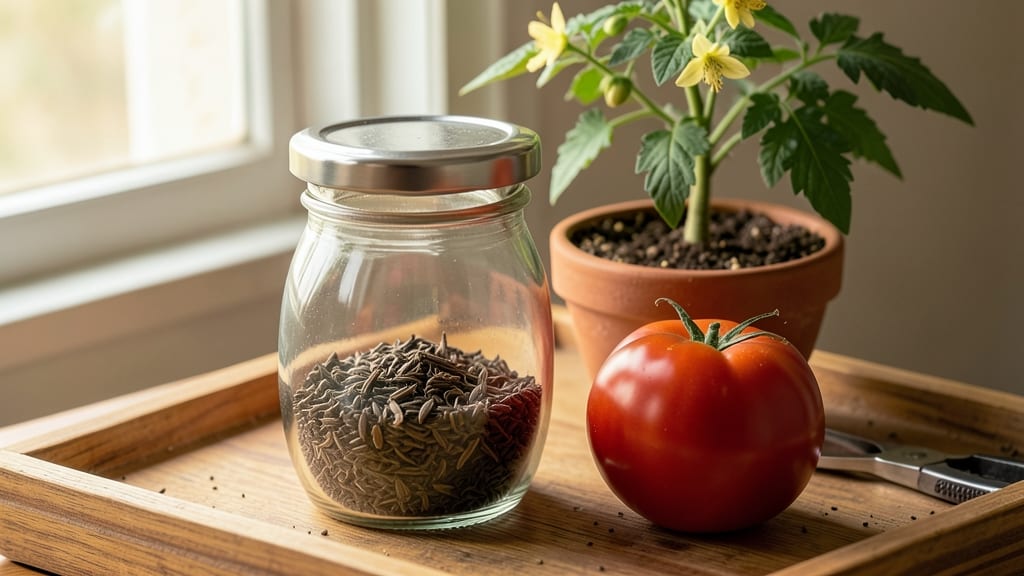
Properly managing your garden seed banks ensures seeds stay moist enough to stay viable for years—not just months. ✨ I learned the hard way when my heirloom tomato seeds sprouted at half their usual rate after sitting too dry.
The secret lies in controlling humidity, temperature, and airflow without letting seeds rot or dry out completely.
You’ll need airtight containers (glass jars or Mylar bags work best), silica gel packets for moisture absorption, and a cool, dark spot like a basement or fridge. Label everything with the seed type and date—trust me, you’ll forget by next spring.
This setup keeps seeds good for 5-10 years, sometimes longer for hard-coated varieties like peas or beans.
The payoff? A never-ending supply of heirloom varieties, drought-resistant strains, or rare flowers you can’t buy at stores. No more relying on corporate seed companies or worrying about supply chain shortages. Plus, you’re preserving biodiversity one seed at a time—something grocery stores can’t offer.
Works for beginners and seasoned gardeners alike, whether you’re saving seeds from your best tomatoes or stockpiling for next year’s garden. Let’s get those seeds stored right so they’re ready when you are.
📚 In This Guide
- What you need
- Instructions
- Tips and common mistakes
- Wrapping up and next steps
What you need
- ● Seed storage containers: 1–2 airtight, moisture-proof containers (glass mason jars, metal tins, or resealable Mylar bags with oxygen absorbers).
- ● Specs: 1–2 quart jars (for small batches) or gallon-sized containers (for bulk storage).
- ● Desiccant packets: 2–4 silica gel packets (to absorb excess moisture; available at craft or seed-saving stores).
- ● Oxygen absorbers: 1–2 1000cc absorbers (for long-term storage; sold in seed-saving kits).
- ● Permanent markers or labels: 1–2 (for labeling seed varieties, dates, and moisture levels).
- ○ Paper envelopes or seed packets: 50–100 (for organizing seeds before storage; optional but helpful).
- ● Vacuum sealer: For extra-long shelf life (especially for large seed batches).
- ● Hygrometer: A moisture meter (0–10% humidity range) to monitor storage conditions.
- ● Seed catalog or database: For tracking germination rates and varieties.
- ● Freezer or cool, dark pantry: Ideal storage spots (40°F or below for best results).
How to create a reliable garden seed bank using controlled moisture
Here's the method I trust to preserve seeds for years—no fancy equipment, just precise moisture control.
🪴 Step 1: Choose the Right Containers for Long-Term Storage
Select airtight, moisture-resistant containers like glass jars with tight-sealing lids or Mylar bags with oxygen absorbers. I prefer glass because it blocks light completely, which prevents seed degradation. For each variety, use a separate container to avoid cross-contamination—mixing seeds can lead to poor germination rates later.
Label each container immediately with the seed variety, harvest date, and storage date using a permanent marker. Place a small piece of unprinted paper inside the container to absorb any condensation that might form during storage. This extra step prevents excess moisture buildup, which is the #1 enemy of long-term seed viability.
💧 Step 2: Dry Seeds Thoroughly Before Storage
Spread seeds in a single layer on a clean, dry surface and let them dry for 7-10 days in a cool, dark place with good airflow. You'll know they're ready when they feel crisp to the touch and break easily between your fingers. Humidity is the silent killer here—even slightly damp seeds will mold within weeks.
Check daily for signs of moisture. If seeds feel sticky or clump together, return them to the drying surface immediately. Once fully dry, transfer seeds to the labeled containers. Seal them tightly to block all air and light—this creates the ideal environment for long-term preservation.
⏰ Step 3: Store in a Stable, Moisture-Controlled Environment
Place containers in a cool, dark location with consistent temperatures between 32-41°F. A refrigerator's crisper drawer works perfectly for small seed banks, while a root cellar or basement offers ideal conditions for larger collections. Avoid areas with fluctuating temperatures or humidity, like near windows or appliances.
I recommend placing a small silica gel packet in each container to absorb any residual moisture. Test the environment monthly by checking for condensation on the container exteriors. If you find moisture, transfer seeds to a new container immediately—even trace amounts can reduce viability by up to 50% over time.
🌱 Step 4: Monitor and Refresh Seeds Periodically
After 5 years, test a small sample of each seed variety for germination. Plant 10 seeds in moist potting mix and cover lightly. Keep the soil consistently damp at 70-75°F and check for sprouts in 7-14 days. If fewer than 80% germinate, replace the entire batch—seed viability drops sharply after this point.
For seeds older than 10 years, I recommend refreshing the entire collection. Remove seeds from storage, dry them again thoroughly, and reseal in fresh containers. This step ensures you always have high-quality seeds ready for planting. Keep a log of germination rates to track which varieties age best in your climate.
Tips & tricks for perfect garden seed banks
These tried-and-tested strategies will help you maintain that critical moisture balance and maximize seed viability for years.
Container Selection: For small collections, I recommend glass jars with vacuum-sealed lids over Mylar bags—they're easier to inspect for condensation monthly. If you choose Mylar, always pair with oxygen absorbers to prevent oxidation, which can degrade seeds faster than excess moisture. Between us, don't reuse food storage containers, even if they're clean—they're not designed for long-term seed storage and may harbor microscopic contaminants.
Drying Process: The 7-10 day drying period in Step 2 is non-negotiable for most seeds, but some varieties like lettuce or parsley need only 3-5 days. Test for doneness by gently crushing a seed—if it shatters completely, it's ready. I've ruined batches by rushing this step, so trust the process. Place your drying tray on a wire rack over a baking sheet to catch any stray seeds that might fall through.
Temperature Control: Maintaining that 32-41°F range is crucial, but here's what nobody tells you—your refrigerator's vegetable crisper isn't always consistent. I use a small digital thermometer in my seed storage drawer and adjust shelf placement if needed. For basement storage, avoid areas near exterior walls where temperatures can fluctuate by 10°F or more between seasons.
Long-Term Monitoring: That 5-year germination test is your best friend, but here's the thing: some heirloom varieties actually improve with age! I've seen tomato seeds from 7-year-old batches germinate at 90% rates. The key is consistency—if you test every 5 years using the same method (10 seeds at 70-75°F), you'll establish reliable baselines for each variety in your collection.
Pro Tips for Garden Seed Banks
- These tried-and-tested strategies will help you maintain that critical moisture balance and maximize seed viability for years.
- Container Selection: For small collections, I recommend glass jars with vacuum-sealed lids over Mylar bags—they're easier to inspect for condensation monthly.
- Drying Process: The 7-10 day drying period in Step 2 is non-negotiable for most seeds, but some varieties like lettuce or parsley need only 3-5 days.
Frequently asked questions
Got questions about storing garden seeds long-term?
Here are answers to the most common concerns—so you can keep your seed bank thriving all year round!
What’s the best way to control moisture in a seed bank?
Use airtight containers (like glass jars or Mylar bags) with silica gel packets or rice (a natural moisture absorber) to maintain low humidity. Store seeds in a cool, dark place (50–70°F) to prevent mold or spoilage. Avoid plastic—it traps moisture!
How long can seeds really last in a seed bank?
With proper moisture control, most vegetable seeds stay viable for 3–5 years, while heirloom varieties can last 10+ years. Check seed packets for germination rates—if they drop below 80%, test a few seeds before planting. Label everything!
Can I reuse seed packets from last year?
Yes! Clean and dry them thoroughly, then store them in your seed bank. For extra protection, place them in small paper envelopes inside airtight containers. Just don’t reuse packets if they’ve been exposed to pests or high humidity—start fresh!
What if my seeds get too damp or moldy?
Act fast! Remove seeds from the container, spread them on a paper towel in a dry, well-ventilated area, and let them air out for 24–48 hours. Discard any moldy seeds. If moisture persists, add more silica gel or consider a dehumidifier for your storage space.
Are there alternatives to silica gel for moisture control?
Try these budget-friendly options:
- Uncooked rice (1 cup per pint jar—absorbs moisture naturally).
- Dried beans or lentils (work like rice but add a nice scent!).
- Charcoal briquettes (place 1–2 in the container to neutralize odors and absorb moisture).
- Cat litter (unscented, clumping) (use sparingly—great for bulk storage!).
Wrapping up and next steps
Garden seed banks are your secret weapon for year-round gardening success—when you master moisture control! 🌱 With the right storage conditions, you can preserve seeds for months, ensuring a steady supply of fresh plants. Whether you're saving heirlooms or stocking up for spring, proper humidity and temperature are key.
Ready to take the next step? Start small—try storing a batch of your favorite seeds in a DIY seed bank today. Experiment with different moisture levels and track your results. Your future garden will thank you!