Tools
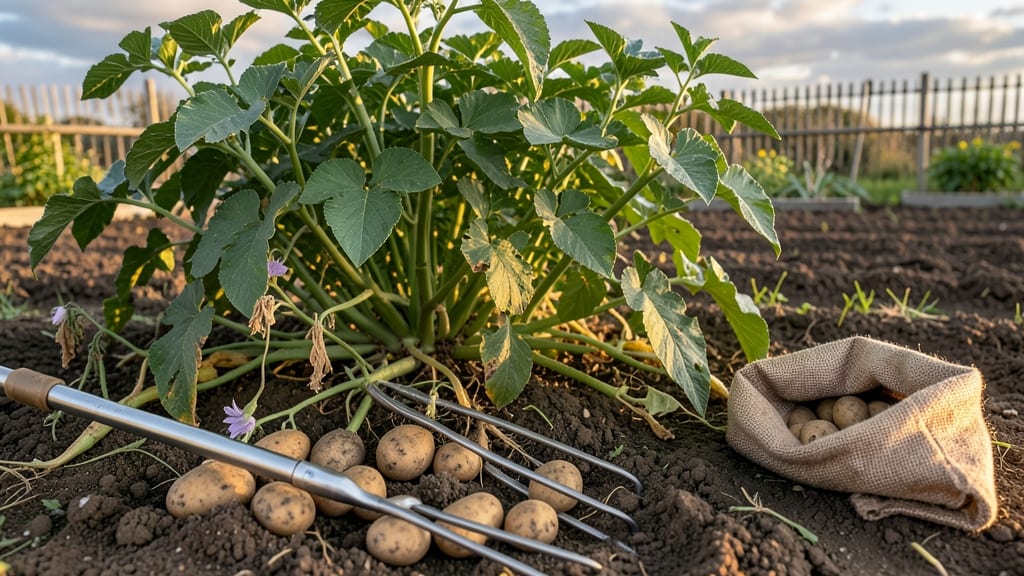
A garden tiller uses aren’t just for turning soil—they’re your secret weapon for transforming tough ground into fertile, workable beds. 🌱 I’ve used mine to break up compacted clay in my backyard, and the difference in plant growth is night and day.
That same machine can also mix compost into existing soil, aerate lawns, and even clear stubborn weeds before they take over.
The beauty of a tiller is how versatile it is—whether you’re prepping a new garden spot, renovating a patchy lawn, or renovating old vegetable beds, it saves hours of backbreaking work.
You’ll need safety gear (gloves, goggles) and a clear plan for what you’re tackling, but the results are worth every minute. Think of it as a power tool for your soil, not just another garden gadget.
By the end of this, you’ll know exactly how to use your tiller for soil aeration, weed suppression, and even compost incorporation—tasks that would take days by hand.
The key is working in small sections and adjusting depth based on your project. Once you master these techniques, your garden will thank you with healthier plants and easier maintenance.
From breaking up hardpan to creating raised beds, a tiller adapts to almost any gardening challenge. The trick is matching the right blade type and speed to the job—whether you’re fluffing up loose soil or battling dense roots.
Let’s get into the specifics so you can make the most of your machine.
📚 In This Guide
- What you need
- Instructions
- Tips and common mistakes
- Wrapping up and next steps
What you need
- ● Garden Tiller: Front-tine or rear-tine model (choose based on soil type—front-tine for rocky soil, rear-tine for loose or clay-heavy soil).
- ● Power source: Gasoline, electric (corded or battery-powered), or manual (for small-scale tasks).
- ● Safety Gear: Closed-toe shoes or sturdy boots.
- ● Gloves (heavy-duty for protection against debris).
- ● Safety glasses or goggles.
- ● Ear protection (if using gas-powered tillers).
- ● Long sleeves and pants (to avoid scratches or burns).
- ● Prep Supplies: Rake (for clearing debris before/after tilling).
- ● Garden hose with spray nozzle (to dampen dry soil or rinse off tools).
- ● Wheelbarrow or large bucket (for hauling compost, mulch, or soil amendments).
- ● Soil test kit (to analyze pH and nutrient levels before amending).
- ● Compost or organic matter (e.g., aged manure, leaf mold, or peat moss).
- ● Fertilizer (balanced or slow-release, based on plant needs).
- ● Marking stakes or spray paint (to outline garden beds or sections).
- ● Extension cord (if using electric tillers in remote areas—ensure it’s rated for outdoor use!).
- ● Knee pads (for comfort during weeding or bed prep).
- ● Clear the area of rocks, roots, or large debris (use a rake or shovel first).
- ● Check weather forecasts—avoid tilling in wet or muddy conditions (💡 Pro tip: Damp soil is easier to work with than bone-dry or soggy!).
- ● Read your tiller’s manual for safety instructions and maintenance tips.
How to use a garden tiller for soil prep and plant care
This versatile tool transforms tough soil into a gardener’s dream—here’s how to put it to work.
🪴 Step 1: Break Up Compacted Soil Before Planting
Start by removing any rocks or debris from the area you’re working. Compacted soil is the tiller’s worst enemy—it clogs blades and makes the job harder. Set the tiller’s depth to 4-6 inches and run it over the soil in parallel lines, slightly overlapping each pass. You’ll feel resistance at first, but once the soil loosens, the tiller glides smoothly.
Stop when the soil looks fluffy and crumbly, like cake batter. If you see large clumps, run the tiller again in a perpendicular direction to break them up further. This step is critical for root growth—plants thrive in aerated soil, not hardpan.
🌱 Step 2: Mix in Amendments for Nutrient-Rich Beds
After tilling, spread your compost or aged manure evenly over the loosened soil. Use about 1-2 inches per 100 square feet—enough to enrich without smothering. Then, set the tiller to a shallow depth (2-3 inches) and work it into the top layer.
Watch for the soil turning darker and lighter patches blending together. This means the amendments are evenly distributed. Avoid over-tilling here—just enough to incorporate without destroying soil structure. Real talk: over-tilling releases too much nitrogen, which can burn plants.
☀️ Step 3: Create Raised Beds or Mound Planting Areas
For raised beds, outline your space with stakes and string for straight edges. Set the tiller’s depth to 6-8 inches and create a ridge along one side, piling soil toward the center. Move the tiller in a zigzag pattern to build height gradually—aim for 12-18 inches tall at the center.
You’ll know you’re on track when the soil forms a neat, stable mound. Press down lightly with your foot to firm the base, then smooth the edges with a rake. This method improves drainage and warms soil faster in spring—perfect for cool-season crops like lettuce or peas.
✂️ Step 4: Aerate Established Garden Beds
In established beds, set the tiller to a shallow depth (2-3 inches) and run it lightly over the soil surface. Focus on areas where soil has compacted from foot traffic or heavy mulch. You’ll hear a satisfying crunch as the tiller breaks up the top layer without disturbing roots.
Stop when the soil looks like it’s breathing again—small holes and loose texture signal success. Avoid tilling too deep here, or you’ll risk damaging established plant roots. This step revives tired soil and encourages earthworms to return, which naturally improves fertility.
💧 Step 5: Clear Weeds and Prep for Mulching
Set the tiller to its shallowest setting (1-2 inches) and run it over weedy areas. The blades chop weeds at the base, making them easier to pull later. You’ll see chopped weed debris scattered—this is normal, but rake it up afterward to prevent regrowth.
Once the area is weed-free, spread mulch or straw evenly over the tilled soil. The tiller’s work here prepares a smooth, even surface for mulch to lie flat. This combo suppresses weeds and retains moisture—ideal for summer gardens where watering is a daily chore.
Tips & tricks for perfect garden tiller uses
A few simple tricks will help you maximize your tiller's potential while keeping your garden healthy and productive.
The Depth Factor: When breaking up compacted soil in Step 1, don't be tempted to go deeper than 6 inches unless absolutely necessary. The top 6 inches of soil is where most plant roots thrive, and deeper tilling can bring up buried weeds or disrupt beneficial soil organisms. For heavy clay soil, I find working in two passes—first at 4 inches, then at 6 inches—gives better results without overworking the soil.
Amendment Integration: In Step 2, when mixing in compost or aged manure, think of it like folding in flour to dough—you want even distribution without overworking. Set the tiller to its shallowest setting (2-3 inches) and make light passes. You'll notice the soil darkens as the amendments blend in, but if you see pockets of pure compost, keep going until it's uniformly distributed. This prevents nutrient hotspots that can burn plant roots.
Raised Bed Technique: For Step 3, creating raised beds, I've found using a string line helps maintain consistent height. Start by tilling along one edge to create a ridge, then gradually build up the center. The key is patience—rushing leads to uneven mounds. Aim for a gentle slope on the sides (about 15 degrees) to prevent erosion. Pressing down with your foot after tilling helps stabilize the structure before planting.
Weed Prevention: During Step 5, when clearing weeds, I always recommend running the tiller in the same direction as your garden rows. This creates clean lines for planting and makes future weeding easier. After tilling, spread mulch immediately to smother any remaining weed seeds—this two-step approach dramatically reduces regrowth. For persistent weeds like bindweed, you might need to till twice, waiting a few days between passes to catch any new growth.
Pro Tips for Garden Tiller Uses
- A few simple tricks will help you maximize your tiller's potential while keeping your garden healthy and productive.
- The Depth Factor: When breaking up compacted soil in Step 1, don't be tempted to go deeper than 6 inches unless absolutely necessary.
- Amendment Integration: In Step 2, when mixing in compost or aged manure, think of it like folding in flour to dough—you want even distribution without overworking.
Frequently asked questions
Got questions about maximizing your garden tiller? Here are some of the most common queries—plus practical answers to help you work smarter, not harder!
What’s the best time of year to use a garden tiller?
A garden tiller works year-round, but early spring (before planting) and late fall (after harvest) are ideal for soil prep. Avoid tilling when soil is too wet—this can compact it further. For new lawns or heavy clay, till in dry but workable conditions (like after a light rain).
Can I use a garden tiller on rocky soil?
Yes, but with caution! Tillers with heavy-duty blades or adjustable depth settings handle rocks better. Never force it—tille at a shallow depth (2–3 inches) to avoid damaging the tiller. For extreme rockiness, consider a rototiller with a rock shield or rent a heavy-duty model for stubborn patches.
Is a garden tiller better than a shovel for breaking up soil?
A tiller saves hours of backbreaking work by aerating, loosening, and mixing soil in minutes. While a shovel works for small areas or precision tasks (like transplanting), a tiller excels at large plots, removing sod, or amending soil with compost. For best results, use both: till first, then shovel for fine-tuning.
How do I maintain my garden tiller between uses?
Keep your tiller running smoothly with these quick steps:
- Clean blades after use to remove caked-on dirt or plant debris.
- Check oil levels (if gasoline-powered) and change it every 50 hours.
- Sharpen blades annually or when they struggle to cut cleanly.
- Store in a dry place to prevent rust.
- Drain fuel if storing for months to avoid gumming.
What can I do if my tiller keeps stalling or overheating?
Overheating or stalling often signals a fixable issue:
- Clogged air filter? Clean or replace it.
- Low oil? Top off the engine oil immediately.
- Dirty spark plug? Remove, clean, and gap it properly.
- Fuel issues? Use fresh gasoline (or the right mix for 2-stroke engines) and check the carburetor.
- Overloaded? Tilling too deep or in thick sod? Lighten the load or adjust depth.
Wrapping up and next steps
A garden tiller is your ultimate ally for transforming tough soil into a fertile paradise! From aerating compacted ground to preparing beds for heavy planters, these 15 creative uses prove how versatile this tool can be.
Whether you're a seasoned gardener or just starting out, a tiller makes soil prep effortless—so grab yours and let the digging begin! 🌱✨
Ready to take your garden to the next level? Start small—pick one task from this list and tackle it this weekend. Before you know it, you’ll be a tiller pro, turning even the trickiest soil into a thriving, plant-friendly haven. Happy gardening! 🌿💪