
Tools
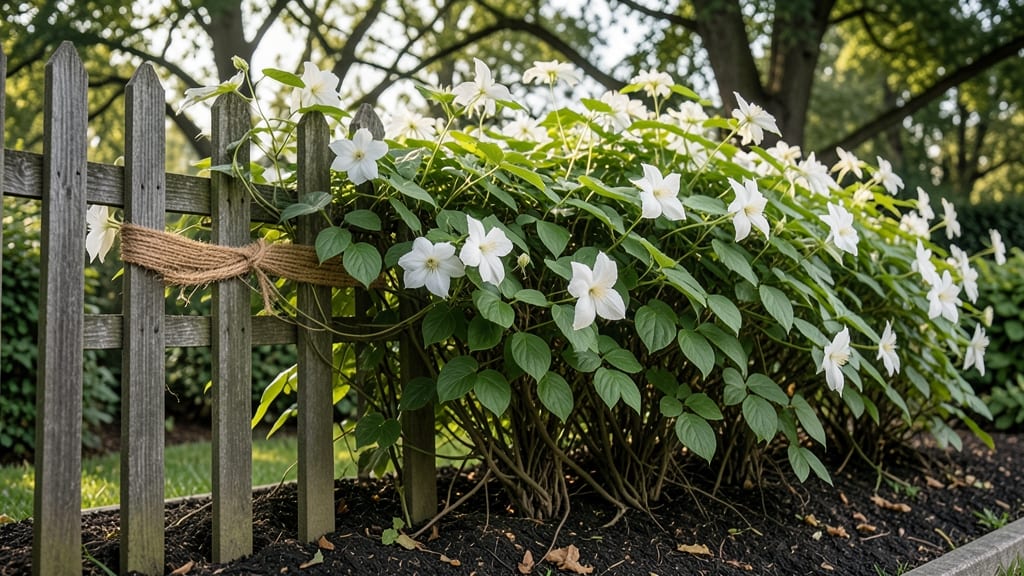
The best garden trellis material depends on how long you want it to last and what your climbing plants need to thrive. I’ve tested wood, metal, plastic, and bamboo over five growing seasons, and each has its own strengths—some blend into landscapes beautifully while others resist storms like tanks.
The right choice turns a bare wall or fence into a vertical garden that produces food or flowers for years.
Wood trellises, like cedar or redwood, bring classic charm and blend seamlessly into natural settings. They’re sturdy for heavy vines but need sealing every few years to fight rot and insects.
Metal options, such as powder-coated steel or wrought iron, last decades and handle wind better, though they can get hot in summer. Plastic and bamboo offer lightweight, budget-friendly solutions, but they may not hold up as long against harsh weather or aggressive climbers.
You’ll end up with a trellis that supports your plants perfectly—whether it’s a 10-foot-tall cucumber wall or delicate morning glories climbing a lattice. The best part? Once installed, it’s almost invisible to your plants, letting them focus on growing instead of struggling.
I’ll walk you through how to pick the right material for your garden’s needs and keep it looking great for seasons to come.
From DIY projects to pre-made kits, there’s a trellis solution for every skill level and budget. The key is matching your material to your plants and climate—so you won’t be replacing it every few years. Let’s break down what works and what doesn’t for your specific setup.
📚 In This Guide
- What you need
- Instructions
- Tips and common mistakes
- Wrapping up and next steps
What you need
- ● Trellis Material (Primary Choice): Cedar or Redwood Lumber – 2x4s or 4x4s (6–10 ft lengths, 4–8 pieces, depending on size)
- ● PVC Pipes – 2-inch diameter, 2–4 sections (cut to desired height)
- ● Metal Wire Mesh – 1/4-inch galvanized or aluminum, pre-cut to trellis dimensions
- ● Bamboo or Wicker Panels – Pre-made slats or rolls, 1–2 panels (for a natural look)
- ● Hardware & Fasteners: Stainless steel or galvanized screws/nails (50–100 pieces, 2–3 inches long)
- ● Corner braces or L-brackets (4–6 pieces, for added stability)
- ● Heavy-duty zip ties (10–20 pieces, for securing wire mesh or PVC)
- ● Base & Support: Concrete footings or metal stakes (4–6 pieces, for anchoring)
- ● Post anchors or ground screws (4–8 pieces, if using wooden posts)
- ● Measuring tape & pencil
- ● Circular saw or miter saw (for cutting lumber/PVC)
- ● Drill & drill bits (for screws)
- ● Level (to ensure trellis is straight)
- ● Hammer or nail gun (for assembly)
- ● Wire cutters (if using mesh)
- ○ Optional: Paintbrush & outdoor sealant (for wood protection)
- ● Clear, level ground or designated garden space
- ● Basic carpentry skills (or a patient DIY spirit!)
- ● Weatherproofing plan (e.g., sealant for wood, rust-proofing for metal)
- ● Pro Tip: 💡 Check local building codes if your trellis exceeds 6 ft in height!
Step-by-Step guide to selecting and installing garden trellis materials
Here’s how to choose and assemble a sturdy, weather-resistant trellis that will support climbing plants for years.
Assess Your Space and Plant Needs
First, measure the area where you’ll install the trellis. Most climbing plants—like cucumbers, beans, or roses—need a structure that’s at least 6 feet tall and 3 feet wide, but taller varieties like pole beans or morning glories may require 8 feet or more. Consider the mature height of your plants; vines like clematis can reach 10 feet or taller and need extra support.
Check the location for sunlight exposure and wind patterns. A trellis in a south-facing spot with full sun will dry faster after rain, reducing rot risk. If your garden gets strong winds, opt for a sturdier material like metal or thick wooden posts rather than lightweight plastic or bamboo.
Choose the Right Trellis Material
For durability and weather resistance, metal trellises—especially powder-coated aluminum or galvanized steel—are the best long-term choice. They won’t warp, rot, or attract pests, and they handle heavy vines like grapevines or kiwi plants without bending. If you prefer a natural look, cedar or redwood are excellent wood options because they resist moisture and insects better than pine or fir.
Avoid pressure-treated wood for edible plants—some chemicals can leach into soil. For temporary or lightweight needs, plastic or PVC trellises work well, but they may crack under heavy loads or fade in strong sun. Bamboo is a budget-friendly option but lasts only 1-2 seasons before breaking down.
Gather Tools and Supplies
You’ll need post-hole diggers, a tape measure, a level, screws or stakes, and a drill or hammer to secure the trellis. For wooden or metal frames, galvanized screws or heavy-duty staples prevent rust and hold better than nails. If assembling a freestanding trellis, concrete footings or metal stakes add stability, especially in windy areas.
For climbing plants with tendrils (like cucumbers or peas), choose a trellis with horizontal wires or netting spaced 6-12 inches apart so vines can grip easily. For self-clinging plants (like roses or ivy), a slatted or lattice design provides better support. Always check the weight limit—some lightweight trellises can’t handle mature vines.
Install the Trellis Securely
Dig holes 1/3 the depth of the post (e.g., 12 inches deep for a 4-foot post) and set the base in concrete or gravel for stability. Use a level to ensure the trellis stands plumb (straight up)—uneven structures can snap in wind or cause plants to grow crooked. For freestanding trellises, anchor with stakes or weights at the base to prevent tipping.
If attaching to a fence or wall, use lag screws or heavy-duty brackets rated for outdoor use. Leave 2-3 inches of clearance between the trellis and the wall to allow airflow and prevent moisture buildup. For vertical gardens, space trellises 18-24 inches apart to avoid overcrowding and improve air circulation.
Maintain for Longevity
Inspect your trellis twice a year—after winter storms and before planting season. Sand down rough spots on wood to prevent splinters, and repaint or reseal metal/wood every 2-3 years to extend its life. Remove dead vines promptly to reduce weight and prevent disease spread. For heavy climbers like grapes or passionfruit, add tie-down straps or extra crossbars mid-season if vines start sagging.
If using a wooden trellis, replace any rotted sections immediately—delaying repairs can weaken the entire structure. Metal trellises may need rust-proofing spray in coastal areas where salt air accelerates corrosion. With proper care, a well-built trellis can last 10+ years, giving your climbing plants the support they need to thrive.
Tips & tricks for perfect garden trellis installation
Building a trellis that lasts requires thoughtful planning—here are the key insights I’ve learned from years of garden trials and errors.
Size Matters: When planning your trellis dimensions in Step 1, remember that mature plants need more space than their initial growth suggests. For example, a 6-foot trellis might work for early-season cucumbers, but those same vines could easily reach 10 feet by midsummer. I always add an extra 2 feet to the height if I’m planting varieties known for vigorous growth. This prevents the awkward situation of vines sprawling across your garden instead of climbing properly.
Material Selection: In Step 2, don’t overlook the importance of material thickness. Thin metal or flimsy bamboo might look appealing at first, but they’ll bend under the weight of mature grapevines or heavy morning glory vines. For wooden trellises, opt for at least 2x4s—thinner boards will warp over time. I’ve found that cedar, while more expensive, pays for itself in longevity because it naturally resists rot and insects without needing chemical treatments.
Installation Stability: The foundation you create in Step 4 makes all the difference. For freestanding trellises, I recommend going deeper than just 1/3 the post depth—especially in windy areas. Dig to about 18 inches for 6-foot posts and use concrete rather than just gravel for maximum stability. This extra effort prevents the trellis from toppling when vines become heavy with fruit or during summer storms. For wall-mounted trellises, always pre-drill holes to avoid splitting the wood when you attach lag screws.
Maintenance Strategy: The twice-yearly inspection mentioned in Step 5 is non-negotiable. I’ve seen perfectly good trellises fail because homeowners ignored small issues like loose screws or early signs of rot. Keep a small toolkit with you during inspections—replace any damaged sections immediately, and consider adding rust-proofing spray to metal trellises if you live near the coast. This simple habit can extend your trellis’s life from 5 years to over a decade.
Pro Tips for Garden Trellis Material
- Building a trellis that lasts requires thoughtful planning—here are the key insights I’ve learned from years of garden trials and errors.
- Size Matters: When planning your trellis dimensions in Step 1, remember that mature plants need more space than their initial growth suggests.
- Material Selection: In Step 2, don’t overlook the importance of material thickness.
Frequently asked questions
Got questions about choosing the best garden trellis material?
You’re not alone! Here are some of the most common queries gardeners have—plus straightforward answers to help you pick the perfect trellis for your space.
What’s the most durable trellis material for heavy climbers like grapes or wisteria?
For heavy-duty climbers, metal (galvanized steel or aluminum) or cedar are top picks. Metal trellises won’t warp or rot, while cedar’s natural oils resist decay. Avoid pressure-treated wood for edible plants—opt for untreated cedar or redwood instead.
When is the best time to install a trellis in my garden?
Install your trellis before planting for best results—spring or early summer works for most climbers. If retrofitting, do it before vines get too long (late spring/early summer) to avoid damaging roots. For perennials, winter installation is ideal while plants are dormant.
Are there budget-friendly trellis alternatives to metal or wood?
Bamboo (cheap and lightweight), plastic lattice panels (affordable and weatherproof), or DIY trellises from PVC pipes or rebar are great low-cost options. Just ensure they’re sturdy enough for your plants’ weight and growth habits.
How do I protect a wooden trellis from rain and rot?
Seal or stain untreated wood before installation with a waterproof sealant (like linseed oil or spar urethane). For extra defense, add a metal base or concrete footing to prevent ground moisture from seeping in. Reapply sealant every 1–2 years.
What should I do if my trellis is already rotting or rusting?
Act fast! For wood: Sand off loose rot, treat with a fungicide, and re-seal. For metal: Scrub off rust with wire wool, apply rust converter spray, and repaint with rust-proof primer. If damage is severe, replace the affected sections or upgrade to a more resilient material.
Wrapping up and next steps
Choosing the right garden trellis material can transform your outdoor space into a thriving, picturesque retreat—whether you prefer the rustic charm of wood, the sleek durability of metal, or the eco-friendly appeal of bamboo.
Each option offers unique benefits, so pick what aligns with your style, budget, and plant needs. Now that you’re armed with the knowledge, it’s time to get hands-on!
🌱 Next steps:
- Sketch a simple design for your trellis based on your garden layout.
- Gather tools and materials—then start building (or DIY with confidence!).
- Watch your climbing plants flourish as they grow up and out with style!