How To
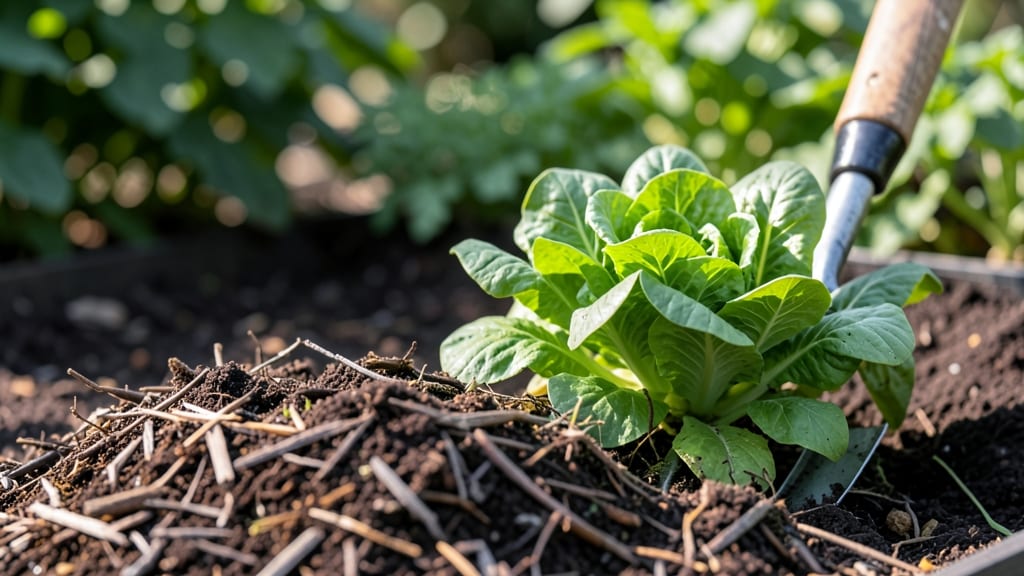
Creating your own vegetable garden soil transforms scraps into a powerhouse for plants—nutrient-rich blend that outperforms store-bought mixes. 🌱 I spent years buying bags of soil, only to watch my tomatoes and peppers struggle until I learned to mix my own.
The difference? Better drainage, longer-lasting fertility, and roots that grow like they’re on a five-star spa retreat.
The magic happens in three layers: a coarse base for drainage, a compost-rich middle for nutrients, and a top layer of finished compost to feed the soil. You’ll need garden soil, compost, perlite or coarse sand, and optional boosters like worm castings or aged manure.
Most gardeners skip the testing step, but a simple pH check ensures your mix is ready for planting—no guesswork, just results.
By the time you’re done, your soil will hold moisture like a sponge, feed plants for months, and resist compaction better than any bagged mix. The first harvests will be healthier, bigger, and earlier—and you’ll never want to buy soil again. Ready to turn dirt into gold?
This method works for raised beds, in-ground plots, or even container gardens. The only variable is your climate—adjust the compost-to-soil ratio if you live in heavy clay or sandy soil. Let’s get your garden growing on the right foundation!
📚 In This Guide
- What you need
- Instructions
- Tips and common mistakes
- Wrapping up and next steps
What you need
- ● Topsoil (60-70%) – 2-3 cubic yards (or enough to fill ⅔ of your garden bed). Choose organic, well-draining topsoil with a pH of 6.0-7.0.
- ● Compost (20-30%) – 1-2 cubic yards. Homemade or store-bought well-aged compost (avoid fresh manure—it can burn plants!).
- ● Sand (5-10%) – ½-1 cubic yard. Coarse builders’ sand improves drainage (skip fine sand—it compacts!).
- ○ Perlite or Vermiculite (optional but recommended) – 1-2 bags (2-3 cubic feet). Boosts aeration and moisture retention.
- ● Balanced Fertilizer (5-5-5 or 10-10-10) – 10-20 lbs. Adds essential nitrogen, phosphorus, and potassium for growth.
- ● Lime (if soil is acidic) – 5-10 lbs. Test your soil first—aim for a pH of 6.0-7.0 for most veggies.
- ● Garden fork or spade (for mixing)
- ● Wheelbarrow or large bucket (for hauling materials)
- ● Garden gloves (trust me, your hands will thank you!)
- ○ Soil pH test kit (optional but highly recommended)
- ● Rake (for leveling the bed)
- ● Watering can or hose (to moisten layers)
- ● Test your existing soil first—amend based on its current composition (sandy? clay-heavy? Add more compost or sand!).
- ● Layer like a lasagna: Start with coarse materials (sand/perlite) at the bottom, then topsoil, compost, and finish with a thin fertilizer layer.
- ● Save time by pre-mixing materials in a wheelbarrow before spreading.
Step-by-Step instructions for crafting a nutrient-rich vegetable garden soil mix
Here's how I build a balanced, high-performance soil blend that keeps vegetables thriving season after season.
🌱 Step 1: Gather and Prep Your Base Materials
Start with 50% high-quality topsoil—this forms your foundation. I always sift mine through a ¼-inch mesh screen to remove rocks and debris, creating a fine, workable base. This step prevents compaction later, which is crucial for root development in vegetables like tomatoes and peppers.
Next, add 25% compost—the nutrient powerhouse of your mix. I use well-aged compost (at least 6 months old) to avoid introducing weeds or pathogens. You'll know it's ready when it smells earthy, not sour, and crumbles easily between your fingers. Spread it evenly over the sifted soil.
🌿 Step 2: Add Organic Amendments for Texture and Nutrition
For 20% of your blend, incorporate aged manure (cow, horse, or chicken) or worm castings. I prefer cow manure because it's less likely to burn plants, but chicken manure is fantastic if you compost it for 9-12 months first. Mix it thoroughly—this ensures even distribution of nitrogen and micronutrients.
Finally, add 5% perlite or coarse sand to improve drainage. I use perlite because it's lightweight and won't compact like sand. Sprinkle it over the pile and gently fold it in with a garden fork. The goal is a loose, crumbly texture—when squeezed, it should hold its shape but break apart easily.
💧 Step 3: Hydrate and Test the Soil Mix
Moisten the blend with warm water until it reaches 60% moisture—like a damp sponge. I test this by squeezing a handful: if a few drops of water bead on the surface, you've got the right balance. Overwatering now can trigger anaerobic pockets that stunt root growth.
Fill a 4-inch deep container with your mix and plant a test seedling, like a fast-growing radish. After 7-10 days, check the roots: they should spread freely without circling. If roots look tangled or the soil repels water, add more perlite and remix. This ensures your vegetables won't struggle with poor aeration later.
✂️ Step 4: Layer and Condition for Planting
Spread your finished mix in 3-inch layers over the garden bed, tamping down lightly with the back of a rake. This mimics natural soil stratification, encouraging deep root penetration. For heavy clay soils, I add a 1-inch layer of compost on top before the final mix to boost microbial activity.
Let the bed sit for 24-48 hours before planting. This allows the mix to settle and for any remaining clumps to break down. Press a finger into the soil—it should feel firm but not hard, like a well-worn leather glove. Now your vegetables are ready for planting in a medium that supports both growth and flavor.
Tips & tricks for perfect vegetable garden soil blends
Building the ideal soil mix takes attention to detail—here's how to elevate your garden's foundation from good to exceptional.
Texture is Everything: The secret to that perfect crumbly texture lies in the perlite-to-soil ratio. I find that adding perlite in Step 2 creates ideal aeration, but don't exceed 5%—any more risks creating air pockets that stunt root growth. For heavy clay soils, I recommend doubling the perlite to 10% temporarily, then remixing after the 24-48 hour settling period. The goal is a mix that holds its shape when squeezed but breaks apart easily—like a well-worn leather glove.
Compost Quality Check: Not all compost is created equal. The 25% compost in Step 1 should be dark brown with occasional worm casings, not black or chunky. I test compost by looking for a 3:1 carbon-to-nitrogen ratio—think brown leaves to green grass clippings. If your compost smells like ammonia, it's too fresh and needs more time to break down before using in your soil blend. The 6-month aging requirement in the instructions is non-negotiable for avoiding weed seeds and pathogens.
Manure Matters: When selecting your 20% aged manure in Step 2, cow manure is my top choice because it's less likely to burn plants due to its balanced nitrogen content. However, if you use chicken manure, that 9-12 month composting requirement is crucial—fresh chicken manure can have a nitrogen concentration up to 10 times higher than cow manure, which can scorch plant roots. I always mix it thoroughly with the other components to ensure even distribution of those valuable micronutrients.
Layering Strategy: The 3-inch layering technique in Step 4 mimics natural soil stratification perfectly. For raised beds, I recommend adding a 1-inch layer of coarse sand at the very bottom before your first soil layer to prevent waterlogging. This creates a drainage pathway while still maintaining the loose, crumbly texture throughout. The 24-48 hour settling period is your chance to catch any remaining clumps—just give it a good fluff with a garden fork before planting.
Pro Tips for Make Your Own Soil For Vegetable Gardens
- Building the ideal soil mix takes attention to detail—here's how to elevate your garden's foundation from good to exceptional.
- Texture is Everything: The secret to that perfect crumbly texture lies in the perlite-to-soil ratio.
- Compost Quality Check: Not all compost is created equal.
Frequently asked questions
Got questions about DIY soil for your veggie patch?
You’re not alone! Here are answers to the most common concerns—whether you’re a first-timer or a seasoned gardener tweaking your mix.
Can I use just compost instead of mixing layers?
While compost is fantastic, a balanced mix (like your 3-layer blend) ensures better drainage, aeration, and long-term nutrients. Pure compost can compact over time, leading to poor root growth. Aim for 60-70% compost in your final mix for the best results.
How long does homemade soil last before needing refresh?
With proper layering, your custom soil can last 1-2 growing seasons without major amendments. After that, top-dress with 1-2 inches of fresh compost or aged manure annually. Monitor plant health—wilting or yellowing leaves may signal it’s time for a nutrient boost!
Is this cheaper than buying bagged garden soil?
Absolutely!
A 4’x8’ raised bed (12” deep) costs $20–$50 in materials (compost, perlite, etc.) vs. $100+ for pre-mixed bags. Plus, you control quality—no mystery fillers or synthetic additives. Win-win for your wallet and your veggies!
What if my soil smells bad or has mold?
Bad smells or mold mean your compost isn’t fully broken down. Fix it fast:
- Turn it weekly to aerate (mold thrives in low-oxygen zones).
- Add dry leaves or straw to balance moisture.
- Wait 3–6 months longer for hot compost to finish.
Can I adjust this for specific plants (e.g., tomatoes vs. lettuce)?
Yes! Heavy feeders like tomatoes or peppers love extra compost (up to 80% of the mix). Leafy greens (lettuce, spinach) prefer lighter, looser soil—add more perlite or vermiculite (20–30%) for drainage. Always test your soil’s pH (aim for 6.0–7.0 for most veggies).
Wrapping up and next steps
Creating your own nutrient-rich soil for a vegetable garden is simpler—and more rewarding—than you might think! 🌱 By blending the right layers of organic materials, you’ve taken control of your plants’ health, ensuring a thriving harvest season after season.
The key is consistency: test, adjust, and refine your mix as you go.
Now that you’re ready to roll up your sleeves, start small—even a 4x4-foot bed will give you confidence and results. Plant a few easy greens or herbs, monitor their growth, and let your newfound soil expertise guide your next steps. Happy gardening! 🌿