Container Gardens
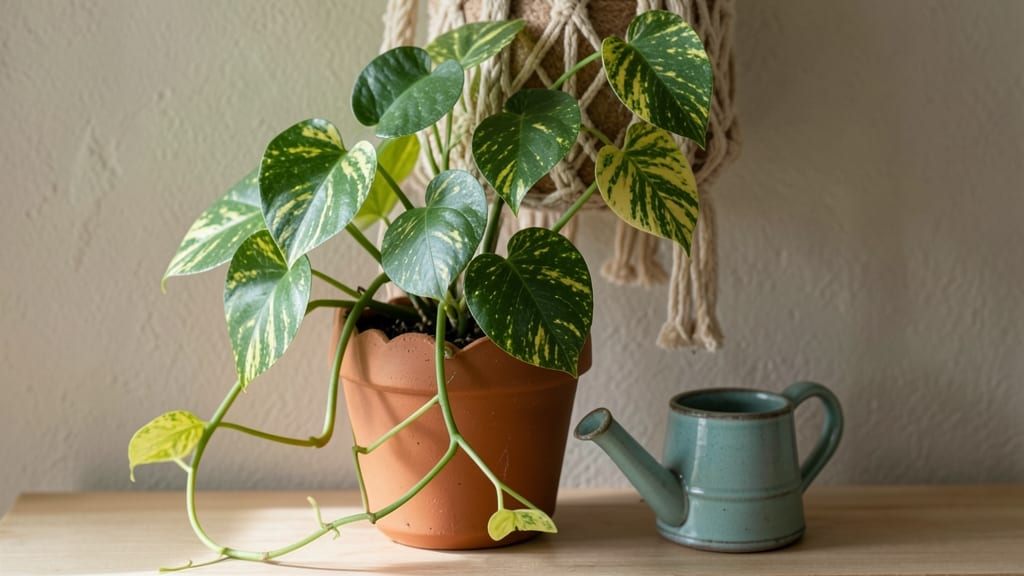
Indoor gardening activities turn even the smallest apartment into a thriving green sanctuary—no yard required. 🌿 I spent last winter growing herbs in mason jars, then graduated to a vertical wall garden that now feeds my morning coffee routine.
The best part? Every project teaches you something new about light, soil, and plant personalities.
You don’t need fancy setups—just containers, a sunny windowsill, and a little creativity. A simple terrarium brings moisture-loving plants like ferns to life with almost no maintenance, while a DIY fairy garden becomes a whimsical centerpiece that doubles as a mini ecosystem.
Even a single succulent in a stylish pot transforms a dull corner into a statement piece.
By the end, you’ll have a space that’s both functional and beautiful—think fresh basil for cooking, air-purifying snake plants in the bedroom, or a winter windowsill bursting with edible flowers. The projects here focus on joy, not perfection, so even "black thumb" moments become part of the fun.
Whether you’re reviving a forgotten corner or starting from scratch, these activities prove indoor gardening isn’t just about growing plants—it’s about growing confidence. Let’s get those hands dirty (or at least dusty) and make your space uniquely yours.
📚 In This Guide
- What you need
- Instructions
- Tips and common mistakes
- Wrapping up and next steps
What you need
- ● Containers: 3–5 small pots (6–12 inches in diameter) with drainage holes. Tip: Use recycled containers (yogurt cups, tin cans) for budget-friendly options!
- ● Potting Soil: 1–2 bags of lightweight, well-draining mix (e.g., African violet or cactus/succulent blend).
- ● Seeds or Seedlings: Choose compact varieties like herbs (basil, mint), leafy greens (lettuce, spinach), or microgreens. Pro tip: Start with fast-growing seeds for quick wins!
- ● Watering Can or Spray Bottle: A small one with a fine nozzle for gentle watering.
- ○ Grow Lights (Optional): LED or fluorescent lights (12–18 inches above plants) for 12–16 hours/day in low-light areas.
- ● Fertilizer: Liquid or slow-release granules (balanced 10-10-10 or organic options like fish emulsion).
- ● Trowel or Spoon: For transplanting seedlings or mixing soil.
- ○ Plant Labels (Optional): Toed labels or popsicle sticks to track varieties.
- ● Space: A sunny windowsill (south-facing is ideal) or a dedicated shelf near a grow light.
- ● Temperature: Keep plants in a consistent 65–75°F (18–24°C) range.
- ○ Humidity (Optional): A humidity tray (pebbles + water) for tropical plants like ferns.
- ● Safety First: Ensure containers are stable and away from pets/kids if using toxic plants (e.g., sago palm).
Step-by-Step indoor gardening activities for year-round growth
Here’s how to transform any small space into a thriving indoor garden—no green thumb required.
🌱 Step 1: Select Low-Maintenance Plants for Your Space
Start with plants that thrive indoors and match your light conditions. Snake plants and pothos tolerate low light, while herbs like basil and mint need bright, indirect light. I always check the plant’s native environment—tropical plants like ferns love humidity, while succulents prefer dry air. Place your plants near windows or under grow lights based on their needs.
Check the soil moisture by sticking your finger an inch deep—if it feels dry, it’s time to water. Overwatering is the fastest way to kill indoor plants, so resist the urge to hydrate on a schedule. Instead, let the soil dry slightly between waterings. This ensures roots stay healthy without rotting.
💧 Step 2: Set Up a Simple Watering and Drainage System
Use containers with drainage holes to prevent root rot, and always place saucers underneath to catch excess water. I like self-watering pots for forgetful gardeners—they release moisture gradually, keeping soil consistently damp without drowning roots. Fill the reservoir with water, and the plant draws exactly what it needs.
Mist leaves of humidity-loving plants like peace lilies or ferns every few days, but avoid soggy soil. You’ll know you’ve nailed the balance when leaves stay plump and vibrant, not crispy or yellowing. A spray bottle works perfectly for this—just a light mist until the soil surface feels damp.
☀️ Step 3: Optimize Light Exposure for Healthy Growth
Rotate plants weekly so they grow evenly toward the light source. If your space lacks natural light, supplement with a full-spectrum LED grow light placed 6-12 inches above the plants for 12-16 hours daily. You’ll see the difference immediately—leggy, pale stems mean more light is needed, while dark green, compact growth confirms you’ve got it right.
South-facing windows provide the most light, but even north-facing spots can work with the right plants. Place taller plants toward the back and shorter ones in front to maximize light distribution. Watch for brown leaf tips—this often signals too much direct sun, so adjust placement if needed.
✂️ Step 4: Prune and Maintain Plants for Longevity
Trim yellow or damaged leaves immediately to redirect the plant’s energy to new growth. For herbs like mint or basil, pinch back the tips to encourage bushier growth. I always use clean, sharp scissors to avoid tearing stems, which can introduce disease. Prune in the morning so wounds have time to heal before evening.
Fertilize every 4-6 weeks with a balanced liquid fertilizer diluted to half strength. You’ll notice stronger stems and richer foliage within weeks. Avoid over-fertilizing—white crust on soil or leaf burn are clear signs you’ve overdone it. Flush the soil with water after fertilizing to prevent salt buildup.
🪴 Step 5: Refresh Soil and Repot as Needed
Every 12-18 months, repot plants into slightly larger containers to accommodate root growth. Choose pots just 1-2 inches wider than the current one—too much space leads to overwatering. Gently loosen roots before transferring to prevent shock, and add fresh well-draining potting mix to fill gaps.
This is also the time to check for pests like spider mites or aphids. Isolate affected plants immediately and treat with neem oil or insecticidal soap. A healthy indoor garden starts with clean, happy plants—so stay vigilant and act fast at the first sign of trouble.
Tips & tricks for perfect indoor gardening success
Small spaces don't mean small dreams—here's how to elevate your indoor garden game with these game-changing insights.
Light Optimization: The 12-16 hours of daily light from your grow lights is your plant's golden window—don't skimp! Position your grow lights just 6-12 inches above the plants to create that perfect light intensity zone. I've found that using a timer for your grow lights eliminates guesswork and ensures consistent growth patterns. For plants near windows, rotate them weekly to prevent lopsided growth toward the light source.
Soil Science: That finger-in-the-soil test in Step 1 is your secret weapon against overwatering. I've learned the hard way that "dry to the touch" means different things based on soil composition—amend your potting mix with perlite or vermiculite for better drainage if you notice water pooling. For humidity-loving plants, add a tray of pebbles with water underneath the pot to create a natural humidity dome without soggy soil.
Pruning Pro Tips: When you're pinching back those herb tips in Step 4, you're not just shaping the plant—you're encouraging branching that leads to bushier, more productive growth. I always sterilize my pruning shears with rubbing alcohol between cuts to prevent disease transmission. For large leaves, make cuts at a 45-degree angle just above a leaf node to promote faster regrowth.
Pest Prevention: That annual repotting schedule in Step 5 isn't just about root space—it's your best chance to catch early signs of pests like spider mites. I keep a magnifying glass handy for inspections and treat affected plants immediately with neem oil mixed at 1 tablespoon per quart of water. The key is consistency: check your plants weekly, especially on the undersides of leaves where pests love to hide.
Pro Tips for Indoor Gardening Activities
- Small spaces don't mean small dreams—here's how to elevate your indoor garden game with these game-changing insights.
- Light Optimization: The 12-16 hours of daily light from your grow lights is your plant's golden window—don't skimp!
- Soil Science: That finger-in-the-soil test in Step 1 is your secret weapon against overwatering.
Frequently asked questions
Got questions about indoor gardening?
You’re not alone! Here are answers to common queries to help you grow confidently—whether you’re a beginner or a seasoned plant parent.
What are the easiest plants for indoor gardening beginners?
Start with low-maintenance plants like snake plants, pothos, or peperomias. These thrive in indirect light, need minimal watering, and forgive occasional neglect. Herbs like basil or mint are also great for quick, edible wins!
How often should I water my indoor plants?
Watering depends on the plant, pot size, and humidity—but a general rule is to check soil moisture before watering. Stick your finger 1–2 inches deep; if it’s dry, it’s time. Overwatering is a common killer, so always use pots with drainage holes.
What if my indoor plants aren’t getting enough light?
Most homes lack natural sunlight, but you’ve got options! Use grow lights (LED or fluorescent) for 12–16 hours daily, or rotate plants near sunny windows. South-facing windows are best; east/west work for low-light plants like ZZ plants or cast iron plants.
Are there affordable indoor gardening alternatives to expensive setups?
Skip pricey hydroponics and start with repurposed containers (mason jars, egg cartons, or old mugs). Use household items like spray bottles for misting or coffee grounds as fertilizer. Dollar stores often have seed packets and small pots too!
How do I deal with pests like spider mites or fungus gnats?
Act fast! Isolate infested plants and wipe leaves with neem oil or soapy water. For gnats, let the topsoil dry out between waterings. Prevent pests by avoiding overwatering and keeping humidity in check (40–60% is ideal). A sticky trap near the soil can catch early signs.
Wrapping up and next steps
Indoor gardening is more than just a hobby—it’s a rewarding way to bring nature into your space, no matter the season or size of your home.
From growing fresh herbs on your windowsill to nurturing tiny succulents in stylish pots, these activities boost your mood, purify the air, and even save you money. Whether you’re a beginner or a seasoned plant parent, the key is to start small, stay consistent, and enjoy the process!
Ready to turn your space into a thriving green oasis? Pick one activity from this guide, gather your supplies, and take the first step today! Your future self—and your plants—will thank you. 🌱✨