Landscaping
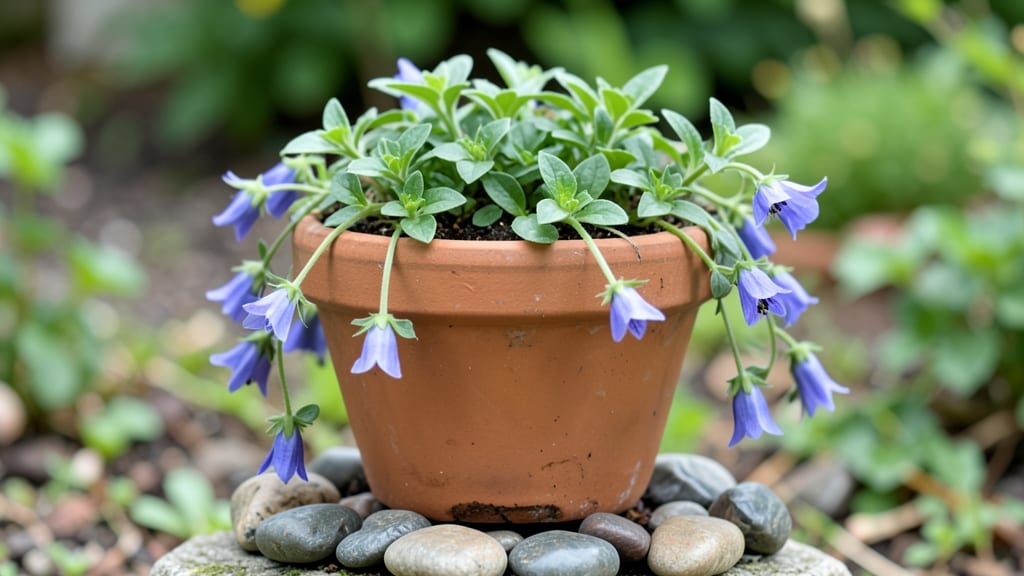
Designing a little garden that packs big harvests into just 4 feet? Tiered planters are your secret weapon—stacking plants vertically saves space while maximizing sunlight and yield. 🌱 I’ve turned my tiny balcony into a thriving herb and veggie patch using this trick, and the best part?
No fancy tools or expensive setups required.
The magic lies in matching plant heights and needs: taller herbs like rosemary on the bottom, bushy basil in the middle, and trailing thyme on top. A single 4-foot-wide planter becomes a self-watering, pest-resistant ecosystem when you layer it right.
Even in partial shade, you’ll get more harvests than a sprawling in-ground bed.
By summer’s end, you’ll be snipping fresh basil for sandwiches and harvesting cherry tomatoes that ripen within arm’s reach. The vertical design also keeps weeds and soil-borne diseases at bay—no more bending over or battling pests at ground level.
Plus, the cascading greenery adds serious curb appeal to any small space.
Works for balconies, patios, or even sunny windowsills—just adjust plant choices for your light conditions. Let’s build your vertical harvest system step by step, starting with the simplest tiered setup that actually works.
📚 In This Guide
- What you need
- Instructions
- Tips and common mistakes
- Wrapping up and next steps
What you need
- ● Tiered planter system: 3-5 stacked planters (4–6 inches deep per tier, 12–18 inches wide). Opt for lightweight materials like: Plastic (durable, affordable)
- ● Cedar or redwood (natural, rot-resistant)
- ● Metal (rust-proof, modern look)
- ● Potting soil: 2–3 bags (1–2 cubic feet each) of high-quality, well-draining organic potting mix (avoid garden soil—it compacts!).
- ● Drainage: Small gravel or perlite (1–2 cups) for each tier to prevent waterlogging.
- ● Seeds/seedlings: Choose compact, vertical-friendly plants like: Herbs (basil, thyme, parsley)
- ● Leafy greens (lettuce, kale, spinach)
- ● Trailing plants (cherry tomatoes, strawberries, nasturtiums)
- ● Watering can or hose: With a gentle spray nozzle for even moisture.
- ● Fertilizer: Slow-release granules or liquid organic fertilizer (follow package instructions).
- ○ Support structures (optional): Small trellises or stakes for vining plants (e.g., cucumbers, beans).
- ● Twine or garden clips for securing plants.
- ● Decorative accents: Paint (for customizing planters), pebbles, or mosaic tiles for a pop of color.
- ● Self-watering system: A wick or reservoir kit to reduce maintenance.
- ● Solar lights: Battery-powered LED lights to highlight your garden after dark.
- ● Wheel or casters: If you want mobility for your tiered planter setup.
- ● Sunlight access: Ensure your space gets at least 4–6 hours of sunlight daily (adjust plant choices for shadier spots).
- ● Sturdy surface: A table, wall mount, or freestanding stand to support the weight of soil and plants.
- ● Basic gardening knowledge: Familiarity with planting depths, spacing, and watering needs for your chosen crops.
Step-by-step instructions for building tiered planters in small spaces
Here's how to create a space-saving vertical garden using tiered planters that maximizes harvests in just 4 feet.
🪴 Step 1: Select and Assemble Your Tiered Planter System
Start with a sturdy 4-foot-tall vertical planter frame designed to hold 4 planting tiers. I like systems with built-in drainage holes between tiers to prevent waterlogging. Assemble the frame according to manufacturer instructions, ensuring each tier is securely attached—wobbly tiers will tip over when watered. Place the frame in a location with at least 6 hours of sunlight daily, preferably near a wall for stability.
Check that each tier has a minimum 6-inch depth for root growth. Shallow tiers will restrict plant development, especially for root vegetables or deeper plants like carrots. If your tiers are too shallow, consider adding 2-3 inches of potting mix to each one before planting to give roots more room to establish.
💧 Step 2: Prepare Soil and Planting Medium
Fill each tier with 2 gallons of lightweight potting mix—never garden soil, as it compacts in containers and drains poorly. I mix in ½ cup of slow-release fertilizer per tier to give plants a nutrient boost without frequent feeding. Moisten the mix until it’s damp but not soggy, like a wrung-out sponge. This ensures roots can access moisture immediately after planting.
For the top tier, add a 1-inch layer of mulch (like shredded bark) to retain moisture and suppress weeds. Skip this for lower tiers, where drainage is more critical. Press the soil down gently to remove air pockets, but don’t compact it—roots need loose soil to spread easily.
☀️ Step 3: Choose and Plant Compact, Vertical-Friendly Crops
Select 4 plants that thrive in containers and won’t outgrow the tiers quickly. I recommend bush beans, dwarf tomatoes, lettuce, and herbs like basil or thyme—all grow well in 6-inch-deep soil and produce abundantly. Avoid sprawling plants like zucchini or pumpkins; they’ll overwhelm the space and block light for lower tiers.
Plant one crop per tier, spacing seedlings 4-6 inches apart to allow airflow. Water gently after planting to settle the soil around roots. For the top tier, place taller plants (like tomatoes) to avoid shading lower tiers. You’ll see new growth within 7-10 days—that’s your signal everything’s working.
🌿 Step 4: Water and Maintain for Continuous Harvests
Water the top tier first, then let it drain completely before moving to the next tier down. This prevents waterlogging in lower tiers, which can rot roots. I water every 2-3 days in summer, checking when the top inch of soil feels dry. Overwatering is the fastest way to kill container plants—always let excess water drain away completely.
Fertilize lightly every 4-6 weeks with a balanced liquid fertilizer. Prune leggy growth or yellowing leaves immediately to encourage bushier, healthier plants. Harvest regularly—picking beans and leaves prompts more production. With this setup, you’ll get two harvests of leafy greens and one full harvest of tomatoes or beans per season.
⏰ Step 5: Seasonal Care for Year-Round Productivity
In spring, replace spent soil with fresh potting mix and replant with fast-growing crops like radishes or spinach. In fall, add a thick layer of mulch to insulate roots and protect plants from early frosts. For winter, move the planter to a sheltered spot or use a frost cloth to extend the growing season—many herbs and greens tolerate light freezes.
Clean and store empty tiers in a dry place over winter. Before replanting, disinfect with a 10% bleach solution to prevent disease buildup. This keeps your vertical garden healthy and ready for another year of bountiful harvests in minimal space.
Tips & tricks for perfect tiered planters in small spaces
These little tricks will help you maximize your vertical garden's potential while avoiding common pitfalls that can ruin your harvest.
Stability is Everything: In Step 1, when assembling your 4-foot frame, I can't stress enough how important it is to secure that frame to a wall or sturdy post. I learned this the hard way when my first setup tipped over during a summer rainstorm. Use heavy-duty brackets or zip ties to anchor the frame—this prevents accidents and gives you peace of mind while watering. The extra 10 minutes spent securing it will save you from replanting!
Soil Depth Matters More Than You Think: The instructions mention a minimum 6-inch depth, but here's what nobody tells you—if you're growing root vegetables like radishes or carrots, aim for the upper limit of your tier depth. I've found that adding that extra 2-3 inches of potting mix makes all the difference for root crops. For leafy greens, you can get away with shallower soil, but deeper is always better for long-term growth. Think of it like giving your plants a cozy apartment instead of a studio!
Watering Strategy That Saves Time: When following Step 4's watering instructions, here's my pro move: invest in a simple watering wand with a gentle spray nozzle. This lets you water all tiers simultaneously without creating runoff. Start at the top and work your way down, but only water each tier when the top inch feels dry—this prevents overwatering while saving you from climbing up and down constantly. I water my entire system in about 5 minutes instead of 20!
Seasonal Swaps for Year-Round Success: For Step 5's seasonal care, I've found that rotating crops by season is easier than you'd think. In spring, plant fast-growing radishes (30 days to harvest) in the top tier, lettuce in the second, and herbs in the bottom two. By summer, you'll have space for tomatoes and beans. The key is to keep at least one tier dedicated to leafy greens—they're the most forgiving and productive in containers. This rotation keeps your garden thriving without needing to replant everything at once.
Pro Tips for Little Garden Design
- These little tricks will help you maximize your vertical garden's potential while avoiding common pitfalls that can ruin your harvest.
- Stability is Everything: In Step 1, when assembling your 4-foot frame, I can't stress enough how important it is to secure that frame to a wall or sturdy post.
- I've found that adding that extra 2-3 inches of potting mix makes all the difference for root crops.
Frequently asked questions
Got questions about maximizing your tiny space with tiered planters?
Here are some of the most common ones—and their practical solutions!
What’s the best way to arrange tiered planters for sunlight exposure?
Place your tallest planter south-facing (in the Northern Hemisphere) to avoid shading lower tiers. Rotate planters every few weeks to ensure even sun exposure. For shady spots, opt for leafy greens or herbs like basil and parsley, which thrive in indirect light.
How long does it take for tiered planters to yield a harvest?
Fast-growing crops like lettuce, radishes, or green onions may be ready in 3–6 weeks, while tomatoes, peppers, or herbs could take 8–12 weeks. Success depends on sunlight, soil quality, and plant care—so start with quick winners if you’re impatient!
Are tiered planters more expensive than traditional in-ground gardens?
Upfront costs can be higher, but they’re cost-effective long-term! Tiered planters save space, reduce water waste (thanks to drip irrigation), and eliminate weeding. DIY options (like repurposed wooden crates or cinder blocks) can cut costs even further—just ensure they’re sturdy and weatherproof.
How do I keep pests away from tiered planters?
Elevate planters off the ground to deter burrowing pests like slugs. Use copper tape around edges to repel snails, and companion plant pest-resistant herbs (e.g., marigolds or mint) near vulnerable crops. Regularly inspect leaves for early signs of trouble—early action prevents infestations!
Can I grow vegetables and flowers in the same tiered planter?
Pair companion plants like tomatoes with basil (pest control) or marigolds with peppers (bright colors deter pests). Just avoid overcrowding—leave 6–12 inches between plants for airflow. Flowers also attract pollinators, boosting your veggie yields!
What’s the best way to protect tiered planters in winter?
Empty and store planters indoors if possible, or wrap them in burlap and cover with a tarp to shield from frost. For hardy plants (like rosemary or thyme), mulch the soil and add a thick layer of straw. Drain holes are key—prevent waterlogging to avoid root rot!
Wrapping up and next steps
Creating a little garden design with tiered planters is a game-changer—it maximizes space, boosts yields, and adds charm to even the smallest outdoor area! 🌱 Whether you’re growing herbs, veggies, or flowers, vertical harvests make gardening effortless and rewarding.
Start small, experiment with layouts, and watch your green thumb grow.
Ready to transform your space? Grab your tools, pick your plants, and begin building your tiered oasis today! Check out our step-by-step guide to get started—your future harvest (and Instagram-worthy garden!) awaits.