Tools
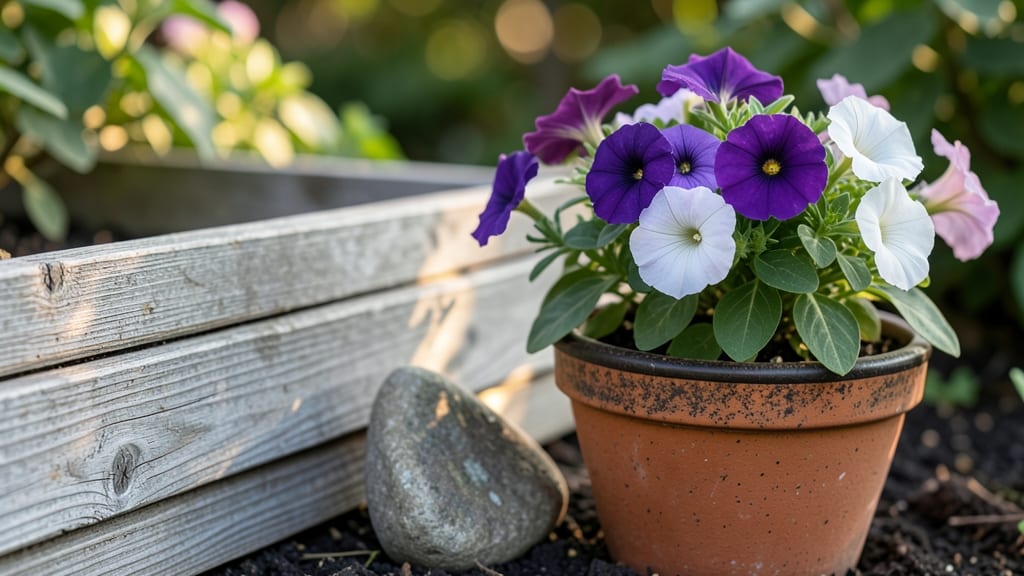
My small home garden started as a joke—just a 4-foot-by-4-foot patch where I swore I’d grow a few herbs and maybe some lettuce. What I didn’t expect was that tiny space producing more fresh food than my entire yard ever did.
The secret isn’t fancy tools or perfect soil; it’s smart planning and plants that work hard in tight quarters.
You’ll need a few basics: a sturdy raised bed or containers, some lightweight soil mix, and plants that pack a punch in small spaces. Think vertical herbs, compact tomatoes, and leafy greens that regrow after harvest.
My setup costs under $50 and fits on my balcony—no yard required. The best part? You can grow food year-round with the right choices, even in cold climates.
By summer’s end, you’ll be harvesting fresh basil, cherry tomatoes, and baby kale—all from that same 4-square-foot patch. The plants stay productive because they’re not competing for space, and the layout keeps weeds and pests at bay.
It’s not just about food; it’s about reclaiming a tiny corner of your world to grow something meaningful.
This works for apartments, fire escapes, or even sunny windowsills. The key is maximizing every inch without sacrificing beauty or function. Ready to turn that small space into a thriving garden? Let’s get started.
📚 In This Guide
- What you need
- Instructions
- Tips and common mistakes
- Wrapping up and next steps
What you need
- ● Growing Space: 4 sq ft of usable space (container, raised bed, or balcony planter)
- ● Recommended: Fabric grow bags (5-gallon, 2–3 units), wooden raised bed (4’x4’), or deep window boxes (12–18” depth)
- ● Soil & Fertilizer: High-quality potting mix (2–3 cubic feet, sterile and well-draining)
- ● Organic compost (1–2 gallons, for nutrient boost)
- ● Balanced fertilizer (5-10-5 or slow-release pellets, 1 lb)
- ○ Worm castings (optional, 1 lb for extra microbes)
- ● Seeds & Seedlings: Fast-growing seeds (e.g., lettuce, radishes, herbs—10–20 seeds per variety)
- ● OR seedlings (4–6 starter plants, like cherry tomatoes or peppers)
- ● Watering & Drainage: Watering can (1–2 gallons) or drip irrigation kit
- ● Drainage trays (if using containers, 1–2 units)
- ● Lighting (Indoor/Seasonal):strong> Grow lights (LED, full-spectrum, 12–16 hrs/day; 1–2 bulbs)
- ● Reflective surfaces (foil or white walls to maximize light)
- ● Support structures: Small stakes, trellises, or cages (for vining plants like beans or cucumbers)
- ● Pest control: Neem oil, copper tape, or beneficial insects (ladybugs)
- ● Tools: Hand trowel, pruners, and gloves (for easy maintenance)
- ● Storage: Mesh bags or airtight containers (to preserve harvests)
- ● Tech upgrades: pH test kit, soil moisture meter, or smart grow lights
Instructions for designing a year-round small home garden
Here’s how to maximize every inch of your tiny space for continuous harvests.
Divide Your Space by Seasonal Layers
Start by sketching your 4-square-foot area and dividing it into three vertical layers: top, middle, and bottom. The top layer—about 6 inches deep—will hold fast-growing crops like lettuce or radishes that mature in 30 days or less. These are perfect for spring and fall harvests. Below them, plant slower-growing root vegetables like carrots or beets in the middle layer, which will take 60-90 days to mature. The bottom layer can hold hardy greens like kale or spinach that tolerate cooler temperatures and can be harvested multiple times.
I always use a raised bed or deep container for this setup because it gives me control over soil depth and drainage. If you’re working with in-ground space, mark the layers with stakes so you remember what goes where. This layering ensures you’re never without fresh produce, even in winter.
Select Plants for Each Season
For spring and fall, focus on cool-season crops like broccoli, peas, and spinach. These thrive in temperatures between 40-65°F and can handle light frosts. In summer, swap them out for heat-loving plants like tomatoes, peppers, and basil, which need full sun (6+ hours daily) and soil temperatures above 60°F. For winter, choose cold-hardy options like Brussels sprouts, cabbage, or overwintering onions.
I like to keep a small notebook nearby to track planting dates and harvest times. For example, if you plant lettuce in early spring, it’ll bolt by summer, but if you replant it in late summer, you’ll have fresh greens again by fall. This rotation keeps your garden productive year-round without wasting space.
Use Containers and Vertical Space
Since space is limited, maximize vertical growth with trellises, cages, or tall containers. Plants like pole beans, cucumbers, and even some varieties of peas can climb, freeing up ground space for other crops. A 4-square-foot area can easily support a 4-foot-tall trellis, doubling your growing capacity. I’ve even used hanging baskets for shallow-rooted herbs like thyme or chives, which thrive in small containers.
For the bottom layer, consider shallow-rooted plants like radishes or green onions that can be grown in pots or even repurposed buckets. If you’re using containers, ensure they have drainage holes to prevent root rot. Group plants with similar water needs together to simplify care—this is especially important in a small space where overwatering or underwatering can happen quickly.
Maintain Soil Health and Moisture
In a small garden, soil quality makes all the difference. I add a 1-inch layer of compost every few months to keep nutrients balanced. Mulch with straw or shredded leaves to retain moisture and suppress weeds, which is critical in a confined area where weeds can spread fast. Water deeply once or twice a week, depending on the season, and always check the top inch of soil—if it feels dry, it’s time to water.
Use drip irrigation or a soaker hose to deliver water directly to the roots, reducing waste and keeping leaves dry. This prevents fungal diseases that can devastate a small garden. I also rotate crops annually to prevent soil depletion and pest buildup. For example, if you grew tomatoes in one spot in summer, plant beans there in fall—they’ll fix nitrogen in the soil, benefiting your next spring crop.
Extend the Growing Season with Simple Tricks
To keep your garden productive in cooler months, use row covers or cold frames to protect plants from frost. A simple cold frame can be made from a clear plastic lid propped over a wooden box. This traps heat and extends the growing season by 2-4 weeks in early spring or late fall. For winter, choose hardy crops like winter lettuce or garlic, which can survive light frosts and even improve in flavor after a freeze.
I also keep a small greenhouse or a sunny window for seed starting in early spring. This way, I can get a head start on tomatoes or peppers, transplanting them outdoors once the soil warms up. Even a few extra weeks of growth can mean the difference between a bountiful harvest and a disappointing one in a small space.
Tips & tricks for perfect year-round small home gardens
Small spaces don't mean small harvests—here's how to maximize every inch for continuous productivity.
Layering Strategy: When creating your 6-inch top layer for fast crops like lettuce or radishes, use lightweight containers or fabric pots. This makes it easy to swap out bolted spring greens for late-summer lettuce without disturbing your slower-growing middle layer. I've found that using clear plastic bins for the top layer lets me monitor soil moisture levels at a glance, which is especially helpful when watering once or twice a week.
Seasonal Plant Rotation: Don't let your notebook become a chore—color-code your planting dates by season. Blue for cool-season crops (40-65°F), red for summer heat-lovers (above 60°F), and green for winter hardies. This visual system helps me quickly see what needs replacing as seasons change. For example, when my spring spinach bolts in summer, I know it's time to swap for heat-tolerant Swiss chard.
Vertical Space Optimization: For your 4-foot trellis, use lightweight materials like bamboo or PVC pipes instead of heavy metal frames. I've had success with a simple DIY trellis made from wooden stakes and twine that costs less than $10. When training vining plants, start guiding them early—within the first week—to prevent tangled growth that wastes precious vertical space.
Soil Maintenance: That 1-inch compost layer I mentioned? Double it to 2 inches for your first application, especially if you're working with poor-quality soil. The extra boost gives your plants a stronger start. For containers, mix in perlite or vermiculite to improve drainage while maintaining moisture retention—this is particularly important for shallow-rooted plants like radishes in your bottom layer.
Pro Tips for Small Home Garden
- Small spaces don't mean small harvests—here's how to maximize every inch for continuous productivity.
- Layering Strategy: When creating your 6-inch top layer for fast crops like lettuce or radishes, use lightweight containers or fabric pots.
- Seasonal Plant Rotation: Don't let your notebook become a chore—color-code your planting dates by season.
Frequently asked questions
Got questions about maximizing your tiny garden space? Here are answers to the most common ones—so you can grow big results in just 4 square feet!
What are the best plants for a small home garden?
Focus on compact, high-yield plants like cherry tomatoes, leafy greens (kale, spinach), bush beans, radishes, and herbs (basil, parsley). Vertical growers (e.g., pole beans, strawberries) save space too!
When is the best time to start planting?
Start indoors 6-8 weeks before last frost for cool-season crops (like lettuce) or directly sow after frost for warm-season plants (like tomatoes). Use season extenders (row covers, cold frames) to grow year-round!
How can I save money on supplies?
Skip expensive pots—use recycled containers (yogurt cups, buckets) or repurpose household items (old gutters for trellises). Buy seeds in bulk or swap with neighbors. Compost kitchen scraps to cut fertilizer costs!
What’s the easiest way to deal with pests?
Prevent pests with companion planting (e.g., marigolds repel aphids) and neem oil sprays. Handpick bugs early, and use row covers to block insects. Avoid chemicals—they harm pollinators!
Can I grow food indoors if I don’t have outdoor space?
Use a sunny windowsill or grow lights for herbs, microgreens, and dwarf veggies. A hydroponic system (like a DIY Kratky setup) works great too—just ensure proper airflow and light!
Wrapping up and next steps
A small home garden proves that big harvests don’t need big spaces—just creativity and consistency! 🌱 With just 4 square feet, you can grow fresh herbs, veggies, and greens year-round, saving money and boosting your health.
Whether you’re a beginner or a seasoned gardener, this compact setup makes it easy to enjoy homegrown goodness without the hassle.
Ready to dive in? Start by planning your first 4-square-foot plot—pick your favorite crops, gather your tools, and get growing! Your future self (and taste buds) will thank you. 🌿