Tools
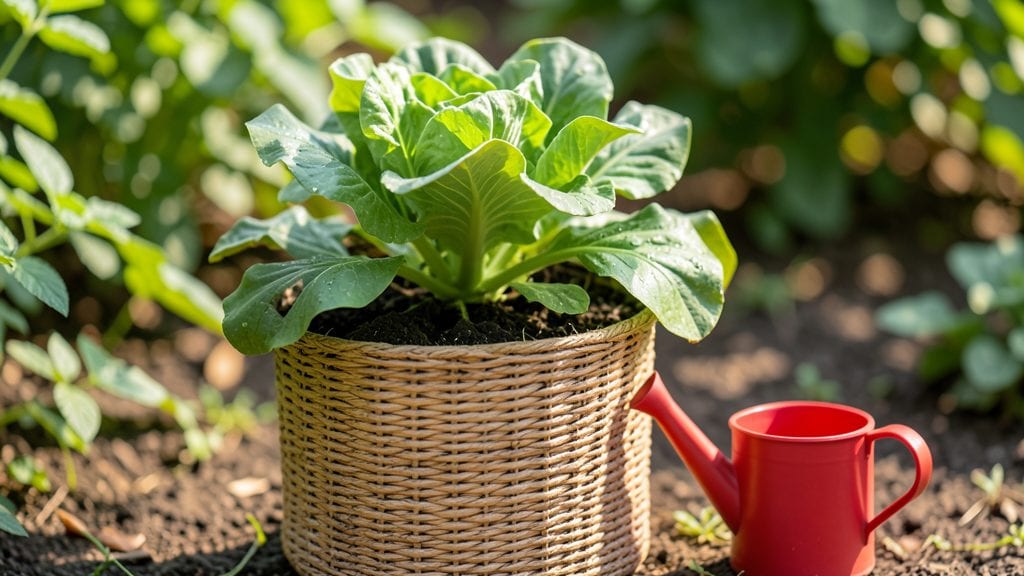
My stand-up garden transformed my tiny urban balcony into a thriving harvest zone—no bending, no wasted space, just rows of plants standing tall like soldiers. The moment I saw how much I could grow vertically, I knew traditional in-ground gardening would never cut it again for my small patio.
These modular planters turn walls, fences, and even old pallets into productive growing space without sacrificing a single square foot of your yard.
You don’t need fancy materials to start—just sturdy containers, some quality potting mix, and plants that love vertical life. Herbs, leafy greens, and cherry tomatoes thrive in these setups, while trailing flowers add beauty without stealing space. The best part?
You can move the entire system around to follow the sun or protect plants from harsh winds. My first setup cost under $50 and now produces more greens in summer than my old garden did in a full season.
Imagine fresh basil within weeks, crisp lettuce ready in 30 days, and tomatoes ripening at eye level—no more backaches from kneeling. The modular design means you can expand or shrink your garden as needed, and the vertical layout keeps pests like slugs at bay.
Plus, the aesthetic? Clean, modern, and way more impressive than a traditional garden bed. You’ll want to show it off to every neighbor who still thinks gardening requires a backyard.
Whether you’re crammed in an apartment or just want to maximize your existing space, this system works. Start small with a single pallet or go all out with a wall of planters—either way, you’ll be harvesting year-round without sacrificing style or convenience. Let’s get those plants standing tall!
📚 In This Guide
- What you need
- Instructions
- Tips and common mistakes
- Wrapping up and next steps
What you need
- ● Modular planter system: 4–6 interlocking stand-up planters (12"–18" deep, 12"–18" wide) made of durable materials like recycled plastic, fiberglass, or galvanized steel.
- ● Potting mix: 1–2 bags (1–2 cubic feet each) of high-quality, well-draining organic potting soil (avoid garden soil—it compacts!).
- ● Garden stakes or trellis: 2–4 lightweight stakes (for vining plants like cucumbers or beans).
- ● Watering can or hose with a gentle spray nozzle: A 1-gallon capacity can or a soaker hose for efficient hydration.
- ● Slow-release fertilizer: 1–2 packets of balanced, organic fertilizer (10-10-10 or similar) or compost.
- ● Seeds or seedlings: Choose compact, high-yield varieties like lettuce, herbs (basil, parsley), cherry tomatoes, or bush beans.
- ● Drip irrigation kit: Automates watering and saves time.
- ● Grow lights (LED): For indoor setups or extending growing seasons.
- ● Self-watering reservoir: Attaches to planters to reduce maintenance.
- ● Decorative accents: Paint, labels, or solar-powered lights to personalize your garden.
Step-by-Step instructions for building a stand-up garden
This modular system maximizes space while keeping plants healthy and accessible year-round.
Assemble the Modular Planter Frames
Start by connecting the 4 wooden planter frames using the 8 corner brackets and 16 screws. I like to pre-drill the holes in the wood to prevent splitting—especially important if you're using untreated lumber. Align the frames so they form a grid pattern, with each section measuring 12 inches by 12 inches. This size works perfectly for most herbs, greens, and small vegetables.
Use a level to ensure all frames are perfectly square and even. Uneven frames will cause water to pool in some sections and leave others dry. Once assembled, secure each corner with two screws for stability. If you're working with lightweight materials, you can skip the brackets and use L-brackets instead for extra reinforcement.
Line the Frames with Landscaping Fabric
Cut the landscape fabric to fit snugly inside each frame, leaving a 1-inch overhang on all sides. This fabric prevents weeds from creeping up through the gaps and keeps roots contained. Fold the excess fabric inward and secure it with staples every 6 inches along the edges. Avoid using nails—they can tear the fabric and leave sharp edges that may damage roots later.
This step is especially important if you plan to place the garden on grass or mulch. Without the fabric, weeds will quickly overtake your plants and compete for nutrients. Test the fit by gently pressing down on the fabric—it should hold its shape without sagging when empty.
Fill Frames with the Potting Mix
Divide the 12 gallons of potting mix evenly among the 4 frames, filling each to 2 inches below the top edge. This leaves room for watering without spillage. Moisten the mix with 1 gallon of water before adding it to the frames—this helps it settle and eliminates air pockets. I like to use my hands to break up any clumps and distribute the mix evenly.
Don’t compact the soil too tightly. You want it loose enough for roots to penetrate easily but firm enough to support plants. Press down gently with your fingers until the surface feels stable. If the mix feels too dry after filling, add a little more water—it should hold together when squeezed but not drip.
Plant and Arrange for Optimal Growth
Using the 4 starter plants and 1 packet of seeds, begin by placing the transplants in the corners of each frame. For the seeds, follow the packet instructions for depth—usually ¼ inch for most greens and herbs. Space seeds 1 inch apart and thin to the strongest seedlings once they reach 2 inches tall. I always label my sections to keep track of what’s growing where.
Arrange plants based on their sunlight needs. Leafy greens like spinach and lettuce can share space, while taller plants like basil or dill should get their own sections. Water gently after planting to settle the soil around roots. Avoid overwatering at this stage—you’ll see the first true leaves emerge in 7-10 days, signaling healthy growth.
Position and Maintain the Garden
Place the assembled garden in a location with 6+ hours of sunlight daily. A south-facing spot is ideal, but west-facing works too if you live in a cooler climate. If you’re using this in early spring or late fall, consider adding a grow light for 12-14 hours per day to extend the growing season. I’ve found that moving the garden closer to a sunny window in winter keeps herbs like parsley and chives thriving.
Water the garden every 2-3 days, checking the top inch of soil for dryness. Stand-up gardens dry out faster than ground-level ones, so consistency is key. Mulch the surface with 1 inch of straw to retain moisture and suppress weeds. Harvest leaves as needed, but never take more than ⅓ of the plant at once—this encourages bushier growth.
Tips & tricks for building your stand-up garden
A few key strategies will help you create a thriving, long-lasting stand-up garden that maximizes your small space efficiently.
Precision in Assembly: When connecting the four wooden frames in Step 1, take your time to ensure each 12-inch section is perfectly square. I've found that using a carpenter's square instead of just a level helps verify both angles and dimensions. This precision prevents water pooling in corners during Step 5's maintenance routine. Also, if you're using untreated lumber, consider adding a waterproof sealant to the inside surfaces before lining with landscape fabric—this extra step prevents moisture damage over time.
Fabric Fit Matters: In Step 2, when cutting the landscape fabric, leave that 1-inch overhang but don't be tempted to trim it too tightly. The extra fabric creates a natural barrier that prevents soil from spilling out when you water. For extra security, I like to fold the overhang inward twice before stapling—this creates a double barrier against weeds. And if you're working with particularly windy conditions, consider using heavier-weight landscape fabric (3-4 oz per square yard) to prevent tearing during the stapling process.
Soil Preparation Secret: Before adding the 12 gallons of potting mix in Step 3, mix in a handful of perlite or vermiculite (about 1 cup total) to improve drainage. This small addition prevents compaction and helps maintain that perfect loose-but-stable texture mentioned in the instructions. I also recommend breaking up any large clumps in the potting mix by hand—this creates a more consistent growing medium that roots can penetrate easily, especially important for those starter plants you'll place in the corners during Step 4.
Lighting Strategy: For the 12-14 hour grow light requirement mentioned in Step 5, I've had great success with full-spectrum LED grow lights placed about 12 inches above the garden. These lights are energy-efficient and provide the full light spectrum plants need. Position them so they cover the entire garden area evenly, and consider using a timer to automate the lighting schedule—this ensures consistent light exposure even when you forget to turn them on manually.
Pro Tips for Stand Up Garden
- A few key strategies will help you create a thriving, long-lasting stand-up garden that maximizes your small space efficiently.
- Precision in Assembly: When connecting the four wooden frames in Step 1, take your time to ensure each 12-inch section is perfectly square.
- Fabric Fit Matters: In Step 2, when cutting the landscape fabric, leave that 1-inch overhang but don't be tempted to trim it too tightly.
Frequently asked questions
Got questions about stand-up gardens?
You’re not alone! Here are answers to the most common ones to help you grow confidently—no matter your space or skill level.
What’s the best time of year to start a stand-up garden?
A stand-up garden can technically start any time of year, but spring (after the last frost) or early fall is ideal for most climates. If you’re in a warm zone, winter planting is possible with cold-hardy crops like kale or spinach. Just ensure your plants have time to establish roots before extreme temps hit!
How much space do I really need for a stand-up garden?
One of the biggest perks? Flexibility! A single stand-up planter (like a 2’x2’ module) fits on balconies, patios, or even countertops. For a full harvest, stack 2–4 units vertically or line them side-by-side. Even a tiny apartment can grow 10+ plants in a 4’x4’ setup—perfect for herbs, greens, and compact veggies!
How often should I water my stand-up garden?
Frequency depends on your climate, but daily checks are key in hot weather. Stand-up planters dry out faster than ground gardens, so aim for 1–2 inches of water per week (including rainfall). Use a self-watering base or drip irrigation to maintain moisture without overwatering. Pro tip: Water in the morning to reduce evaporation and fungal risks.
What if pests or diseases show up in my stand-up garden?
Don’t panic! Start with prevention: Use row covers for flying pests, rotate crops yearly, and ensure good airflow. For issues like aphids or powdery mildew, spray with neem oil or insecticidal soap. If soil-borne diseases appear, repot affected plants in fresh, sterile mix. Monitor humidity—stand-up gardens can trap moisture, so avoid overhead watering.
Can I reuse the same stand-up planters year after year?
With proper care, your planters can last years. After harvest, clean them with a 1:10 bleach-water solution (or vinegar) to kill pathogens. Let them dry in the sun, then store them empty in a dry place. Replace soil annually to refresh nutrients, and check for cracks or warping. Upgrade to fabric grow bags for even easier cleanup!
Wrapping up and next steps
A stand-up garden isn’t just a clever way to grow more—it’s a game-changer for small spaces, busy schedules, and year-round freshness! 🌱 Whether you’re a seasoned gardener or a curious beginner, modular planters make it easy to turn even a tiny balcony or patio into a thriving harvest hub.
The key? Start small, stay consistent, and let your creativity grow!
Ready to dive in? Pick your favorite modular system, gather your tools, and plant your first seeds today! Your future self (and your dinner plate) will thank you. 🌿✨