Tools
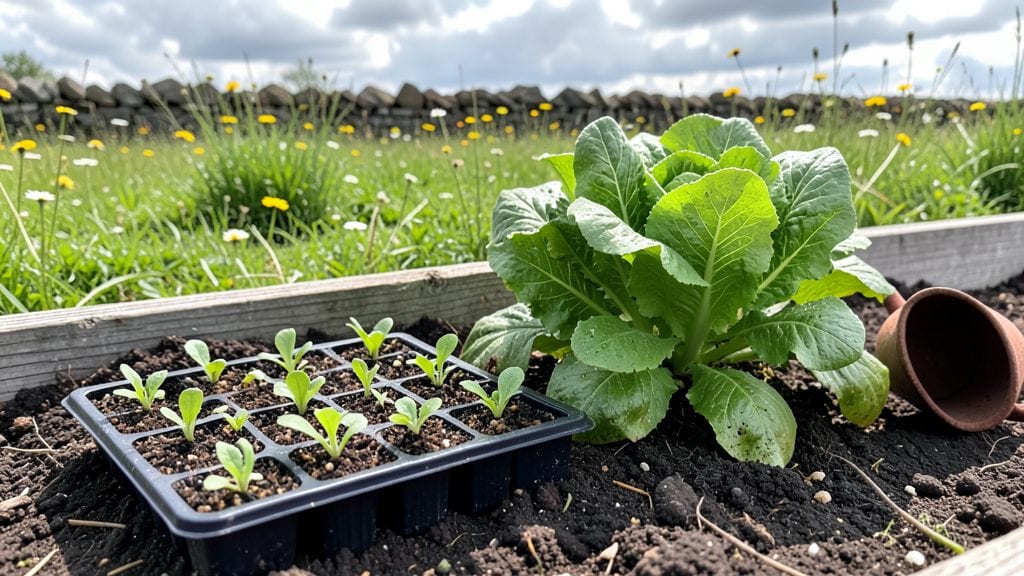
Following the right steps for gardening turns a muddy patch into a lush, productive space 🌱—and the difference between success and frustration often comes down to timing and technique.
If you’ve ever planted seeds only to watch them wilt or spent hours weeding for no visible reward, you know how easy it is to miss the small details that make or break a garden.
But with the right sequence—from soil prep to harvest—you can skip the guesswork and grow stronger plants with less effort.
Whether you’re a beginner or a seasoned gardener in USDA Zone 6a, these proven steps break down the essential phases: preparing the soil, choosing the best planting window, and maintaining your garden through the seasons. No more wasted energy or disappointed harvests.
Below, I’ll walk you through each stage, including the tools you’ll need, common mistakes to avoid, and how to keep your garden thriving from spring to fall. Let’s get started.
The ultimate step-by-step gardening process for beginners and experts
Gardening success starts long before you plant your first seed. Whether you're a newbie with a shovel or a seasoned pro, mastering the chronological process ensures your garden thrives.
The key lies in seasonal timing, proper soil preparation, and consistent care—each step building on the last to create a lush, productive space. Skipping even one phase can lead to stunted growth, pests, or wasted effort.
I’ve broken down the entire gardening process into clear, actionable stages, from spring soil prep to fall harvest**. Each phase includes tools you’ll need, common mistakes to avoid, and pro tips to maximize your garden’s potential.
Think of this as your gardening roadmap—follow it closely, and you’ll reap the rewards of a garden that’s both beautiful and bountiful.
Your Gardening Timeline
-
Step 1: Plan Your Garden
Choose sun exposure, plant placement, and seasonal timing. Sketch a layout to avoid overcrowding and ensure each plant gets its required light and space.
-
Step 2: Test and Amend Soil
Use a soil test kit to check pH and nutrient levels. Add compost or organic matter to improve drainage and fertility—aim for a 6.0-7.0 pH for most plants.
-
Step 3: Prepare the Planting Area
Loosen soil with a garden fork to a depth of 12 inches. Remove weeds, rocks, and debris. For raised beds, ensure proper drainage with gravel or sand at the bottom.
-
Step 4: Choose and Plant Seeds/Saplings
Select season-appropriate seeds or transplants. Plant seeds at the depth listed on the packet (usually 2-3 times seed width). Water gently after planting to settle soil.
-
Step 5: Mulch and Water Consistently
Apply 2-3 inches of mulch to retain moisture and suppress weeds. Water deeply early in the morning to encourage strong root growth—aim for 1 inch of water per week.
-
Step 6: Monitor and Maintain
Check for pests, diseases, and nutrient deficiencies weekly. Prune dead or yellowing leaves and fertilize every 4-6 weeks during the growing season.
-
Step 7: Harvest at Peak Ripeness
Pick produce in the morning when flavors are brightest. Harvest vegetables before they overripe, and flowers when buds are just opening. Never harvest more than 1/3 of the plant at once.
-
Step 8: Prepare for Winter
Clean up debris, compost plant waste, and protect tender plants with mulch or row covers. Store tools in a dry place and sharpen blades for next season.
One of the biggest mistakes I see is rushing the soil prep. Skimping on compost or ignoring pH levels can lead to poor growth, even with the best seeds.
For example, tomatoes thrive in 6.0-6.8 pH soil, while blueberries need acidic soil (4.5-5.5). Always match your amendments to your plants’ needs.
Timing is everything in gardening. Planting cool-season crops like lettuce in late summer will cause them to bolt prematurely. Instead, wait until early spring or fall when temperatures are mild.
Use your last frost date as a guide—most plants can handle light frosts, but avoid planting until after the danger has passed.
Don’t overlook the power of mulching. A thick layer of organic mulch (like straw or shredded leaves) keeps soil moist, regulates temperature, and smothers weeds. I’ve seen gardens where mulch was skipped, and weeds took over within weeks—don’t let that happen to you!
Apply mulch 2-3 inches deep, keeping it a few inches away from plant stems to prevent rot.
Even with perfect planning, pests and diseases can strike. Keep an eye out for aphids, powdery mildew, or blight signs like yellowing leaves or sticky residue. Act fast with neem oil or organic pesticides. Regularly inspect the undersides of leaves—this is where pests love to hide.
Finally, celebrate your harvests! Whether it’s a single tomato or a bushel of zucchini, each success is a testament to your hard work. Save seeds from your best performers to plant next year, and share extras with neighbors.
Gardening isn’t just about the end result—it’s about the joy of the process.
Planting and watering techniques that maximize growth and minimize waste
Getting the planting depth and watering schedule right can mean the difference between a thriving garden and one that struggles. Too deep or too shallow, and your plants won’t establish properly. Overwatering or underwatering both lead to wasted resources and stunted growth.
The key is understanding how each plant type—whether vegetables, herbs, or flowers—needs to be treated differently from the start.
Start by checking the seed packet or plant tag for specific instructions, but always verify with your local USDA hardiness zone and soil conditions. For example, tomatoes need deeper planting than basil, while succulents demand far less water than lettuce.
These differences aren’t just minor tweaks—they’re the foundation of a healthy garden.
| Plant Type | Planting Depth | Spacing | Watering Frequency | Signs of Overwatering |
|---|---|---|---|---|
| Vegetables (e.g., Tomatoes, Peppers) | 2x seed depth or 1-2 inches deep | 18-24 inches apart | Every 2-3 days (deep watering) | Yellowing leaves, mold, root rot |
| Herbs (e.g., Basil, Parsley) | 1/4 inch deep | 6-12 inches apart | Every 1-2 days (light watering) | Wilting, brown leaf edges |
| Flowers (e.g., Marigolds, Petunias) | 1/2 inch deep | 12-18 inches apart | Every 3-4 days (moderate watering) | Drooping blooms, fungal spots |
| Succulents (e.g., Aloe, Sedum) | 1 inch deep (shallow roots) | 3-6 inches apart | Every 7-10 days (dry soil) | Soft, mushy leaves |
When it comes to watering techniques, drip irrigation is my go-to for efficiency and consistency. It delivers water directly to the root zone, reducing evaporation and fungal diseases that come from overhead watering.
However, hand-watering gives you more control for container plants or delicate seedlings. The best approach? Combine both: use drip irrigation for established plants and hand-water young seedlings or potted herbs.
To avoid overwatering, always perform the finger test before watering. Stick your finger about an inch into the soil—if it’s damp, wait another day. For underwatering, look for crispy leaf edges or wilting that recovers after watering.
Adjust your schedule based on the season: summer demands more frequent watering, while winter often requires none at all for dormant plants.
One of my biggest mistakes early on was ignoring the plant label instructions. I’d water my lavender like my zucchini, and the results were disastrous. Now, I keep a small notebook by my garden to track what works for each plant.
Start with these basics, and you’ll save water, time, and frustration while giving your plants the perfect start.
Finally, always water in the early morning to allow foliage to dry before evening. This simple habit reduces the risk of blight and powdery mildew, two common issues in humid climates.
With the right planting depth, spacing, and watering routine, your garden will thrive with minimal waste and maximum beauty. 💧