
Watering
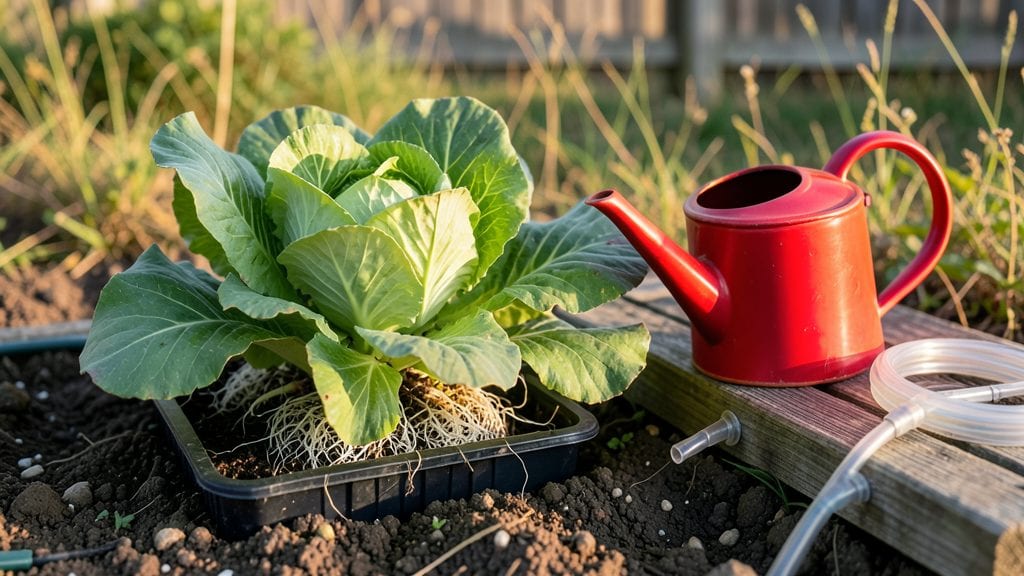
A water bucket garden turns a simple 5-gallon bucket into a thriving, low-maintenance oasis that drinks from its own reservoir.
I stumbled onto this idea after watching my potted herbs wilt during summer droughts—until I rigged a bucket with a wick system that kept them hydrated for weeks without a drop of extra watering. The best part?
It works in balconies, patios, or even cracked concrete sidewalks where soil gardens fail.
This isn’t just about saving water—it’s about reclaiming space. A single bucket holds enough soil for herbs, succulents, or even dwarf veggies like cherry tomatoes, all while using 90% less water than traditional pots.
The setup takes less than 30 minutes with supplies you likely already own: buckets, wicks (old cotton rope or felt strips), and drought-tolerant plants. My rosemary and thyme buckets haven’t needed watering since I installed them in June, and the roots stay happily moist without soggy soil.
You’ll end up with lush, fragrant plants that thrive on neglect, plus a system so stealthy it doubles as decor. The wick draws water upward like a straw, so roots never dry out—even when you’re on vacation.
Picture jewel-toned succulents or bright green basil growing where others give up, all while cutting your water bill. The only trade-off? You’ll need to refill the reservoir every 2-4 weeks, depending on heat and plant size.
Perfect for urban gardeners, renters, or anyone tired of dead plants. Swap out the buckets for vintage containers or paint them your porch color—suddenly, your watering worries vanish, and your space gains year-round greenery without the fuss. Let’s get those buckets growing!
📚 In This Guide
- What you need
- Instructions
- Tips and common mistakes
- Wrapping up and next steps
What you need
- ● 5-gallon bucket (or larger, depending on plant size) – clean, food-grade, with a lid
- ● Drill or screwdriver – for making drainage holes (¼-inch diameter)
- ● Potting soil – well-draining, organic mix (1-2 bags, ~20 lbs total)
- ● Drought-resistant plants – succulents, herbs (thyme, rosemary), or small veggies (lettuce, radishes)
- ● Watering can or hose – for initial setup
- ● Small pebbles or gravel – 1 cup (for drainage layer)
- ● Self-watering kit – adds a wick system for passive hydration
- ● Bucket lid with a small hole – prevents debris while allowing airflow
- ● Decorative paint or labels – for a cute, personalized touch!
- ○ Fertilizer (slow-release or liquid) – boosts plant growth (optional for herbs)
Step-by-Step instructions for building a water bucket garden
Here’s how to create a self-sustaining irrigation system that thrives on minimal water—ideal for drought-resistant plants and small-space growing.
Select and Prepare Your Buckets
Choose 5-gallon buckets with sturdy handles and a secure lid—plastic or metal works, but avoid treated wood that leaches chemicals. Drill two ½-inch holes in the bottom for drainage, then sand any rough edges to prevent root damage. I like to pre-drill holes in the lid for future watering access, though you can skip this if you prefer a sealed top.
Clean the buckets thoroughly with soapy water to remove factory residues, then rinse and dry completely. Line the bottom with ½ inch of small gravel to improve drainage and prevent soil compaction. This layer is critical—without it, roots will suffocate in soggy soil. Use washed river rock or coarse sand for best results.
Assemble the Irrigation System
Cut a 2-inch diameter hole in the lid of one bucket—this will serve as your water reservoir. Insert a PVC pipe (or a clean, food-grade plastic tube) through the hole, securing it tightly with waterproof sealant. The pipe should extend 1 inch below the bucket’s bottom when the lid is in place. This creates a siphon effect, ensuring a slow, steady water release.
Place the reservoir bucket 6-8 inches above the planting buckets, using a sturdy stand or cinder blocks to maintain elevation. Connect the planting buckets via ¼-inch tubing that runs from the reservoir’s pipe to each bucket’s drainage hole. Test the flow by filling the reservoir—water should trickle, not gush, into the planting buckets. Adjust the tubing length as needed to balance moisture distribution.
Fill Buckets with Soil and Plant
Fill each planting bucket ¾ full with a lightweight, fast-draining potting mix—avoid garden soil, which compacts and blocks water flow. I mix 50% potting mix, 30% perlite, and 20% coconut coir for optimal aeration. Leave 2 inches of space at the top for mulch and to prevent overflow during heavy watering.
Plant drought-resistant species like succulents, lavender, or rosemary, spacing them 2-3 inches apart to allow airflow. Water the soil thoroughly before placing the buckets under the reservoir. The first flush of water will settle the soil and prime the system. Monitor the reservoir level—it should last 7-10 days depending on plant size and climate, but top up every 3-4 days to maintain consistent moisture.
Maintain and Troubleshoot
Check the tubing weekly for clogs—disconnect and flush with vinegar if water flow slows. Mulch the soil surface with ½ inch of straw or shredded bark to reduce evaporation and regulate temperature. In hot climates, shade the reservoir bucket during peak sun to prevent algae growth in the water.
Adjust the system seasonally: in winter, reduce the reservoir’s elevation to slow water release, while summer may require a higher lift for faster evaporation. If leaves yellow or wilt, the tubing may be too long—shorten it slightly to increase flow. This setup is foolproof once balanced, but drought-resistant plants will always outperform thirsty varieties in a bucket garden.
Tips & tricks for perfect water bucket garden setup
A few strategic adjustments can transform your water bucket garden from functional to thriving. Here’s how to optimize every step for maximum efficiency and plant health.
Bucket Material Matters: While plastic buckets are lightweight and affordable, metal buckets conduct heat better in summer and provide better insulation in winter. If using metal, drill drainage holes with a step bit to prevent jagged edges that could damage roots. I’ve found that galvanized steel buckets last the longest, but they require extra care to prevent rust near the drainage holes.
Drainage Layer Precision: The ½-inch gravel layer in Step 1 isn’t just about drainage—it’s about creating an oxygen-rich zone at the roots. Use river rock instead of pebbles for better airflow, and avoid crushed stone, which can compact over time. This layer should be evenly distributed across the entire bottom; any gaps can lead to water pooling and root rot.
Elevation is Everything: The 6-8 inch elevation between reservoir and planting buckets in Step 2 creates the ideal siphon effect, but achieving consistent flow requires attention. Use a level to ensure all planting buckets sit at the same height. If you notice uneven water distribution, adjust the tubing length incrementally—too much length creates resistance, while too little may not reach all buckets.
Seasonal Soil Adjustments: The 50-30-20 soil mix in Step 3 works year-round, but summer conditions may require adding an extra 10% perlite to improve aeration during heatwaves. In winter, reduce the perlite to 20% and increase coconut coir to 30% to retain moisture better. This small tweak prevents soil from drying out too quickly during temperature swings.
Pro Tips for Water Bucket Garden
- A few strategic adjustments can transform your water bucket garden from functional to thriving.
- Bucket Material Matters: While plastic buckets are lightweight and affordable, metal buckets conduct heat better in summer and provide better insulation in winter.
- Drainage Layer Precision: The ½-inch gravel layer in Step 1 isn’t just about drainage—it’s about creating an oxygen-rich zone at the roots.
Frequently asked questions
Got questions about setting up and maintaining a water bucket garden? You’re not alone! Here are some of the most common queries—plus straightforward answers to help you grow with confidence.
What types of plants work best in a water bucket garden?
A water bucket garden thrives with drought-resistant plants like succulents (e.g., aloe, echeveria), herbs (basil, thyme, rosemary), and small vegetables (lettuce, radishes, or green onions). Avoid heavy feeders like tomatoes or corn—they’ll drain the bucket too quickly. Stick to plants that love moisture retention but don’t demand constant watering!
How long does a water bucket garden last before needing a refill?
This depends on your bucket size, plant type, and climate! A 5-gallon bucket with a few small plants may last 1–2 weeks in hot, dry conditions, while a 10-gallon bucket could stretch to 3–4 weeks. Check soil moisture weekly—if the top inch feels dry, it’s time to refill. Pro tip: Add a moisture meter for precision!
Can I use any bucket, or are there specific materials to avoid?
Most plastic or food-grade buckets work, but avoid metal or treated wood—they can leach chemicals or rust over time. Drill drainage holes only in the bottom (never the sides) to prevent root rot. For aesthetics, opt for opaque buckets to block light (which can encourage algae in water). Recycled buckets from food storage are perfect!
What if my plants start wilting even with a full bucket?
Wilting could mean root-bound plants, clogged drainage holes, or overwatering (yes, it’s possible!). First, check the holes—clean them if blocked. If roots are circling the bottom, transplant the plant into a larger container. Finally, ensure the bucket isn’t sitting in standing water (which causes rot). Quick fix: Trim crowded roots gently with sterilized scissors.
Are there alternatives if I don’t have buckets?
Use large plastic containers, grow bags, or even repurposed jugs (like milk gallons). The key is a reservoir at the bottom with a wicking mechanism (like a cotton rope or felt strip) to deliver water to the soil. DIY options include terracotta pots with a false bottom or stacked nursery pots with a water-filled tray underneath.
Wrapping up and next steps
Creating a water bucket garden is a game-changer for drought-prone areas—it’s simple, eco-friendly, and ensures your plants thrive with minimal effort! 🌱 By repurposing everyday containers and harnessing gravity-powered irrigation, you’re not just saving water but also fostering a low-maintenance, resilient green space.
Whether you’re a seasoned gardener or a curious beginner, this method proves that sustainability doesn’t require a green thumb.
Ready to dive in? Start small—pick a sunny spot, gather your supplies, and let nature do the rest. Your first bucket garden could be blooming in just a few weeks! 🌿