
Tools
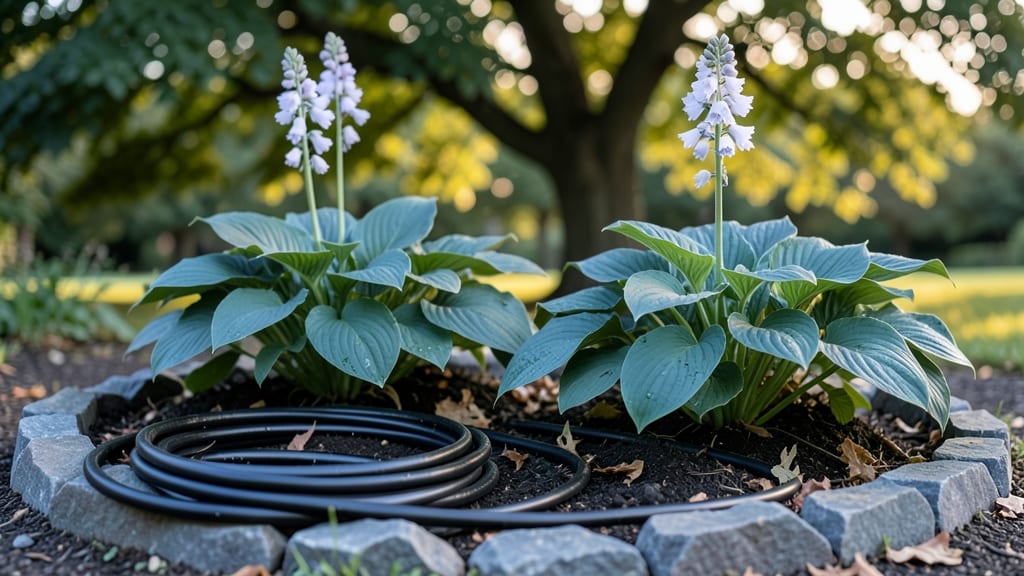
A circular garden layout transforms tight spaces into lush, productive havens where every inch works for you. I designed my first one after struggling with a cramped backyard that felt like a maze of wasted corners—until I realized curves could outperform straight lines.
The secret lies in how plants, paths, and focal points weave together, creating a garden that feels both magical and highly functional.
You’ll need simple materials: gravel or flagstone for pathways, mulch to keep weeds at bay, and a central focal point (like a small fountain or decorative stone). Start with a 6- to 8-foot diameter for vegetables or herbs, or expand to 10 feet for flowers and shrubs.
The key is arranging plants in concentric rings—tallest in the center, mid-height next, and low growers around the edges—so everything gets sunlight and stays accessible.
What you’ll end up with is a garden that harvests more in less space, stays easier to maintain, and looks like a living work of art. Imagine snipping fresh basil from the outer ring while tomatoes ripen just a few feet away—no wasted steps, no forgotten corners.
The design even makes weeding a breeze since you can stand in the center and reach everything.
Works for urban balconies, suburban backyards, or even container arrangements on patios. The same principles apply whether you’re growing food, flowers, or both. Ready to turn your garden into a thriving circle of abundance?
📚 In This Guide
- What you need
- Instructions
- Tips and common mistakes
- Wrapping up and next steps
What you need
- ● Garden bed frame: Wooden planks (cedar or redwood, 2x6 or 2x8, rot-resistant) – 8–12 pieces (6–8 ft long)
- ● OR pre-cut circular garden kit (diameter: 4–10 ft, adjust based on space)
- ● Landscape fabric: 1 roll (10 ft x 3 ft) (to suppress weeds)
- ● Compost/soil: 2–4 cubic yards (depending on bed depth; aim for 12–18 inches)
- ● Mulch: 1–2 bags (straw, wood chips, or shredded leaves)
- ● Tools: Measuring tape
- ● Level
- ● Circular saw or handsaw
- ● Drill + screws/nails (deck screws recommended)
- ● Shovel & garden fork
- ● Wheelbarrow (for hauling soil)
- ● Drip irrigation system: 10–20 ft of tubing + emitters (for water efficiency)
- ● Trellis or stakes: 4–6 pieces (bamboo or metal) (for climbing plants like cucumbers or beans)
- ● Garden path border: Gravel, pavers, or edging stones (to define the circle)
- ● Seating or decor: Small stool, solar lights, or a chalkboard sign (for a cozy vibe!)
Instructions for designing a circular garden layout
This space-saving approach maximizes yield in minimal square footage while creating a visually striking focal point.
Determine Your Garden's Centerpiece
Start by selecting the focal point of your circular layout—a large ornamental plant, a small tree, or even a decorative stone. This centerpiece should be 12-18 inches in diameter and placed at the exact center of your circle. I like to use a dwarf fruit tree or a striking perennial like a purple coneflower to anchor the design. Measure your garden's diameter and mark the center with a stake so you can visualize the layout before planting.
If you're working with a 4-foot diameter circle, your centerpiece should occupy about 1/3 of the total space. This ensures the surrounding plants have enough room to grow without competing for sunlight or nutrients. Avoid placing anything too tall in the center—it will cast too much shade on the perimeter plants. Instead, opt for medium-height plants that allow light to reach the outer edges.
Plan Your Planting Rings
Divide your circular garden into three concentric rings to create a layered effect. The innermost ring should be 6-8 inches wide, the middle ring 12-16 inches wide, and the outermost ring 18-24 inches wide. This tiered approach prevents overcrowding and allows each plant to thrive without competing for resources. Sketch your design on paper first—it’s easier to visualize adjustments before digging.
Place taller plants like sunflowers or hollyhocks in the outermost ring, where they can reach their full height without shading the center. Medium-height herbs or flowering perennials belong in the middle ring, while low-growing ground covers or edible plants like lettuce or strawberries should occupy the innermost ring. This vertical layering maximizes space and creates a lush, full appearance.
Prepare the Soil and Mark Planting Zones
Before planting, loosen the soil to a depth of 12 inches using a garden fork or tiller. Amend the soil with 2-3 inches of compost mixed into the top 6 inches to improve drainage and fertility. Test the soil pH—most vegetables and flowers thrive in a 6.0-7.0 range. If your soil is too acidic or alkaline, adjust it with lime or sulfur before planting.
Use a hose or string to mark the boundaries of each ring. For the innermost ring, measure 6-8 inches from the center and trace a circle with a garden stake. Repeat for the middle and outer rings, spacing them evenly. This visual guide ensures your plants are placed at the correct distances. Avoid stepping on the marked areas—compacted soil can stunt root growth.
Plant in Layers for Optimal Growth
Begin planting with the innermost ring, working your way outward. Choose compact varieties for this zone—dwarf tomatoes, radishes, or shallow-rooted herbs like thyme or oregano thrive here. Space them 4-6 inches apart, leaving enough room for leaves to spread. Water each plant deeply after planting to settle the soil and encourage root establishment.
For the middle ring, select plants with moderate height and spread, such as bush beans, zucchini, or marigolds. Space them 12-18 inches apart, depending on the variety. In the outermost ring, place taller plants like corn, sunflowers, or trellised vines, spacing them 24-36 inches apart. Mulch each ring with 2-3 inches of organic mulch to retain moisture and suppress weeds. Avoid piling mulch against plant stems—keep it 2-3 inches away to prevent rot.
Maintain and Adjust for Seasonal Changes
Water the garden deeply once a week, aiming for 1-1.5 inches of water per session. Use a soaker hose or drip irrigation to deliver moisture evenly without wetting the leaves, which reduces disease risk. Monitor the soil moisture—if the top 2 inches feel dry, it’s time to water again. In hot climates, you may need to water every 2-3 days to prevent wilting.
As plants grow, prune leggy stems or overcrowded foliage to maintain airflow. If a plant outgrows its designated ring, transplant it to the outer edge or a nearby container. Rotate crops annually to prevent soil depletion and pest buildup. In fall, remove spent plants and add another 2-3 inches of compost to replenish nutrients for next season’s planting.
Tips & tricks for perfect circular garden layouts
A well-designed circular garden isn't just about aesthetics—it's a strategic approach to maximizing yield in limited space. These practical insights will help you avoid common pitfalls and create a thriving, visually stunning garden that produces abundantly.
Plant Selection Strategy: In Step 1, when choosing your centerpiece, prioritize plants that complement rather than compete with your edible crops. For example, a dwarf apple tree works beautifully as a centerpiece while allowing sunlight to reach the outer rings. I've found that medium-height perennials like lavender or Russian sage make excellent centerpieces—they're drought-tolerant and provide pollinator benefits without overshadowing your vegetables. The key is balancing height and sunlight requirements across all rings to create an ecosystem where every plant thrives.
Precision in Ring Widths: The specific ring measurements in Step 2 (6-8", 12-16", and 18-24" widths) create the perfect balance between plant spacing and visual harmony. To achieve these exact measurements, use a tape measure and garden stakes to mark your circles before digging. For a 4-foot diameter garden, the centerpiece should occupy about 14-16 inches of space, leaving the surrounding rings with optimal growing room. I recommend using a garden calculator or creating a scale drawing to visualize how different plant sizes will interact within these precise boundaries.
Soil Preparation Insight: When preparing your soil in Step 3, don't underestimate the importance of that 12-inch depth. This thorough loosening creates ideal root zones for both shallow-rooted herbs and deep-rooted vegetables. For clay-heavy soils, I've had great success adding an additional 1 inch of coarse sand to the 2-3 inches of compost to improve drainage. The 6.0-7.0 pH range is crucial—most vegetables perform poorly outside this range, so test your soil before planting. If you're working with existing soil, consider creating raised beds within your circular design for even better control over soil quality.
Maintenance Shortcut: In Step 5, the recommendation for deep watering once a week can be challenging in hot climates. I've developed a simple system using a rain gauge placed in the garden center to track moisture levels accurately. For larger circles, consider installing a drip irrigation system that waters at the base of plants—this delivers the recommended 1-1.5 inches of water per session while minimizing evaporation. The key is consistency: maintaining even moisture levels prevents stress cracks in fruits and vegetables while encouraging strong root development.
Pro Tips for Circular Garden Layout
- A well-designed circular garden isn't just about aesthetics—it's a strategic approach to maximizing yield in limited space.
- Plant Selection Strategy: In Step 1, when choosing your centerpiece, prioritize plants that complement rather than compete with your edible crops.
- Precision in Ring Widths: The specific ring measurements in Step 2 (6-8", 12-16", and 18-24" widths) create the perfect balance between plant spacing and visual harmony.
Frequently asked questions
Got questions about creating a circular garden layout?
You’re not alone! Here are answers to common concerns to help you plan with confidence.
What’s the best size for a circular garden?
A circular garden typically ranges from 3 to 8 feet in diameter, depending on your space and needs. Smaller circles (3–4 ft) work well for herbs or salad greens, while larger ones (6–8 ft) can accommodate tomatoes, peppers, or even small fruit bushes. Start small if you’re new to gardening—you can always expand!
How long does it take to plant a circular garden?
Most circular gardens take 1–3 hours to plant, depending on size and complexity. Prepping the soil (removing weeds, amending with compost) adds time, but the actual planting—digging holes, setting plants, and mulching—is usually quick. Pro tip: Plan ahead by laying out plants in a sketch to streamline the process!
Is a circular garden more expensive than a traditional row layout?
Not necessarily! Circular gardens often save costs by reducing material needs (less fencing, fewer tools) and maximizing space efficiency. The main upfront investment is the raised bed or border materials, but long-term savings on water, soil, and plant yields can offset this. Reuse materials like bricks or pallets to cut expenses further.
Can I grow vegetables in a circular garden year-round?
It depends on your climate! In mild zones (Zones 7–10), you can grow cool-season crops (lettuce, kale) in winter and warm-season veggies (tomatoes, peppers) in summer. In colder areas, use season extenders like cold frames or row covers. Succession planting (sowing new seeds every 2–3 weeks) also keeps harvests abundant.
What if my circular garden gets too crowded or overgrown?
Overcrowding is easy to fix! Start by thinning plants (especially fast growers like radishes or lettuce) to give roots room. Prune regularly to improve airflow, and rotate crops yearly to prevent soil depletion. If pests are an issue, introduce companion plants (like marigolds or basil) or use organic sprays. A well-planned layout minimizes chaos!
Are there alternatives to a circular layout?
If circles don’t suit your space, try:
- Square-foot gardening: Divide beds into 1-foot grids for precise planting.
- Spiral herb gardens: Combine herbs in a curved design for easy access.
- Keyhole gardens: A circular design with a compost basket in the center.
- Raised rows: Long, narrow beds for traditional row crops.
Wrapping up and next steps
A circular garden layout isn’t just a clever way to maximize small spaces—it’s a sustainable, low-maintenance powerhouse for bountiful harvests. 🌱 Whether you’re a beginner or a seasoned gardener, this design proves that small spaces can yield big results with thoughtful planning.
Ready to transform your garden? Start by sketching your ideal layout, gathering your tools, and taking that first step toward a thriving, space-efficient oasis!
Next steps:
- 📝 Draft your design on paper or digitally.
- 🛠️ Gather materials (raised beds, compost, plants).
- 🌱 Plant with confidence—your future harvest awaits!