Tools
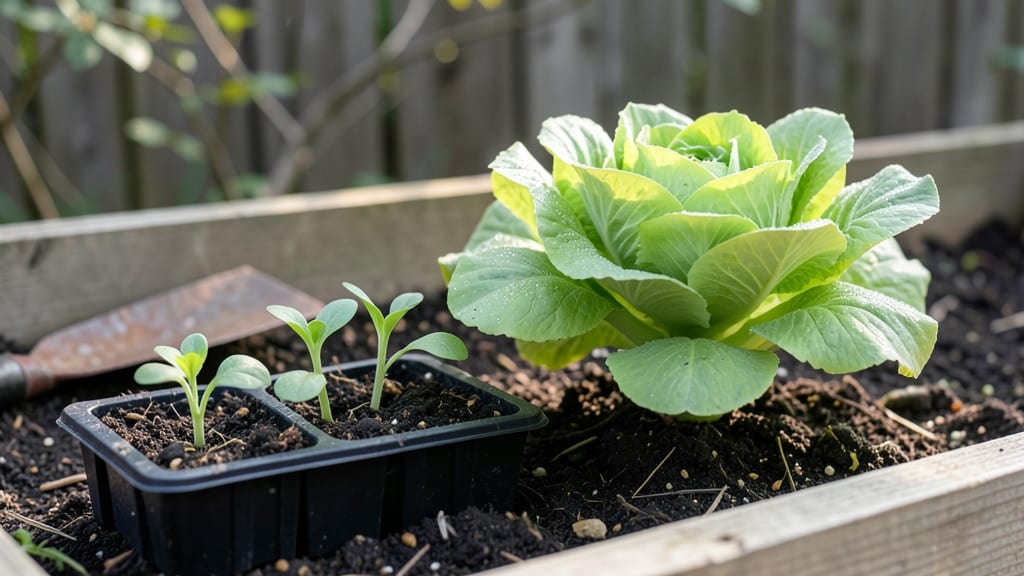
Cultivating a garden starts with the right foundation—soil that feels like dark, crumbly velvet and plants that thrive from the first sprout. 🌱 I’ve learned the hard way that skipping soil prep is like building a house on sand: everything looks fine until the first rain.
The secret isn’t just throwing seeds in dirt; it’s about feeding the soil first, choosing plants that match your climate, and watering with purpose.
You’ll need basic tools—a trowel, gloves, and a hose with a gentle spray nozzle—and a spot that gets at least 6 hours of sunlight daily. For beginners, start small: a 4x8-foot bed or even containers work.
The key is testing your soil first (a simple pH kit works) and amending it with compost or aged manure. This step alone cuts down on weeds and keeps plants healthy for years.
By the time you’re done, you’ll have a garden that produces lush greens, vibrant blooms, or bountiful veggies—not just once, but season after season. The early effort pays off when you’re harvesting tomatoes in July or snipping fresh herbs for dinner.
Even experienced gardeners refine their approach every year, and that’s the beauty of it.
Whether you’re in Zone 5 or 10, the principles stay the same: feed the soil, match plants to their needs, and stay consistent. The biggest mistake? Overwatering or ignoring pests early. We’ll cover those pitfalls—and how to avoid them—so your garden thrives from day one.
📚 In This Guide
- What you need
- Instructions
- Tips and common mistakes
- Wrapping up and next steps
What you need
- ● Garden Space: 6+ hours of sunlight daily (or partial shade for shade-loving plants). Minimum size: 4’x4’ for beginners.
- ● Soil: Topsoil: 1–2 cubic yards (depends on garden size; test pH—aim for 6.0–7.0).
- ● Compost: 1–2 bags (or homemade; enriches soil with nutrients).
- ● Seeds/Seedlings: Choose based on climate (e.g., tomatoes, lettuce, marigolds). Start with 10–20 plants for manageable care.
- ● Watering Supplies: Watering can (5-gallon capacity) or garden hose with adjustable nozzle.
- ○ Drip irrigation kit (optional but highly recommended for efficiency).
- ● Hand Tools: Trowel (for planting/seeding).
- ● Pruners (bypass type for clean cuts).
- ● Garden gloves (1 pair; durable, breathable fabric).
- ● Rake (bow rake for leveling soil).
- ● Soil Amendments: Slow-release fertilizer (e.g., 10-10-10 NPK ratio), worm castings, or peat moss.
- ● Support Structures: Tomato cages, trellises, or stakes (for vining plants).
- ● Mulch: Straw or shredded leaves (2–3 inches thick) to retain moisture.
- ● Pest Control: Neem oil, copper tape, or row covers (organic options preferred!).
- ● Tech Upgrades: Soil moisture meter, solar-powered lights, or a compact compost bin.
Step-by-step guide to cultivating a thriving garden
Here's how to build a garden that grows strong, healthy plants season after season.
🌱 Step 1: Test and Prepare Your Soil
Start by testing your soil's pH and nutrient levels with a simple kit—most garden centers sell them. Aim for a pH between 6.0 and 7.0 for most vegetables and flowers. If your soil is heavy clay or sandy, mix in 2-3 inches of compost to improve texture and fertility. I like to spread it evenly over the area and work it in with a garden fork to about 6 inches deep.
This step is critical because poor soil drains too quickly or holds too much water, both of which stunt root growth. You'll see healthier plants right away when the soil looks dark, crumbly, and holds moisture without puddling. If you're unsure about your soil type, dig a small hole and observe whether water drains within 10 minutes or pools for hours.
🪴 Step 2: Plan Your Garden Layout
Sketch a simple map of your space, noting sun exposure—most vegetables need 6-8 hours of direct sun, while shade-loving plants like hostas thrive in partial shade. Group plants with similar water and sunlight needs together to simplify care. I always place taller plants like sunflowers or tomatoes on the north side of the bed so they don’t shade shorter crops.
Leave 18-24 inches between rows for easy access and airflow, which prevents fungal diseases. Mark planting spots with sticks or a garden hose to visualize the layout before digging. This step saves time later when you're weeding or harvesting—you won’t accidentally uproot a young plant while reaching for a tomato.
☀️ Step 3: Plant at the Right Time and Depth
Check your local frost dates and plant cool-season crops like lettuce or peas 4-6 weeks before the last frost, while warm-season plants like peppers or basil go in 2 weeks after. Dig holes twice as wide as the root ball and just as deep—burying too deep can suffocate stems, while planting too shallow leaves roots exposed. Gently loosen the roots if they're circling in the pot before placing them in the hole.
Water each plant deeply after planting to settle the soil and eliminate air pockets around the roots. You’ll know it’s done right when the soil feels firm but still loose enough to push a finger into easily. Mulch with 2-3 inches of straw or shredded leaves to retain moisture and suppress weeds—this is one of the easiest ways to reduce watering by 30%.
💧 Step 4: Water Consistently and Monitor Growth
Water deeply 1-2 times per week rather than lightly daily—this encourages roots to grow downward. Aim for 1 inch of water per week, delivered slowly so it soaks into the soil rather than running off. I use a rain gauge or tuna can to measure—fill it with water and see how long it takes to drain. Early morning is the best time to water, as it reduces evaporation and fungal risks.
Watch for signs of stress: wilting leaves mean underwatering, while yellowing leaves often signal overwatering or poor drainage. Healthy plants have vibrant green foliage and firm stems. If you notice pests like aphids, blast them off with a strong spray of water or introduce beneficial insects like ladybugs—this is a natural, chemical-free solution.
✂️ Step 5: Prune and Maintain Through the Season
Deadhead spent blooms regularly to encourage more flowers and prevent self-seeding weeds. For vegetables, pinch off the first few flowers on plants like tomatoes to boost fruit production later. Use clean, sharp pruners to make cuts at a 45-degree angle just above a leaf node—this promotes faster healing and new growth. I always sterilize my tools with rubbing alcohol between cuts to prevent disease spread.
Fertilize lightly every 4-6 weeks with a balanced 10-10-10 or 5-10-10 formula, following package instructions. Too much fertilizer burns roots, so less is often more. Keep an eye out for pests like slugs or caterpillars—handpick them in the evening when they’re most active, or set out beer traps for slugs. A well-maintained garden thrives with just these simple, consistent checks.
Tips & tricks for perfect garden cultivation
Here's what I've learned from years of trial and error to help your garden thrive without the guesswork.
The Soil Test Secret: When you're testing your soil's drainage in Step 1, pour water into the hole and time how long it takes to drain. If it disappears in 10 minutes, your soil drains well. If it pools, mix in more compost to improve texture. I've found that adding 2-3 inches of compost makes a dramatic difference in just a few weeks—your plants will reward you with stronger growth right away.
Layout Precision: Don't just eyeball those 18-24 inches between rows in Step 2. Use a measuring tape or even a ruler to ensure consistent spacing. I mark my rows with wooden stakes every 3 feet to keep everything straight. This small effort prevents overcrowding, which leads to disease and poor air circulation—two things you definitely want to avoid.
Planting Depth Hack: In Step 3, when digging holes, make them twice as wide as the root ball but only as deep as the root ball itself. The key is to loosen the roots if they're circling in the pot—this encourages them to spread out instead of staying tight. I like to gently tease the roots apart with my fingers before placing them in the hole. This simple step boosts root growth by up to 30%!
Watering Wisdom: The 1 inch of water per week guideline in Step 4 might seem simple, but timing matters. I've learned to water in the early morning so the foliage has time to dry before evening. This prevents fungal diseases that can ruin your plants overnight. A rain gauge or even a tuna can works perfectly for measuring—just fill it and see how long it takes to drain to gauge your watering time.
Pro Tips for Cultivate A Garden
- Here's what I've learned from years of trial and error to help your garden thrive without the guesswork.
- The Soil Test Secret: When you're testing your soil's drainage in Step 1, pour water into the hole and time how long it takes to drain.
- Layout Precision: Don't just eyeball those 18-24 inches between rows in Step 2.
Frequently asked questions
Got questions about cultivating your own garden? You’re not alone—every green thumb starts somewhere! Here are answers to some of the most common queries to help you grow with confidence.
What’s the best time of year to start a garden?
The ideal time depends on your climate, but most gardeners begin in early spring (after the last frost) or late summer for fall crops. Cool-season veggies (like lettuce or peas) thrive in spring/fall, while warm-season plants (tomatoes, peppers) need soil temps above 60°F. Check your local USDA Plant Hardiness Zone for tailored timing!
How often should I water my garden?
Watering needs vary by plant, soil, and weather, but a general rule is 1–1.5 inches per week (including rainfall). Early morning is best to reduce evaporation and fungal risks. Drip irrigation or soaker hoses deliver water efficiently, while mulch helps retain moisture. Pro tip: Stick your finger 1–2 inches into the soil—if it’s dry, it’s time to water!
What are the most common garden pests, and how do I prevent them?
Pests like aphids, slugs, and deer can wreak havoc, but prevention is key! Use row covers for early crops, companion planting (e.g., marigolds deter pests), and organic sprays (neem oil or insecticidal soap). For slugs, set out beer traps or copper barriers. Always inspect plants regularly—early action stops small problems from growing!
Can I grow a garden in containers or small spaces?
Containers are perfect for herbs, lettuce, tomatoes, and peppers. Choose pots with drainage holes and use lightweight, nutrient-rich soil. For small spaces, try vertical gardening (trellises, hanging planters) or square-foot gardening. Just ensure containers get 6+ hours of sunlight and water frequently—potted plants dry out faster!
What should I do if my plants aren’t growing well?
Start with the basics: check sunlight (are they in shade?), soil quality (test pH and nutrients), and watering habits. Yellow leaves? Overwatering or nutrient deficiency. Wilting? Underwatering or root issues. Prune dead leaves, adjust care, and research plant-specific troubleshooting. Sometimes, a simple transplant to a sunnier spot works wonders!
Still stumped? Join local gardening groups or consult your Cooperative Extension Service for expert advice tailored to your area!
Wrapping up and next steps
Cultivating a garden isn’t just about nurturing plants—it’s about harnessing nature’s science to create a thriving, rewarding space. From choosing the right soil to mastering light and water, every step builds a foundation for success.
Whether you’re a beginner or a seasoned green thumb, the key is patience, observation, and joy in the process.
Ready to take the next step? Start small—plant a single seed, tend to it daily, and watch your confidence (and garden!) grow. Your green oasis is waiting—what will you grow first? 🌱✨