
Tools
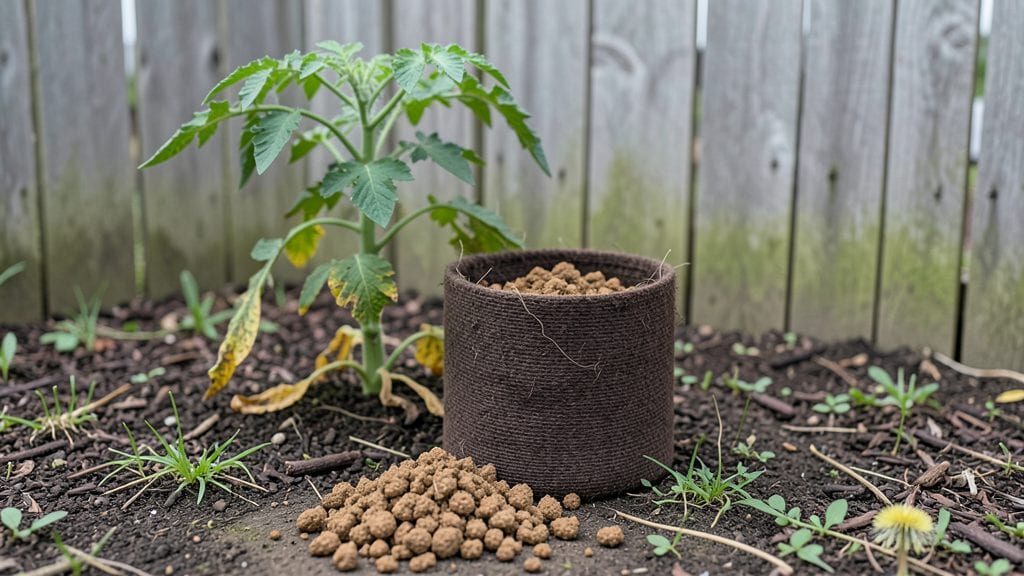
My Keter garden box setup transformed my tiny balcony into a thriving herb garden last summer—proof that modular planters can turn even the smallest space into a productive oasis. 🌱 The snap-together design means no heavy lifting, and the built-in drainage solves my biggest frustration with other containers: soggy roots and moldy soil.
I stacked four boxes vertically against the railing, and within weeks, basil, thyme, and parsley were growing so vigorously they spilled over the edges.
The real magic happens in how you arrange them. Keter boxes come in different sizes, so you can mix and match for height variation or create a uniform look with identical units.
I paired mine with a small trellis for my morning glory vines, and the combination made the space feel intentional rather than cluttered.
The durable plastic material holds up to rain and sun better than wood, and the color options blend seamlessly with any outdoor decor—whether you want a neutral look or something bold.
By midseason, I was harvesting fresh herbs daily, and the boxes stayed neat and organized with minimal effort. The self-watering feature (when paired with their reservoir system) cut my watering time in half, and the shallow roots of herbs and greens thrive in their compact footprint.
You’ll end up with a system that’s both functional and attractive, proving that growing space isn’t about square footage—it’s about smart design.
Works for everything from vegetables to flowers, and adapts to patios, decks, or even ground-level gardens. Here’s how to make the most of your setup without overcomplicating it.
📚 In This Guide
- What you need
- Instructions
- Tips and common mistakes
- Wrapping up and next steps
What you need
- ● Keter Garden Box Kit(s) 1–4 planter boxes (depending on your design)
- ● Connectors (included with most kits)
- ● Garden Soil or Potting Mix 2–5 cubic feet per box (check soil bag for exact measurements)
- ● Pro tip: Use a high-quality, well-draining mix for best results! 🌡️
- ○ Gravel or Drainage Material (Optional but Recommended) 1–2 inches of small pebbles or landscape fabric (for drainage)
- ● Tools Garden gloves (to protect your hands!)
- ● Trowel or shovel (for soil and planting)
- ● Level (to ensure even placement)
- ● Measuring tape (for precise spacing)
- ● Drill (if securing boxes to a deck or patio)
- ○ Extras (Optional but Helpful) Mulch (to retain moisture and suppress weeds)
- ● Decorative stones or edging (for a polished look)
- ● Plant markers (to label your greens!)
How to assemble and use your Keter garden box system
Here's the straightforward way to snap together your new modular planters and start growing.
🪴 Step 1: Choose Your Layout and Assemble the Base Panels
Start by selecting your preferred configuration—Keter boxes connect in any rectangular arrangement. I like to begin with the 4-foot base panels as my foundation since they provide the most stable surface. Place two panels side by side and interlock the male/female connectors along the edges until you hear a satisfying click.
For larger setups, add additional panels in the same way, always matching male connectors with female slots. The system locks securely without tools, but I recommend pressing firmly at each joint to prevent shifting later. If you're building a tall stack, start with the widest base first—this prevents wobbling when you add height.
🪴 Step 2: Add Height with Stackable Boxes
Once your base is complete, add stackable boxes (12" or 24" tall) to create vertical growing space. Place the first stack directly on the base panel, aligning the connectors before pressing down. The weight distribution is critical here—never exceed the box's weight limit (check your manual).
For a 4-box setup, I typically use two 12" stacks on opposite corners of the base. This creates two growing levels while keeping the structure stable. If you're growing heavy plants like tomatoes, distribute them evenly across stacks to prevent tipping. You'll know the weight is balanced when the boxes sit level without rocking.
🌱 Step 3: Line with Landscape Fabric (Optional but Recommended)
Before adding soil, line the bottom of each box with landscape fabric to prevent weeds from invading through drainage holes. Cut the fabric to fit snugly, leaving a 2-inch overhang on all sides. Secure it with landscape staples or fold the excess under the edges.
This step is especially useful if you're placing the boxes directly on grass or mulch. The fabric also helps retain moisture in the soil while allowing excess water to drain freely. If you skip this, you'll need to hand-pull weeds regularly—something I learned the hard way during my first summer with unlined boxes.
💧 Step 4: Fill with Quality Soil and Plant
Fill each box with well-draining potting mix (never garden soil—it compacts in containers). For a 4-foot base panel, you'll need about 3 cubic feet of soil per 12" of height. I like to add a slow-release fertilizer mixed into the top 6 inches of soil to give plants a nutrient boost from the start.
Leave a 2-inch gap at the top of each box to prevent soil spillage during watering. Plant your selections according to their mature size—tall plants like sunflowers belong in the back or on upper levels, while shallow-rooted herbs go in front. Water deeply after planting to settle the soil and remove any air pockets around roots.
☀️ Step 5: Position for Optimal Sunlight and Accessibility
Place your completed garden box in a location with 6+ hours of direct sunlight daily. Most Keter boxes perform best on south or west-facing surfaces. If you're using the system vertically, rotate the boxes a quarter turn weekly so plants grow evenly toward the light.
Consider accessibility too—position boxes where you'll actually use them. I keep mine within 3 feet of my kitchen door so I can snip fresh herbs for cooking without trekking across the yard. You'll notice a big difference in harvest frequency when your garden is this convenient.
Tips & tricks for perfect Keter garden box assembly
Here's what I've learned after setting up my own system—and how to avoid the common pitfalls that trip up beginners.
Foundation First: When assembling your 4-foot base panels in Step 1, press firmly at each male/female connector junction. I can't stress this enough—those plastic snaps need real pressure to lock securely. For extra stability, especially with tall stacks, add a single screw through the connector holes (they're designed to hide). This prevents any wobble when you're harvesting heavy tomatoes later.
Weight Distribution Strategy: In Step 2, when adding your 12" or 24" stackable boxes, think of your setup like a pyramid. Place the heaviest plants (like tomatoes or peppers) in the center of each stack, then distribute lighter plants (herbs, lettuce) toward the edges. This keeps your center of gravity low and prevents tipping. Pro tip: Test your balance by gently pushing each stack—it should resist movement without rocking.
Landscape Fabric Hack: For Step 3, if you're placing your boxes directly on grass or mulch, use a heavier-weight landscape fabric (60gsm or more). The standard 2-inch overhang works, but I fold the excess under the edges instead of stapling—it creates a cleaner look and prevents fabric from peeking out. For containers on decks or patios, consider adding a layer of hardware cloth underneath the fabric to deter burrowing pests.
Soil Science: When filling your boxes in Step 4, don't compact the soil as you add it—this creates air pockets that prevent root growth. Instead, add soil in 2-inch layers and gently loosen with your fingers. For the 3 cubic feet needed per 12" of height in a 4-foot panel, I mix my potting soil with 10% perlite to improve drainage. This prevents the classic container garden issue of soggy bottoms while keeping moisture where plant roots need it.
Pro Tips for Keter Garden Box
- Here's what I've learned after setting up my own system—and how to avoid the common pitfalls that trip up beginners.
- Foundation First: When assembling your 4-foot base panels in Step 1, press firmly at each male/female connector junction.
- Weight Distribution Strategy: In Step 2, when adding your 12" or 24" stackable boxes, think of your setup like a pyramid.
Frequently asked questions
Got questions about transforming your space with Keter Garden Box modular planters? Here are some of the most common queries—and their answers—to help you get started with confidence!
What’s the best way to assemble a Keter Garden Box for beginners?
The assembly is simple! Start by laying out the base panels and connecting them with the included corner brackets. For the sides, attach the locking panels to the base, then secure the top edges with the provided clips. Pro tip: Use a helper to hold panels steady while you snap them together—it makes the process smoother!
How long does it take to assemble one box?
Most DIYers complete assembly in 15–30 minutes, depending on the box size and your experience. Larger configurations (like connecting multiple boxes) may take longer. Check the included instructions for step-by-step guidance—Keter’s design prioritizes ease, so don’t stress!
Can I use Keter Garden Boxes for vegetables, or are they just for flowers?
These boxes are versatile—perfect for herbs, veggies (like tomatoes or peppers), and flowers. Just ensure your plants have enough depth (most boxes are 10–12" deep) and use quality potting soil. Bonus: Raised beds warm up faster in spring, giving veggies a head start!
What if my box leaks or drains poorly?
Leaks usually stem from gaps in the base or sides. Double-check that all corner brackets and clips are securely fastened. For drainage, ensure the bottom panel has holes (standard in Keter designs) and place a tray underneath. If issues persist, reinforce seams with waterproof sealant or replace damaged panels.
Are there cheaper alternatives to Keter Garden Boxes?
Yes! Budget-friendly options include wooden raised beds (DIY or pre-made) or plastic storage bins with drainage holes. However, Keter boxes stand out for their durability, modularity, and UV-resistant material—ideal for long-term use. Weigh your needs: cost vs. convenience and lifespan!
Wrapping up and next steps
Transforming your outdoor space into a thriving garden has never been easier with a Keter Garden Box! These modular planters offer versatility, durability, and endless design possibilities—whether you're a seasoned gardener or just starting out. 🌱✨
Ready to elevate your gardening game? Start small with a single box or create a stunning, multi-tiered display. Grab your tools, pick your plants, and let your creativity bloom! Your dream garden is just a few steps away—what will you grow first?