
Landscaping
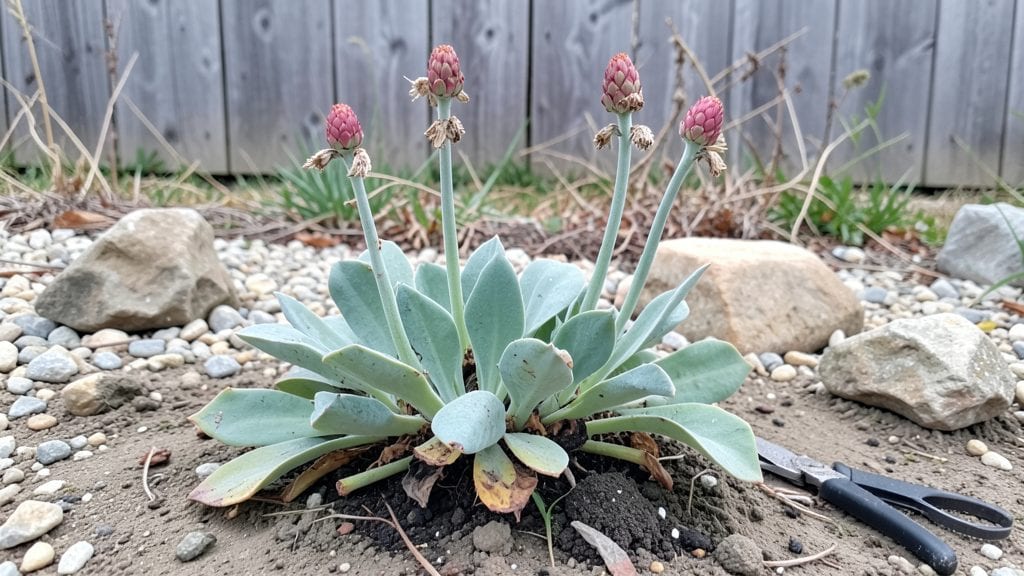
My rockery garden ideas all start with one game-changing principle: tiered terraces transform flat spaces into living art. 🌿 I built mine on a gentle slope, and the way light dances across each layer at golden hour? Pure magic.
The key isn't just stacking rocks—it's creating stages where plants can thrive at different heights, with drainage that works and drama that doesn't. What makes this design foolproof is matching plants to their perfect spots: succulents on sunny tiers, ferns in shaded crevices, and alpines where moisture lingers just enough.
You'll need flat stones for seating, rounded boulders for structure, and a mix of soil types—sandy for drainage, loamy for roots. My first terrace took three weekends to build, but now it's the backyard centerpiece that neighbors ask about. The payoff? A garden that feels ancient yet effortless to maintain.
No more battling weeds in tight corners—just low-growing perennials that spread naturally and drought-tolerant picks that never beg for water. Even my black thumb keeps this one alive, and the vertical layers make every season look intentional.
Works for any climate: Mediterranean rockeries glow with lavender and rosemary, woodland versions hide hostas and astilbes, and minimalist designs rely on clean lines and native stones. Let's make yours unforgettable—starting with the first rock you place.
📚 In This Guide
- What you need
- Instructions
- Tips and common mistakes
- Wrapping up and next steps
What you need
- ● Rocks & Stones: Flat stones (for terraces): 20–30 medium-sized (12"–18" diameter)
- ● Larger boulders (for structure): 5–10 (18"–36" diameter)
- ● Smaller pebbles/gravel (for drainage & base): 5–10 lbs
- ● Soil & Drainage: Well-draining potting mix: 2–3 cubic feet
- ● Perlite or sand (for aeration): 1–2 lbs
- ● Plants: Succulents/sedums (drought-resistant): 6–10 plants
- ● Ornamental grasses (for texture): 3–5 clumps
- ● Small shrubs (e.g., heather, ferns): 2–4 plants
- ● Garden shovel & trowel (for digging)
- ● Wheelbarrow (for hauling materials)
- ● Level (to ensure terraces are even)
- ● String & stakes (for marking layout)
- ● Garden gloves (for protection)
- ○ Optional: Landscape fabric (to prevent weed growth)
- ● Sunlight assessment: Ensure your spot gets 4–6 hours of sunlight (adjust plants accordingly).
- ● Slope analysis: Choose a gentle incline (10–20°) for stability.
- ● Water source nearby (for post-planting care).
How to design a stunning rockery garden with tiered terraces
Elevate your garden with natural-looking stone layers that create depth and movement—no heavy construction required.
🪴 Step 1: Plan Your Rockery Layout and Select Materials
Start by sketching your design on paper, marking where each tier will sit. I like to use irregularly shaped stones for a natural look—avoid perfectly cut slabs, which scream "man-made." For a 4-tier rockery, you'll need about 15-20 medium-sized rocks (12-18 inches tall) as the main structural elements, plus smaller stones to fill gaps. Choose a mix of flat stones for seating or planting surfaces and rounded boulders for stability.
Test-fit your rocks in the chosen location before digging. Place the largest stones first—they form the backbone of your structure. If your garden has a slope, work with it: higher tiers on the downhill side create natural water drainage and visual flow. Mark the outline of each tier with garden stakes and string for precision.
☀️ Step 2: Build Foundations and Create Terraces
Dig shallow trenches (6-8 inches deep) along the marked outlines for each tier. The width should match your largest stones plus 4-6 inches for stability. Line the trenches with landscape fabric to prevent weeds from creeping up later. For extra support, add a layer of crushed gravel (about 2 inches thick) at the bottom of each trench.
Place your largest stones into the trenches, angling them slightly inward to create a self-supporting structure. Fill the gaps between rocks with smaller stones and garden soil, tamping down firmly as you go. Leave 2-3 inches of space between tiers to accommodate plants and prevent erosion. For a polished finish, sweep the surface with a stiff brush to remove loose soil.
🌱 Step 3: Layer Soil and Plant for Natural Beauty
Fill each tier with a mix of topsoil and compost (about 50/50) to create a nutrient-rich planting medium. For a 4-tier rockery, you’ll need roughly 1 cubic yard of soil total, distributed evenly across all levels. Press the soil down lightly to eliminate air pockets, then rake it smooth for a clean base.
Choose plants that thrive in rocky conditions: sedum, thyme, oregano, and alpine roses are perfect for cascading over edges. For taller plants like lavender or dwarf conifers, place them at the back of each tier. Water the soil thoroughly before planting to help roots establish quickly. Space plants 6-12 inches apart, depending on their mature size, to avoid overcrowding.
💧 Step 4: Add Finishing Touches for Long-Term Success
Mulch each tier with 3-4 inches of decorative gravel or bark chips to suppress weeds and retain moisture. Avoid organic mulch in rocky areas—it decomposes too quickly and can attract pests. For a cohesive look, select mulch that matches the color of your stones. Install a drip irrigation system along the edges of each tier to deliver water directly to plant roots without disturbing the structure.
Finally, add a few larger accent stones around the base of the rockery to anchor the design and create visual balance. Step back and assess the flow: the tiers should guide the eye upward naturally, with each level slightly narrower than the one below. Adjust any uneven spots by adding or removing small stones until the structure feels harmonious.
Tips & tricks for perfect tiered rockery gardens
Creating a stunning rockery isn't just about stacking stones—it's about harmony, balance, and strategic placement that transforms your garden into a vertical masterpiece.
Stone Selection Strategy: The key to a natural-looking rockery lies in the irregularity of your stones. Look for rocks with varied textures and colors—mix smooth river stones with rough fieldstones for visual interest. In Step 1, when selecting your 15-20 medium-sized rocks, prioritize those with flat surfaces for planting tiers and rounded bases for stability. Pro tip: Collect stones from your own property or local areas to create an authentic, organic feel that blends seamlessly with your landscape.
Foundation Technique: In Step 2, that 6-8 inch trench depth is critical for stability, but don't overlook the crushed gravel layer. I've seen many rockeries fail because builders skipped this step—it provides essential drainage and prevents soil erosion. For extra reinforcement, especially in windy areas, consider adding a layer of landscape fabric between the gravel and soil. This creates a barrier that keeps your structure intact for years.
Planting for Visual Flow: The secret to making your rockery look intentional in Step 3 is strategic plant placement. Start with your tallest plants (like lavender or dwarf conifers) at the back of each tier, then cascade with trailing plants (sedum, thyme) toward the front. This creates that magical "waterfall" effect that draws the eye upward. For a cohesive look, choose plants with similar water needs—grouping them together makes maintenance effortless. Remember, the 6-12 inch spacing guideline is flexible; smaller plants can be closer, while larger ones need room to spread.
Long-Term Maintenance: That 3-4 inch mulch layer in Step 4 isn't just decorative—it's your rockery's first line of defense against weeds and erosion. For a polished look, I recommend using small, uniformly colored gravel that contrasts with your stones but complements your garden's palette. And here's a pro move: install your drip irrigation system before adding the final accent stones. This way, you can hide the tubing naturally between rocks without disturbing your perfect arrangement later.
Pro Tips for Rockery Garden Ideas
- Creating a stunning rockery isn't just about stacking stones—it's about harmony, balance, and strategic placement that transforms your garden into a vertical masterpiece.
- Stone Selection Strategy: The key to a natural-looking rockery lies in the irregularity of your stones.
- Foundation Technique: In Step 2, that 6-8 inch trench depth is critical for stability, but don't overlook the crushed gravel layer.
Frequently asked questions
Got questions about creating your own rockery garden? You’re not alone! Here are some of the most common queries—and their straightforward answers—to help you get started with confidence.
What’s the best time of year to build a rockery garden?
Aim for spring or early fall when the ground is workable but not frozen or scorching. Avoid winter (unless in mild climates) and peak summer heat, which can stress plants and make construction harder. Spring also gives plants a head start before summer droughts hit!
How much does a rockery garden cost to build?
Costs vary widely! A small DIY project with recycled stones and native plants might run $50–$200, while a large, professionally designed rockery with premium materials (like slate or bluestone) can exceed $1,000+. Factor in soil amendments, drainage layers, and plant purchases—shop local nurseries for deals!
Can I build a rockery without plants? Or should I wait?
You can create a dry-stacked rockery (just rocks and gravel) for a minimalist look, but adding plants will bring life and color. Start with hardy ground covers (like sedum or creeping thyme) or succulents—they thrive in rocky soil and need less water. Wait until after construction to plant!
What’s the biggest mistake beginners make with rockeries?
Poor drainage! Skipping a gravel or sand base under rocks leads to soggy soil and root rot. Other pitfalls include:
- Using too few plants (aim for 3–5 per square foot for coverage).
- Ignoring sunlight needs—place shade-loving plants on north-facing sides.
- Overcrowding rocks—leave 1–2 inches of space between stones for soil and roots.
How do I keep pests out of my rockery garden?
Rockeries attract slugs, snails, and rodents, but prevention is easy:
- Use gravel mulch (not organic) to deter slugs.
- Plant pest-repelling herbs like lavender or rosemary.
- Add a chicken wire barrier around the base if rabbits are a problem.
- Keep the area well-drained—moss and dampness invite pests.
What are some low-maintenance rockery alternatives?
If you want vertical drama without the upkeep, try:
- Stepping stones with creeping plants (e.g., moss or ajuga).
- Tiered planters filled with drought-tolerant succulents.
- Wooden or metal raised beds with built-in drainage.
- Living walls with pre-grown sedum mats (zero planting needed!).
Wrapping up and next steps
Transforming your outdoor space with a rockery garden isn’t just about adding beauty—it’s about creating a dramatic, functional, and low-maintenance landscape feature that turns heads.
Whether you’re drawn to tiered terraces, cascading plants, or a mix of textures, the key is to start small, plan thoughtfully, and let nature do the rest. 🌿✨
Ready to bring your vision to life? Sketch your design, gather your materials, and take the first step today! Every rockery begins with a single stone—so why not make yours the centerpiece of your garden? 🚀