
Tools
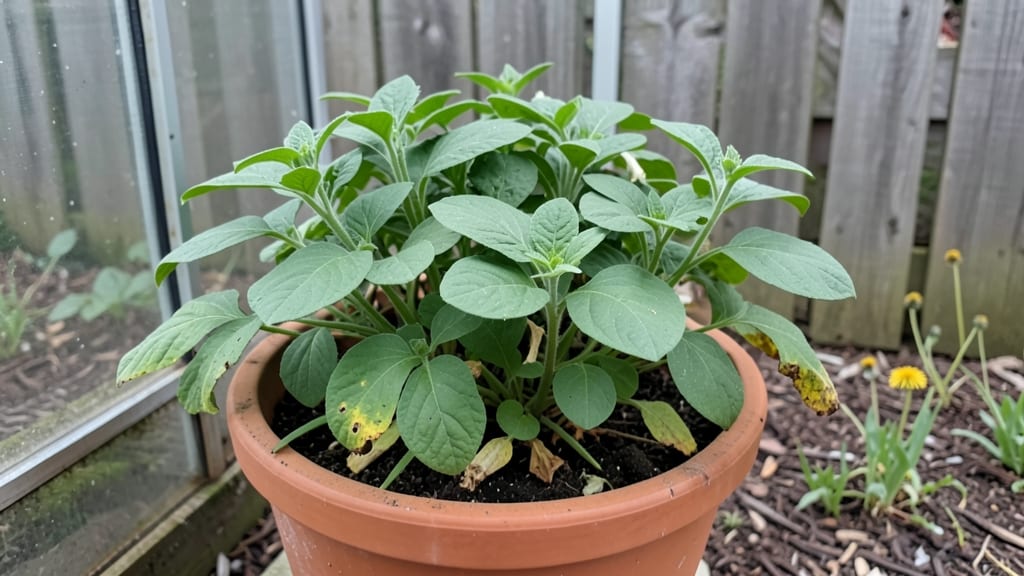
A cottage garden greenhouse blends rustic charm with practical growing magic—imagine fragrant roses in winter and fresh herbs year-round. 🌸 I designed mine after realizing my garden needed a cozy spot to shelter delicate plants from harsh winters while keeping that old-world cottage vibe.
The key is choosing a greenhouse that looks like an extension of your garden, not an eyesore. Think glass panels with wooden frames or a quaint metal structure painted in soft pastels to match your flowerbeds.
You’ll need a sunny location near your garden (but not so close it casts shadows), a foundation to protect the floor from moisture, and ventilation to prevent overheating.
My setup includes a small electric heater for cold snaps, but even without it, many cottage favorites like pansies, snapdragons, and hardy herbs thrive with just good airflow. The greenhouse becomes a hidden treasure—where you can start seedlings early, overwinter tender plants, and even grow microgreens for fresh spring salads.
Picture this: climbing roses trailing along the greenhouse walls, violas spilling over the edges, and the scent of lavender drifting through the air as you harvest fresh basil.
The greenhouse doesn’t just extend your growing season—it turns your garden into a living postcard, filled with color and life even when the world outside is gray. The best part? You can start small with a single bench-style greenhouse and expand as your love for it grows.
Whether you’re dreaming of a fairy-tale garden or just want to protect your favorite plants, this setup works for any space—urban backyards, rural homesteads, or even a sunny corner of a patio.
The secret is balancing beauty with function, so your greenhouse feels like a natural part of the scene, not an afterthought. Let’s bring that whimsical retreat to life!
📚 In This Guide
- What you need
- Instructions
- Tips and common mistakes
- Wrapping up and next steps
What you need
- ● Greenhouse Structure: Wooden frame (cedar or pine, 2x4s or 4x4s) – quantities depend on size; plan for a sturdy base and angled roof for rain runoff
- ● Glass panels or polycarbonate sheets (4mm–6mm thickness, clear or slightly tinted for UV protection) – calculate based on wall/roof area
- ○ Corrugated plastic sheeting (optional for side walls, cheaper but less durable)
- ● Hardware: Stainless steel or galvanized screws/nails (3–4” long)
- ● Hinges and latch (for doors, weather-resistant if outdoor)
- ● Weatherstripping (for sealing gaps)
- ● Foundation: Gravel or pavers (for drainage, 4–6” deep)
- ○ Concrete blocks or cinder blocks (optional for stability)
- ● Ventilation: Adjustable roof vents or mesh screens (for airflow)
- ● Shelving or benches: Wooden crates or metal frames (for plants/tools)
- ● Automated systems: Drip irrigation kit or small fan (for climate control)
- ● Decorative touches: Lattice, trellises, or fairy lights (for that cottage charm!)
- ● Level ground or raised platform (to prevent water pooling)
- ● Basic carpentry skills (or a friend with a drill!)
- ● Sunny spot with partial shade (morning sun + afternoon shade works best)
- ● Local building permits (check zoning laws if permanent)
Step-by-step guide to building your cottage garden greenhouse
Here’s how to create a charming, functional space that extends your blooming season with minimal fuss.
🪴 Step 1: Choose and Prepare Your Greenhouse Location
Pick a spot that gets at least 6 hours of sunlight daily—south-facing is ideal. Avoid low areas where cold air settles, as frost can damage tender plants. I like to place mine near the garden’s center so I can easily move plants in and out as seasons change.
Clear the ground of weeds and level the area with a rake. If your soil is rocky, lay down 4 inches of sand first to create a stable base. This prevents sinking and keeps your greenhouse sturdy. A slight slope toward the back helps with drainage during rain.
🌱 Step 2: Assemble the Greenhouse Structure
Follow the manufacturer’s instructions to assemble the greenhouse frame—most kits include numbered parts for easy setup. I’ve found that pre-cut lumber makes this step surprisingly simple, even for beginners. Start by anchoring the base corners with stakes or concrete footings to prevent shifting in wind.
Secure the panels tightly but avoid over-tightening, which can warp the plastic or glass. Leave a small gap at the bottom for airflow—this prevents condensation buildup, which can lead to mold. If your kit includes a door, position it to face away from prevailing winds for easier access.
☀️ Step 3: Install Shelving and Ventilation
Add shelves or benches at varying heights to maximize space. I use adjustable metal shelving because it’s sturdy and lets me customize levels for different plant sizes. Place the lowest shelf about 12 inches off the ground to allow airflow beneath pots.
Install vents or louvers near the roof to regulate temperature. Open them on warm days to prevent overheating—above 85°F can scorch plants. A small fan on a timer can help circulate air if your greenhouse gets too stuffy. I’ve also seen gardeners add a thermometer to track conditions easily.
💧 Step 4: Set Up Irrigation and Plant Arrangements
Use drip irrigation or a self-watering system to maintain consistent moisture without overwatering. I like to run lines along the edges of shelves so water doesn’t pool on leaves. Place a tray beneath pots to catch drips and prevent soil erosion.
Arrange plants by height and sunlight needs, with tall varieties like snapdragons at the back and low-growing ones like pansies in front. Leave 6-12 inches of space between plants for airflow. Rotate pots weekly so all sides get even light—you’ll notice leaves leaning toward the glass if they’re not getting balanced exposure.
⏰ Step 5: Monitor and Adjust for Seasonal Changes
Check the greenhouse daily in spring and fall to adjust vents and shading as temperatures shift. In winter, add a small heater or thermal blanket on cold nights—below 40°F can stunt growth. I’ve found that a simple thermostat-controlled fan keeps humidity in check year-round.
Fertilize lightly every 4-6 weeks with a balanced formula, and prune leggy stems to encourage bushier growth. Watch for pests like aphids—spray with neem oil at the first sign of trouble. With these small adjustments, your greenhouse will stay productive and charming for decades.
Tips & tricks for perfect cottage garden greenhouse
Building a charming greenhouse doesn't have to be overwhelming—these simple tricks will help you create a thriving space that lasts for years.
Location is Everything: That 6 hours of sunlight daily is non-negotiable for healthy plants. I always check sunlight patterns throughout the day—morning sun is gentler, while afternoon sun can be intense. If your yard has afternoon shade, consider placing the greenhouse where it gets morning sun and early afternoon light instead. A simple solar tracker app can help you map sunlight patterns before digging.
Base Preparation Matters: When you're laying down that 4 inches of sand for rocky soil, don't skip the leveling step. Use a long board as a straightedge to ensure your base is perfectly level—even a slight tilt can cause drainage issues or make the structure unstable over time. I've seen greenhouses sink on one side after just one heavy rain because the base wasn't properly leveled.
Ventilation Secrets: The 85°F temperature warning isn't just about heat—it's about humidity too. I recommend installing vents on both sides of the greenhouse so you can create cross-ventilation. On hot days, open the vents wide and add a small fan blowing air through the space. This prevents heat buildup and reduces condensation that can lead to mold. A simple thermometer mounted near plant level gives you real-time readings to adjust as needed.
Seasonal Transition Strategy: When temperatures drop below 40°F, don't just throw on a heater—create layers of protection. Start with a thermal blanket over the sides, then add a small space heater set to 55°F. This keeps roots warm while protecting delicate foliage. In spring, remove the heater first, then the blanket as temperatures rise. This gradual transition prevents shock to your plants.
Pro Tips for Cottage Garden Greenhouse
- Building a charming greenhouse doesn't have to be overwhelming—these simple tricks will help you create a thriving space that lasts for years.
- Location is Everything: That 6 hours of sunlight daily is non-negotiable for healthy plants.
- Base Preparation Matters: When you're laying down that 4 inches of sand for rocky soil, don't skip the leveling step.
Frequently asked questions
Got questions about your cottage garden greenhouse?
Whether you're a seasoned gardener or just starting out, these answers will help you grow with confidence!
What’s the best time of year to set up a cottage garden greenhouse?
A cottage garden greenhouse can be built almost any time, but late winter or early spring is ideal. This gives plants a head start before summer heat arrives. If starting in summer, prioritize shade cloth and ventilation to prevent overheating. For year-round use, a sturdy structure with insulation (like polycarbonate panels) works best in cooler climates.
How much does a DIY cottage garden greenhouse cost compared to buying one?
DIY greenhouses typically cost $50–$300, depending on materials (wood, glass, or plastic sheets). Pre-built kits or small commercial greenhouses range from $300–$1,500+. A DIY approach saves money but requires tools and time—perfect for budget-conscious gardeners! For a whimsical touch, repurpose vintage windows or reclaimed wood to cut costs further.
How do I keep my greenhouse from getting too hot in summer?
Overheating is common! Ventilation is key: Install adjustable roof vents or side panels, and use shade cloth (30–50%) on sunny sides. Open doors early/late in the day for airflow. Mist systems or reflective paint on the exterior can also help. Avoid placing dark-colored structures in full sun—opt for light colors or metal frames to reflect heat.
Can I grow flowers year-round in a cottage garden greenhouse?
Greenhouses extend seasons, but success depends on climate and plant choices. Hardy perennials (like pansies or hellebores) thrive in cooler months, while tender flowers (like geraniums) need winter protection. Use grow lights for short days, and monitor humidity—too much can encourage mold. Rotate crops to prevent soil depletion and keep blooms vibrant!
What’s the easiest greenhouse alternative for small spaces?
If space is limited, consider:
- Cold frames: Low-profile, great for seedlings and hardy greens (e.g., lettuce).
- Hoop houses: Flexible, affordable, and easy to assemble with PVC pipes and plastic.
- Window boxes with cloche covers: Tiny but effective for herbs or delicate flowers.
- Mini polycarbonate tunnels: Portable and lightweight for seasonal use.
Wrapping up and next steps
Transforming your cottage garden with a greenhouse isn’t just about extending your growing season—it’s about creating a magical space where nature’s charm thrives year-round.
Whether you’re nurturing delicate blooms, experimenting with heirloom varieties, or simply savoring the joy of gardening in cozy comfort, your greenhouse becomes a whimsical retreat and a labor of love.
Ready to take the next step? Start small—sketch your dream layout, gather supplies, and let your creativity bloom! 🌸 With a little planning and passion, your cottage garden greenhouse will soon become the heart of your outdoor sanctuary.