
Tools
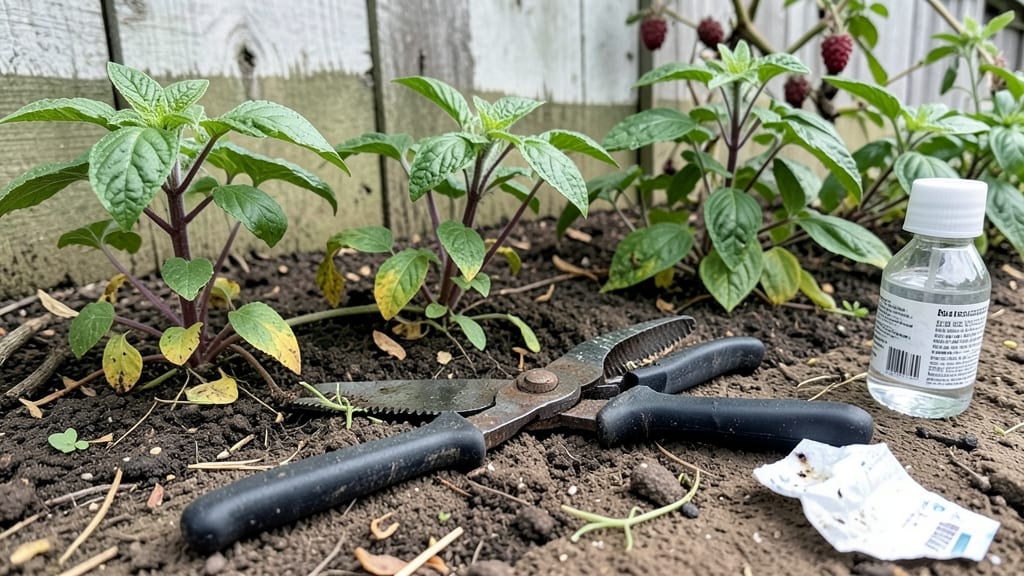
Disinfecting garden shears isn’t just about keeping tools sharp—it’s the secret to preventing plant diseases that can wipe out your entire garden. 🌱 I’ve seen rust spots turn into full-blown blights because shears carried fungal spores from one plant to the next.
The good news? A 5-minute sterilization with stuff you already own keeps your tools—and your garden—healthy.
You don’t need fancy equipment: rubbing alcohol (70% or higher), bleach, or even boiling water will do the trick. For alcohol, just soak the blades for 30 seconds; for bleach, mix 1 part bleach to 9 parts water and let them soak for 2 minutes.
Rinse thoroughly afterward to avoid chemical damage to plants. The key is consistency—sterilize after every use if you’re dealing with sick plants, or at least once a season for preventive care.
Clean shears mean fewer wilting leaves, stronger stems, and plants that thrive instead of fight. Imagine snipping into fresh basil without worrying about hidden pathogens lurking on your blades.
That’s the difference between a productive garden and one that’s constantly battling infections. Ready to make your tools work as hard as you do?
Here’s the catch: skip the sterilization, and you’re basically spreading plant germs like a gardener’s version of a cold virus. But do it right, and your tools become your first line of defense against diseases. Let’s get those shears sparkling clean—your tomatoes will thank you.
📚 In This Guide
- What you need
- Instructions
- Tips and common mistakes
- Wrapping up and next steps
What you need
- ● Garden shears – Any type (bypass, anvil, or pruning shears), but ensure they’re clean and free of debris.
- ● Disinfectant solution – Choose one of these: 70% isopropyl alcohol (rubbing alcohol)
- ● 3% hydrogen peroxide (food-grade preferred)
- ● 10% bleach solution (1 part bleach to 9 parts water—use immediately)
- ● Soft-bristle brush – A toothbrush or small paintbrush works great for scrubbing hard-to-reach areas.
- ● Microfiber cloth or paper towels – For drying and polishing after disinfection.
- ○ Rubber gloves – Protects your hands from harsh chemicals (optional but recommended).
- ● Container or sink – Large enough to submerge or soak the shears (e.g., a bucket, basin, or clean sink).
- ● Timer or stopwatch – To ensure the shears soak for the full 5 minutes.
- ● WD-40 or light machine oil – For re-lubricating blades after disinfection (if needed).
- ● Vinegar (white) – Mix with water (1:1 ratio) for a natural, residue-free rinse.
- ● Old toothpaste – A dab on the pivot screw can help loosen rust or stiffness.
- ● Spray bottle – For applying disinfectant evenly if soaking isn’t an option.
Step-by-Step instructions for disinfecting garden shears
Here's the quick, foolproof method I use to keep my garden tools sterile between cuts.
🧼 Step 1: Remove Debris and Inspect Blades
Start by wiping down the shears with a clean cloth to remove any plant residue or sap. This prevents buildup that can interfere with disinfection. Run your finger along the blade edge—if you feel any gummy plant material, use a toothpick or cotton swab dipped in rubbing alcohol to scrape it out from the pivot point.
Check for any rust spots or dull areas on the blades. If you see surface rust, scrub it off with a fine-grit sandpaper (100-grit or higher) before proceeding. This ensures the disinfectant can reach clean metal. I always do this step outside—rust particles can irritate lungs if inhaled.
💧 Step 2: Choose and Apply Your Disinfectant
For general cleaning, I use a 10% bleach solution (1 part bleach to 9 parts water) because it kills 99.9% of bacteria and fungi. For a gentler option, 70% isopropyl alcohol works just as well and won't corrode metal over time. Soak a paper towel or cloth in your chosen solution and wipe down every surface of the shears—blades, handles, and pivot area.
Pay special attention to the pivot point where the two blades meet. This is where bacteria and plant pathogens hide most. Hold the shears open and use a cotton swab dipped in the solution to scrub this area thoroughly. Let the solution sit for 2-3 minutes to ensure full contact time with any hidden contaminants.
⏰ Step 3: Rinse and Dry Completely
After the disinfectant has had time to work, rinse the shears thoroughly with clean water. Use a spray bottle for hard-to-reach areas. I like to hold the shears under running water while gently opening and closing the blades to flush out any remaining solution from the pivot area.
Dry the shears immediately with a clean towel. Moisture left behind can cause rust, especially if you store them in a damp environment. For extra protection, apply a thin layer of mineral oil to the blades and pivot point—this prevents rust and keeps the cutting edge sharp longer. Store them in a dry place, like a tool caddy or hanging rack.
✂️ Step 4: Sharpen and Store Properly
While your shears are clean and dry, take a moment to check the blade sharpness. A dull blade crushes plant tissue instead of making clean cuts, which can stress plants and spread disease. Use a sharpening stone or file to maintain the edge—just a few strokes on each side will make a noticeable difference.
Store your shears in a way that keeps them dry and protected. I keep mine in a small tool roll with silica gel packets to absorb any lingering moisture. This simple habit extends the life of your tools and keeps them ready for the next cutting task without any extra prep time.
Tips & tricks for perfectly sterile garden shears
Keeping your garden tools clean isn't just about looks—it's about protecting your plants from disease. Here's how to get it right every time.
Pivot Point Precision: In Step 2, when you're letting the disinfectant sit for 2-3 minutes, focus that time on the pivot point—the area where the blades meet. This is where most bacteria and plant pathogens hide, and it's often the most neglected spot. Use a cotton swab to get into those tight crevices, and don't skip this step even if it seems clean. I've found that this one area makes the biggest difference in keeping your tools truly sterile.
Disinfectant Choice Matters: While both bleach solution and rubbing alcohol work well, they have different trade-offs. The 10% bleach solution is more powerful against fungi but can be harsh on metal over time. The 70% isopropyl alcohol is gentler and won't corrode your shears, but it might need slightly longer contact time (up to 5 minutes) for maximum effectiveness. I alternate between them—bleach for deep cleaning and alcohol for regular maintenance.
Rust Prevention Strategy: After you've dried your shears completely in Step 3, take that extra 30 seconds to apply a thin layer of mineral oil to the blades and pivot point. This creates a protective barrier that prevents rust from forming between cleanings. I keep a small bottle of mineral oil in my garden tool shed specifically for this purpose. It's a small habit that saves me from having to replace rusted shears every few years.
Sharpening Timing: Step 4 mentions checking blade sharpness, but I've learned that the best time to sharpen is right after disinfecting when the blades are clean and dry. This prevents metal filings from getting into the pivot point. Just a few strokes with a sharpening stone will make a noticeable difference in how cleanly your shears cut. I always sharpen after every third disinfecting cycle to maintain peak performance.
Pro Tips for Disinfect Garden Shears
- Keeping your garden tools clean isn't just about looks—it's about protecting your plants from disease.
- Pivot Point Precision: In Step 2, when you're letting the disinfectant sit for 2-3 minutes, focus that time on the pivot point—the area where the blades meet.
- Disinfectant Choice Matters: While both bleach solution and rubbing alcohol work well, they have different trade-offs.
Frequently asked questions
Got questions about disinfecting your garden shears? Here are some common ones—and their easy answers!
How often should I disinfect my garden shears?
Disinfect your shears after every use if you’re pruning diseased plants (like fungal-infected leaves or mildewed branches). For general gardening, clean them every 2–4 weeks or whenever they look dull or sticky. Regular disinfection prevents rust, bacteria buildup, and tool degradation.
Can I use bleach to disinfect garden shears?
Yes! Mix 1 part bleach with 9 parts water (e.g., 1 tbsp bleach + 9 tbsp water) for a quick soak (5–10 minutes). Rinse thoroughly and dry to avoid corrosion. For a gentler option, use 70% isopropyl alcohol or a vinegar-water solution (1:1 ratio). Avoid harsh chemicals on stainless steel blades.
What’s the best way to disinfect shears between pruning different plants?
Wipe blades with a 70% alcohol pad or rubbing alcohol between cuts, especially when moving from diseased to healthy plants. For a deeper clean, use a vinegar spray (equal parts vinegar and water) and scrub with a brush. Always dry blades with a lint-free cloth to prevent moisture traps.
My shears smell bad after disinfecting—what’s wrong?
Leftover residue (like vinegar or bleach) can cause odors. Rinse thoroughly with water and dry completely. If the smell persists, soak in hydrogen peroxide (3%) for 5 minutes, then rinse. Store shears in a dry, ventilated place (like a tool roll or hanging rack) to prevent mold or mildew.
Are there natural alternatives to disinfect garden shears?
Try these DIY options:
- Tea tree oil: Mix 10 drops with 1 cup water, spray on blades, and wipe clean.
- Baking soda paste: Scrub with a paste (baking soda + water), rinse, and dry.
- Boiling water: Dip blades (handle first!) for 5 minutes for heavy-duty sterilization.
Wrapping up and next steps
Keeping your garden shears clean isn’t just about sharp cuts—it’s about protecting your plants and prolonging the life of your tools. With just a few household items and five minutes of effort, you can disinfect them effectively and safely. You’ve got this! 🌿✨
Now that you’re armed with the know-how, take action today. Grab those shears, follow your favorite method, and enjoy a healthier garden. Ready to tackle other tools? Try disinfecting pruners or lawnmowers next—your green space will thank you!