
Tools
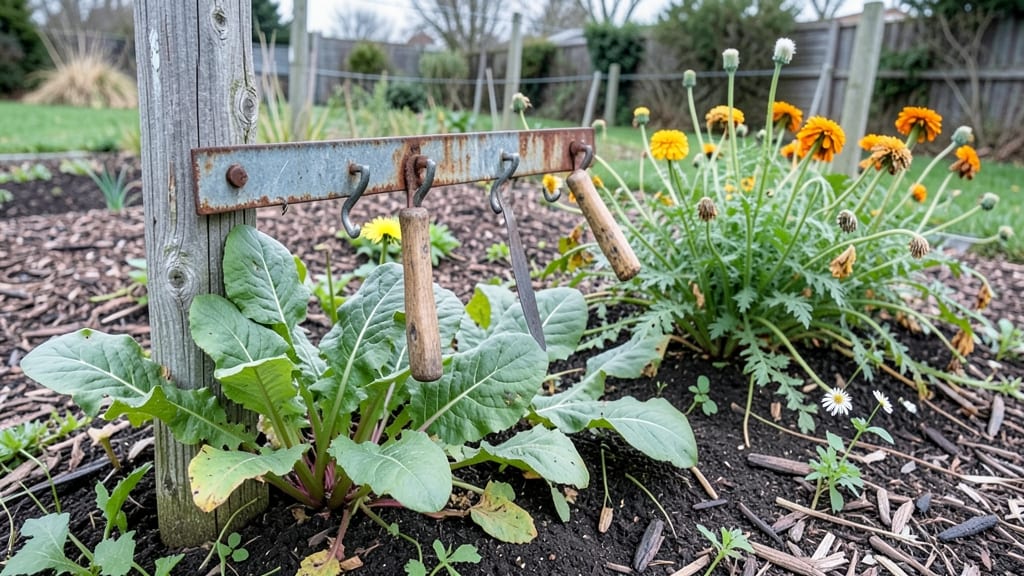
Mastering garden tools organization saved me from digging through debris to find my trowel—until a modular shed turned my chaos into a dream system where every tool has its place. 🌱 a home, and I can grab what I need without digging.
The key isn’t just storage; it’s designing a space that works for how you actually garden, whether that’s whipping up compost tea or wrestling with a stubborn trellis.
Start with zones: group tools by function—pruners and shears near the cutting area, watering gear by the hose reel, and hand tools on a wall rack within arm’s reach of your most-used beds. Pegboards, slat walls, and labeled bins are your best friends here.
I swapped my cluttered garage shelf for a pegboard system that holds 30 tools neatly, with hooks for hoses and a magnetic strip for stray nails. The best part? No more bending over to find what you need when your back’s already sore from weeding.
You’ll notice the difference immediately—tools stay sharper (no more rust from being stacked wet), last longer (no more lost handles or bent tines), and you’ll actually use them instead of buying duplicates because you can’t find the original.
My shed now looks like a catalog spread, and I’ve reclaimed hours of frustration every season. The modular pieces mean you can expand as your garden grows, too—no more outgrowing your system in three years.
Works for urban balconies (wall-mounted racks), suburban backyards (small sheds), or country estates (custom-built modular units). The secret’s in the details: add a chalkboard for tool checkouts, keep frequently used items at eye level, and store seasonal tools (like snow shovels) on high shelves.
Let’s make your shed work as hard as you do.
📚 In This Guide
- What you need
- Instructions
- Tips and common mistakes
- Wrapping up and next steps
What you need
- ● Modular Shed System: 1–3 modular shed panels (2 ft x 4 ft each, adjustable based on space)
- ● Weather-resistant material (e.g., polycarbonate, metal, or treated wood)
- ● Pre-drilled holes for easy assembly (check for compatibility with your hardware)
- ● Hardware & Fasteners: Galvanized screws or bolts (100–200 pieces, depending on shed size)
- ● Heavy-duty washers and nuts (for stability)
- ● Outdoor-rated hinges (4–6, depending on panel count)
- ● Tool Storage Solutions: Pegboard (4 ft x 8 ft sheet) or magnetic strips for hanging tools
- ● Clear plastic bins (5–10, with lids for dust protection)
- ● Wall-mounted hooks (10–15, varying sizes for shears, hoses, etc.)
- ● Safety & Utility Items: Level (to ensure panels are even)
- ● Drill/driver with hex and Phillips bits
- ● Measuring tape (25 ft)
- ○ Outdoor-rated paint or stain (optional but recommended for longevity)
- ● Lighting: Solar-powered LED lights or a small battery pack for evening access.
- ● Workbench: Foldable or wall-mounted bench (2 ft x 4 ft) for potting or repairs.
- ● Ventilation: Small fans or mesh panels to improve airflow in enclosed sheds.
- ● Locking Mechanism: Padlock or combination lock for security.
- ● Weatherproofing: Silicone sealant for gaps or a tarp cover for harsh climates.
Step-by-Step instructions for organizing garden tools in a modular shed
Here’s how I transform a cluttered shed into a functional workspace—no more digging through piles to find that one trowel.
🪴 Step 1: Sort and Group Tools by Function
Start by emptying your shed and sorting tools into categories: digging, pruning, planting, and maintenance. I keep a large cardboard box for each group—this makes it easy to see what’s missing at a glance. Place sharp tools like pruners and shears in a separate box to avoid accidents. Label each box with masking tape and a marker so you can spot them instantly.
Real talk: Don’t skip this step. I used to toss everything in one bin, and now I can grab what I need in seconds. Grouping also helps you spot duplicates—you’ll be surprised how many extra gloves or trowels you’ve accumulated over the years.
🪴 Step 2: Install Pegboards and Shelving
Mount a pegboard on one wall for hanging tools like rakes, hoes, and hand pruners. Use hooks in different sizes—small ones for trowels, larger ones for long-handled tools. Below the pegboard, add shelving units (I use 12-inch-deep shelves) to store boxes of tools or smaller items like gloves and seed packets. Leave a 6-inch gap between shelves for easy access.
Here’s the thing—I hang the most frequently used tools at eye level so I don’t have to bend or stretch. The pegboard also keeps tools visible, so I never forget to clean or sharpen them. If your shed has limited wall space, use a freestanding pegboard on wheels for flexibility.
🪴 Step 3: Add Drawers and Bins for Small Items
Use stackable plastic drawers (the kind with dividers) for small tools like hand pruners, weeding knives, and bulb planters. I keep a drawer for each category so everything has a home. For even smaller items—like seed packets, tape, or twine—add clear plastic bins with labels on the front. Store them on the lowest shelf or in a drawer for quick access.
Don’t overpack the drawers. If they’re too full, tools will get jumbled, and you’ll waste time fishing around. I fill each drawer about 70% full so everything slides out smoothly. A little extra space also prevents tools from getting scratched or bent.
✂️ Step 4: Create a Maintenance Station
Dedicate a small corner to tool care with a small bucket for cleaning, a dry towel, and a sharpener for blades. Hang a wall-mounted rack for hoses and extension cords to keep them off the floor. I also keep a spray bottle of WD-40 nearby to lubricate hinges on pruners and shears—rust is the enemy of sharp tools.
This is the moment that matters: A maintenance station saves you time in the long run. I spend 5 minutes after each use wiping down tools and storing them properly. It prevents rust, extends their life, and makes next season’s gardening even easier.
🪴 Step 5: Label Everything and Keep It Clean
Use waterproof labels on bins, drawers, and shelves so you can read them even in rain or low light. I also add a small trash bin near the exit to toss old gloves, broken tools, or debris. Keep a broom and dustpan handy to sweep up leaves and dirt—this prevents clutter from building up again.
I know it seems tedious, but a clean shed makes gardening feel like a joy, not a chore. Set a reminder to do a quick tidy-up once a month—it keeps everything running smoothly. If you notice tools missing, check the trash bin first before panicking.
Tips & tricks for perfect garden tools Organization
A clutter-free shed isn't just about having a place for everything—it's about making your gardening life easier. Here are the tricks I've learned to keep my system running smoothly.
Visual Organization: In Step 1, when you're sorting tools, take a picture of your empty shed first. This becomes your "before" reference, and you'll be amazed at how much more space you've gained after organizing. I also use different colored boxes for each category—digging tools in red, pruning in green, etc. This color-coding makes it instantly obvious where everything belongs, even in low light.
Ergonomic Placement: During Step 2, remember that your most frequently used tools should be at eye level on the pegboard. I measure my eye level when standing naturally in the shed, then mark the spot with a pencil before mounting the board. For tools you use less often, like the snow shovel, place them on higher shelves or the top of the pegboard. This simple adjustment saves your back from unnecessary bending.
Preventative Maintenance: The 5 minutes you spend after each use at your maintenance station (Step 4) is an investment that pays off big time. I keep a small spray bottle of WD-40 right next to my sharpener so I can lubricate hinges immediately after using pruners or shears. This prevents rust from forming overnight, and I've found that tools sharpened right after use stay sharper longer. Trust me on this—rusted tools are the worst.
Monthly Reset Strategy: That monthly tidy-up in Step 5 doesn't have to be complicated. I set a calendar reminder for the first of every month and spend just 15 minutes doing a quick check: wiping down shelves, replacing waterproof labels that might be fading, and tossing any broken tools I've accumulated. This prevents the system from getting cluttered again and keeps everything running smoothly for the next season.
Pro Tips for Garden Tools Organization
- A clutter-free shed isn't just about having a place for everything—it's about making your gardening life easier.
- Visual Organization: In Step 1, when you're sorting tools, take a picture of your empty shed first.
- Ergonomic Placement: During Step 2, remember that your most frequently used tools should be at eye level on the pegboard.
Frequently asked questions
Got questions about keeping your garden tools organized?
Here are some of the most common ones—and their practical solutions!
What’s the best way to store tools in a small garden shed?
For tight spaces, use vertical storage with pegboards, wall-mounted racks, or stackable bins. Group tools by type (e.g., digging, pruning, planting) and label everything. A modular shed system lets you adjust shelves and hooks as your needs change—no wasted space!
How often should I reorganize my garden tools?
Check your setup seasonally (spring/fall) or after major projects. If tools are hard to find or bins overflow, it’s time to reassess. A quick 10-minute tidy-up prevents clutter buildup and keeps tools in top condition.
Are DIY tool organizers cheaper than buying a modular shed system?
DIY options (like pallet shelves or cinder blocks) can save money upfront, but they lack durability and flexibility. A modular shed system pays off long-term with adjustable storage, weather resistance, and tool protection—plus, no DIY headaches!
How do I keep rust from ruining my tools in storage?
Prevent rust with clean, dry storage: Wipe tools after use, store them horizontally (not stacked), and use rust inhibitors or silica gel packs. A well-ventilated shed with dehumidifiers also helps—especially in damp climates.
Can I store non-tool items (like pots or seeds) in the same shed?
Use dedicated zones—assign shelves for tools, bins for pots, and drawers for seeds. Keep heavy items low and fragile ones (like glass containers) on higher shelves. A modular system makes it easy to expand or rearrange as your garden grows!
Wrapping up and next steps
A clutter-free garden starts with a well-organized tool system—and you’ve got the blueprint! 🌱 Whether you’re tackling a modular shed or repurposing existing space, the key is customization, accessibility, and durability. With the right setup, every tool has a home, and every gardening task becomes smoother and more enjoyable.
Ready to transform your garden workspace? Start small: pick one zone to organize this weekend, then expand as you go. Before you know it, your tools will be pristine, efficient, and ready for action—no more digging through piles of chaos! Happy organizing! 🛠️✨