
Tools
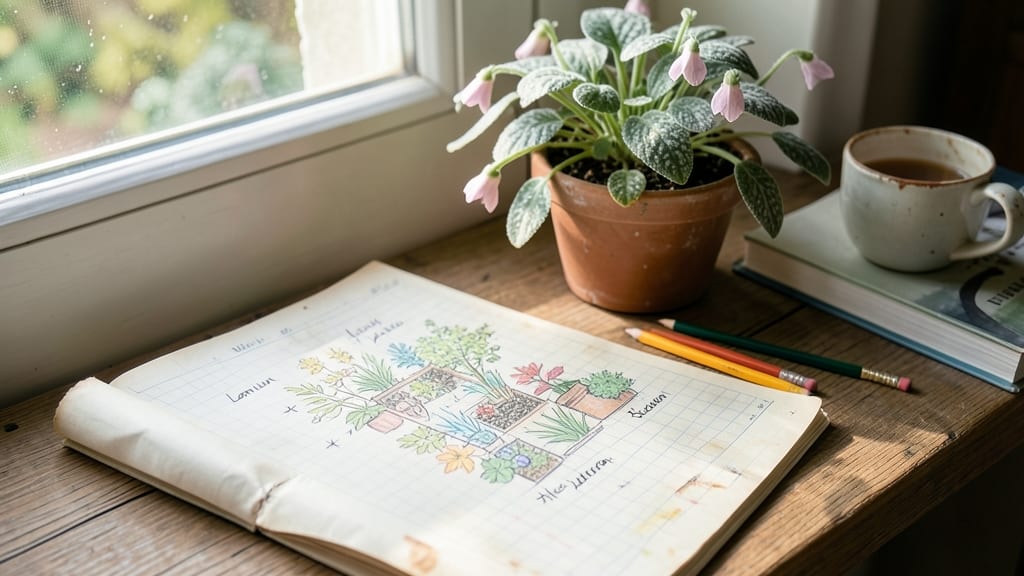
My gardening planner template saved me from forgetting to plant garlic in October and overcrowding my tomato beds again—it’s the one tool that keeps my garden organized from seed to harvest. 🌱 The real magic happens when you customize it for your space, whether that’s a raised bed, in-ground plot, or container garden on your balcony.
You’ll track planting dates, crop rotations, and seasonal tasks all in one place, with color-coded zones for easy reference. I use mine to schedule pest prevention reminders and note which plants thrive together, cutting down on guesswork.
The best part? You can find free templates online or design your own in minutes using simple spreadsheet software.
By summer, you’ll see the difference—a garden that produces consistently, with less wasted space and fewer surprises. The template adapts to any garden type, from small urban plots to sprawling country yards, making it a year-round companion.
Fair warning: the first time you use it, you might realize how much you’ve been missing. But once you start mapping out your seasons, you’ll never go back to scribbled notes and guesswork again.
📚 In This Guide
- What you need
- Instructions
- Tips and common mistakes
- Wrapping up and next steps
What you need
- ● Planner Template: Printable PDF or digital file (e.g., Excel, Google Sheets, or Canva). Look for one with customizable zones (vegetable, flower, herb, etc.).
- ● Notebook or Sketchbook: For hand-drawn layouts (8.5” x 11” or A4 size recommended).
- ● Ruler: 12-inch metal or clear ruler for straight lines and measurements.
- ● Pencils (2H, HB, 2B): For light sketching and shading (2–3 pencils).
- ● Eraser: Kneaded or vinyl eraser for clean corrections.
- ● Colored Pencils/Markers: 6–12 colors to differentiate plant types, zones, or seasons.
- ○ Graph Paper: Optional but helpful for precise scaling (grid size: 0.1” or 0.5mm).
- ● Computer/Tablet: With design software (e.g., Adobe Illustrator, Canva, or free tools like blank">Lucidchart).
- ○ Stylus (for tablets): Optional but improves precision (e.g., Apple Pencil or Samsung S Pen).
- ● Scanner: If digitizing hand-drawn plans (2400 DPI recommended for clarity).
- ● Garden Layout Knowledge: Basic understanding of sun exposure, soil types, and plant spacing.
- ● Plant List: A preliminary list of crops/flowers you want to grow (seasonal or year-round).
- ● Local Climate Data: Frost dates, rainfall averages, and growing zones (check blank">USDA Plant Hardiness Zone Map).
- ● Time Commitment: 1–2 hours for initial planning; 30 minutes monthly for updates.
How to design a functional year-round gardening planner
Here's the framework I use to organize seasonal tasks and space efficiently—adaptable to any yard size.
🌱 Step 1: Divide Your Space Into Four Core Zones
Start by sketching your garden layout on graph paper, dividing it into four functional zones: vegetable beds, perennial borders, ornamental displays, and utility areas (like compost bins or tool storage). I always allocate 60% of space to edibles if food production is a priority, leaving the rest for flowers, shrubs, and pathways. Label each zone clearly—this prevents overcrowding and makes maintenance intuitive.
Use a color-coding system for quick reference: green for vegetables, purple for perennials, blue for annuals, and yellow for ornamentals. This visual map helps you spot gaps or overlaps at a glance. For example, your sun-loving tomatoes should never compete with shade-tolerant hostas—they need separate zones to thrive.
⏰ Step 2: Map Seasonal Planting Cycles by Month
Create a 12-month timeline across the top of your planner, then list planting, pruning, and harvesting tasks for each zone. I begin with cool-season crops (like spinach and peas) in early spring, then transition to warm-season staples (tomatoes, peppers) after the last frost. Mark critical deadlines in bold—like when to divide perennials in early spring or prune roses after flowering.
Leave buffer weeks between transitions to account for weather delays. For instance, if your zone 5 last frost is April 15, schedule cold-hardy transplants for April 1-10 to give roots time to establish before potential late frosts. This prevents seedling loss and ensures a longer harvest window.
☀️ Step 3: Assign Sunlight and Water Requirements to Each Zone
Walk your property at solar noon (around 12 PM) and note where full sun (6+ hours), partial shade (3-6 hours), and deep shade (<3 hours) fall. Assign plants to zones based on these observations—sun-lovers like basil and zucchini belong in the south-facing vegetable beds, while shade-tolerant ferns and astilbes go in the north-side perennial border.
Next, map your irrigation system (if you have one) or watering schedule by zone. For example, drip lines should run along the vegetable beds for precise hydration, while mulched borders reduce water needs in the perennial zones. I always note drought-sensitive plants (like hydrangeas) in my planner so I can prioritize watering during dry spells.
🌿 Step 4: Schedule Maintenance Tasks by Zone and Season
Break maintenance into monthly checklists for each zone. For vegetable beds, this includes weeding, fertilizing, and pest monitoring; for perennial borders, it’s pruning dead foliage and dividing overcrowded clumps. I use a sticky-note system for quick updates—jot down unexpected tasks (like treating aphids) as they arise, then transfer them to the planner later.
Don’t forget soil health—add compost top-dressing to vegetable beds in early spring and fall, and mulch ornamental zones in late spring to suppress weeds. I schedule soil testing every 2-3 years and adjust amendments (like lime or sulfur) based on results. This keeps your zones productive and low-maintenance long-term.
📝 Step 5: Add a Flexible "Notes" Section for Adjustments
Include a dedicated page for lessons learned—like which plants flopped in your microclimate or which pests became persistent. Last year, I realized cucumber vines struggled in my partial-shade zone, so this year they’re moved to the full-sun bed. This adaptability is what turns a static plan into a living, improving system.
Leave space for next-year goals, too. Maybe you’ll expand the herb spiral or add a pollinator-friendly meadow. By reviewing your planner once a month, you’ll catch mistakes early and refine your approach before the next growing season. The key is flexibility—your garden evolves, and so should your plan.
Tips & tricks for perfect gardening planner organization
A well-structured gardening planner transforms chaos into a thriving ecosystem. Here's how to elevate your layout beyond the basics.
Zone Design Flexibility: While I recommend allocating 60% of space to edibles, adjust this ratio based on your goals. Urban gardeners might prioritize 80% vegetables in small spaces, while cottage gardeners could dedicate more area to perennials. The key is maintaining clear boundaries between zones—this prevents competition between sun-loving tomatoes and shade-tolerant hostas that struggle in the same space. I've seen gardens where this simple zoning principle doubled production by eliminating plant stress.
Seasonal Transition Strategy: Those buffer weeks between cool-season and warm-season planting are non-negotiable for success. I've learned this the hard way after losing entire seedling batches to late frosts. For Zone 5 gardeners, use your local cooperative extension service's frost date calculator to pinpoint your April 1-10 window. Pro tip: Keep a small greenhouse or cold frame handy for transplanting during those critical buffer weeks when temperatures fluctuate unpredictably.
Visual Mapping System: The color-coding approach works wonders for quick reference, but take it further by adding plant height indicators. Draw small icons showing mature plant heights next to each position—this helps you visualize sunlight competition before it becomes a problem. I mark sun-loving vegetables with upward arrows and shade plants with downward arrows to instantly see which plants need relocating as others grow taller throughout the season.
Maintenance Calendar Upgrade: Instead of just monthly checklists, create a quarterly review system. Every three months, reassess each zone's performance and note which plants thrived or struggled. This creates a living record of your microclimate's quirks. For example, you might discover that your south-facing bed gets too hot in July, prompting you to add shade cloth for heat-sensitive crops next season. This proactive approach turns your planner into a dynamic improvement tool rather than just a static guide.
Pro Tips for Gardening Planner Template
- A well-structured gardening planner transforms chaos into a thriving ecosystem.
- Zone Design Flexibility: While I recommend allocating 60% of space to edibles, adjust this ratio based on your goals.
- Seasonal Transition Strategy: Those buffer weeks between cool-season and warm-season planting are non-negotiable for success.
Frequently asked questions
What’s the best time to start planning my garden layout?
Start your planning indoors in late winter or early spring (February–March), especially in colder climates. Warmer regions can begin as early as January. This gives you time to research plants, soil prep, and adjust for seasonal changes before the first frost or planting season kicks off. Pro tip: Use a digital template to tweak designs all year—just save your progress!
How long does it take to create a full gardening planner?
It depends on your garden’s complexity! A simple in-ground veggie plot might take 1–2 hours, while a multi-zone landscape with hardscaping, irrigation, and seasonal rotations could span 5–10 hours. Break it into chunks: sketch zones one day, research plants the next, and refine over a weekend. Time-saver: Use pre-made templates to cut setup time by 50%!
Do I need to measure my garden space before using a template?
Most templates include scalable grids, but accurate measurements ensure your design fits reality. Grab a tape measure and note dimensions for each zone (e.g., 10’x12’ veggie bed, 5’x8’ herb spiral). Pro move: Snap photos of your space to overlay on your digital template for precision.
Can I use a gardening planner template for container or vertical gardens?
Yes! Many templates are customizable for containers, towers, or trellises. Focus on plant spacing (e.g., 6” for herbs, 12” for tomatoes) and note container sizes/depths. Label zones like “Sunny Balcony” or “Shade Wall” to track light needs. Try a modular template to mix containers and in-ground plots seamlessly.
What if my garden changes mid-season? Can I update the template?
No problem! Digital templates (like Excel, Google Sheets, or apps) let you edit on the fly. Print a new layout or use a whiteboard for quick adjustments. For physical planners, keep a “Notes” section to track swaps (e.g., “Moved basil to shadier spot on 6/15”). Set reminders to review your plan every 4–6 weeks for tweaks.
Are printable templates better than digital ones?
It’s a tie—it depends on your workflow! Printable templates work great for hands-on sketching and outdoor use, while digital templates offer easy edits, color-coding, and cloud backups. Hybrid tip: Print your final layout, then use a digital copy to track progress photos or plant tags.
Wrapping up and next steps
A gardening planner template is your secret weapon for transforming chaotic green spaces into thriving, organized gardens—no matter the season! 🌱 By customizing zones, tracking plant cycles, and setting clear goals, you’ll save time, reduce stress, and watch your garden flourish like never before.
Ready to dive in? Start by downloading your template today—then grab your tools, sketch out your dream layout, and let the planning (and planting!) begin! Your future self—and your plants—will thank you. 🌟