
Tools
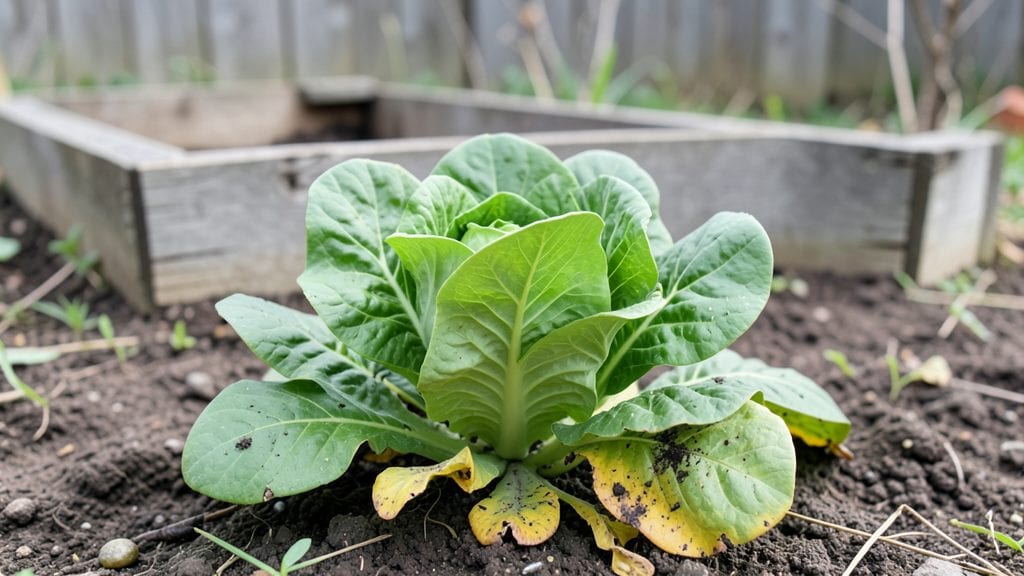
A small kitchen garden doesn’t mean small harvests—my 4’x6’ plot produces more fresh herbs, tomatoes, and greens than my neighbors’ sprawling yards. The secret lies in smart layouts that stack plants vertically, tuck crops together, and use every inch of space without sacrificing sunlight or soil quality.
Start with raised beds or containers—they save space and let you control soil quality. I fit 16 tomato plants in my 4’x6’ bed using square-foot gardening, and my vertical trellis holds cucumbers and beans that would otherwise sprawl everywhere. Even a balcony can work with the right setup.
You’ll end up with fresh basil, cherry tomatoes, and crisp lettuce all within arm’s reach of your kitchen door. The best part? No wasted space—every plant has room to thrive, and weeds stay minimal because the design keeps things organized. Plus, harvesting feels like a daily victory.
Works for apartments, patios, or even sunny windowsills. Whether you’re growing for flavor, savings, or just the joy of fresh food, these layouts turn tiny spaces into productive powerhouses. Let’s get designing!
📚 In This Guide
- What you need
- Instructions
- Tips and common mistakes
- Wrapping up and next steps
What you need
- ● Containers or Planters: 3–5 10–12 inch pots (for herbs, greens, or compact veggies like cherry tomatoes)
- ● 1 5-gallon bucket or raised bed (for deeper-rooted plants like carrots or peppers)
- ● 1 hanging basket or vertical planter (for trailing plants like strawberries or lettuce)
- ● Growing Medium: 2–3 bags of high-quality potting mix (sterilized, well-draining)
- ● 1 bag of compost or worm castings (for nutrient boost)
- ● Seeds or Seedlings: 5–10 fast-growing seed packets (e.g., lettuce, radishes, basil, or microgreens)
- ○ 2–3 small starter plants (optional, if you prefer instant growth!)
- ● Essential Tools: 1 hand trowel (for planting and soil prep)
- ● 1 spray bottle (for gentle watering)
- ● 1 measuring cup or scoop (for soil and compost)
- ● Self-watering planters (for busy gardeners!)
- ● Grow lights or LED bulbs (if your space lacks sunlight)
- ● Trellis or stakes (for climbing plants like beans or cucumbers)
- ● Soil moisture meter (to avoid over/under-watering)
- ● Organic fertilizer (like fish emulsion or seaweed extract)
Instructions: designing a productive small kitchen garden
Here's how to maximize yield in limited space with strategic plant placement and vertical growing techniques.
Assess Your Space and Sunlight Patterns
Start by mapping your available area and tracking sunlight exposure throughout the day. Most kitchen gardens thrive with 6-8 hours of direct sunlight, but even 4 hours works for shade-tolerant herbs and greens. I recommend sketching your space on graph paper—mark where sunlight hits at 10 AM, noon, and 4 PM to identify the sunniest spots. This helps you position sun-lovers like tomatoes and peppers where they'll get the most light, while leafy greens can go in slightly shadier areas.
If your space gets less than 4 hours of sun, focus on fast-growing, low-light crops like radishes, spinach, or microgreens. You'll also want to group plants by their light needs to avoid competition. For example, basil and lettuce can share space, but they shouldn't compete with a sun-hungry tomato plant.
Plan Vertical and Tiered Planting Layouts
Vertical gardening is the secret to doubling your harvest in small spaces. Use trellises, wall-mounted planters, or stacked containers to grow vining plants like cucumbers, beans, or peas upward instead of outward. I like to install a 4-foot trellis in one corner of my kitchen garden—it supports two cucumber plants and one pole bean variety, freeing up ground space for other crops. For herbs and small vegetables, try stacked planters with 6-inch spacing between tiers to maximize sunlight exposure at each level.
When arranging containers or raised beds, place taller plants like tomatoes or sunflowers on the north side (in the Northern Hemisphere) to avoid shading shorter crops. If you're using window boxes or hanging baskets, prioritize shallow-rooted plants like strawberries, lettuce, or chives. These layouts create a three-dimensional garden that produces more without taking up extra floor space.
Group Plants by Family and Care Needs
Organizing your garden by plant families simplifies maintenance and reduces pest issues. For example, brassicas (kale, broccoli, cabbage) share similar care needs, so I group them together in one section of my garden. Similarly, nightshades (tomatoes, peppers, eggplants) can be clustered in another area with consistent watering and fertilization. This approach makes it easier to rotate crops next season and spot pests early before they spread.
Within each group, space plants based on their mature size. A 12-inch spacing works for bush beans or radishes, while 18-24 inches is better for tomatoes or peppers. If you're using square-foot gardening, divide your space into a grid and plant one seedling per square foot for most vegetables. This method ensures no plant is overcrowded, which leads to better air circulation and fewer diseases.
Incorporate Companion Planting for Pest Control
Companion planting is a game-changer for small gardens—it naturally repels pests, improves flavor, and even boosts growth. For example, plant basil near tomatoes to deter aphids and improve tomato flavor, or interplant carrots with onions to confuse carrot flies. I also tuck marigolds or nasturtiums around the edges of my garden—their strong scent masks the aroma of vegetables, keeping pests away without chemicals.
Avoid planting alliums (onions, garlic, chives) near beans or peas, as they can stunt their growth. Instead, pair beans with corn and squash (the "Three Sisters" method) to create a mutually beneficial system. The corn provides vertical support, the beans fix nitrogen in the soil, and the squash shades the ground, retaining moisture. This trio thrives together in a compact space while reducing the need for fertilizers.
Optimize Container and Raised Bed Layouts
If you're using containers or raised beds, prioritize deep-rooted plants like tomatoes, peppers, or carrots in the center, where they have the most soil volume. Shallow-rooted crops like lettuce, herbs, or radishes can go along the edges. I fill 5-gallon containers with one tomato plant and two pepper plants, using a lightweight potting mix to keep weight manageable. For raised beds, I divide the space into 12-inch squares and plant one seedling per square, leaving pathways for easy access.
Rotate containers quarter-turn weekly to ensure even sunlight exposure, which prevents leggy growth. If you're growing fast producers like lettuce or radishes, succession plant every 2-3 weeks to maintain a continuous harvest. This keeps your garden productive without needing extra space for multiple plantings.
Tips & tricks for maximizing your small kitchen garden
Creating an efficient small kitchen garden isn't just about saving space—it's about strategic planning that multiplies your harvest potential. These insights will help you optimize every square inch while avoiding common pitfalls that waste precious growing real estate.
Sunlight Optimization: When mapping your sunlight patterns in Step 1, consider using a simple light meter app to track actual light intensity rather than just duration. I've found that areas receiving only 4 hours of direct sunlight can still support leafy greens if they get bright indirect light for the remaining daylight hours. For maximum efficiency, position your sunniest spot near a south-facing window or balcony—this is where you'll want your most demanding crops like tomatoes and peppers.
Vertical Space Strategy: In Step 2, when implementing vertical growing, don't overlook the potential of hanging baskets for trailing plants. I've successfully grown cherry tomatoes and strawberries in 12-inch diameter hanging baskets that attach to balcony railings, freeing up valuable ground space. For stacked containers, use lightweight materials like coconut coir pots that can be hung at different heights, creating a cascading garden effect that maximizes vertical exposure.
Companion Planting Precision: While Step 4 mentions classic companion pairings, consider going beyond the basics with what I call "micro-companions." For example, tuck a few thyme plants between your tomato plants—their aromatic leaves deter pests while improving tomato flavor. Similarly, interplant radishes with carrots; the radishes mature quickly, providing early harvests without competing with the slower-growing carrots for space or nutrients.
Container Rotation System: The weekly quarter-turn rotation mentioned in Step 5 works wonders for even growth, but take it a step further by implementing a color-coded system. Use different colored stakes or labels for plants with similar care requirements. This visual organization makes it effortless to rotate groups of plants together, ensuring consistent light exposure for all plants with the same needs while maintaining your garden's aesthetic appeal.
Pro Tips for Kitchen Garden Small
- Creating an efficient small kitchen garden isn't just about saving space—it's about strategic planning that multiplies your harvest potential.
- Sunlight Optimization: When mapping your sunlight patterns in Step 1, consider using a simple light meter app to track actual light intensity rather than just duration.
- Vertical Space Strategy: In Step 2, when implementing vertical growing, don't overlook the potential of hanging baskets for trailing plants.
Frequently asked questions
Got questions about starting a small kitchen garden?
You’re not alone! Here are answers to the most common queries to help you grow confidently—even in tight spaces.
What’s the best layout for a tiny kitchen garden?
Square foot gardening or vertical planters work best for small spaces. Divide your garden into 1-foot squares and plant dense crops like lettuce, herbs, or radishes. Vertical gardens maximize walls or fences, saving floor space while boosting yields!
How long does it take to see results in a small garden?
Fast growers like radishes, green onions, or bush beans sprout in 2–4 weeks. Leafy greens (e.g., spinach) take 4–6 weeks, while tomatoes or peppers need 8–12 weeks. Plan for a staggered harvest by planting seeds in batches!
Can I reuse household items as containers?
Clean yogurt cups, plastic bottles, or even old boots work for herbs and greens. Just ensure they have drainage holes. For long-term use, opt for durable materials like fabric grow bags or recycled wood crates.
How do I keep pests away without chemicals?
Use natural barriers like row covers or copper tape for slugs. Companion planting (e.g., marigolds with tomatoes) deters pests, and handpicking bugs early prevents infestations. Neem oil spray is a gentle, effective alternative!
What if my space gets too shady?
Choose shade-tolerant crops like kale, Swiss chard, or lettuce. Leafy greens thrive in partial shade (4–6 hours of sun), while herbs like parsley or cilantro adapt well. If possible, rotate containers to catch sunlight at different times of day!
Wrapping up and next steps
A small kitchen garden doesn’t mean small rewards—with the right layout and care, you can grow a surprisingly abundant harvest in limited space! 🌱 Whether you’re working with a balcony, patio, or even a sunny windowsill, these space-saving ideas prove that big dreams don’t need big plots.
Start small, experiment with vertical gardening, and watch your confidence (and harvest) grow.
Ready to dig in? Your next step: Sketch a quick layout of your space, pick 2-3 easy crops, and plant them this weekend! 🌿 Even a tiny garden is a step toward fresher food, lower costs, and the joy of homegrown goodness.