
Tools
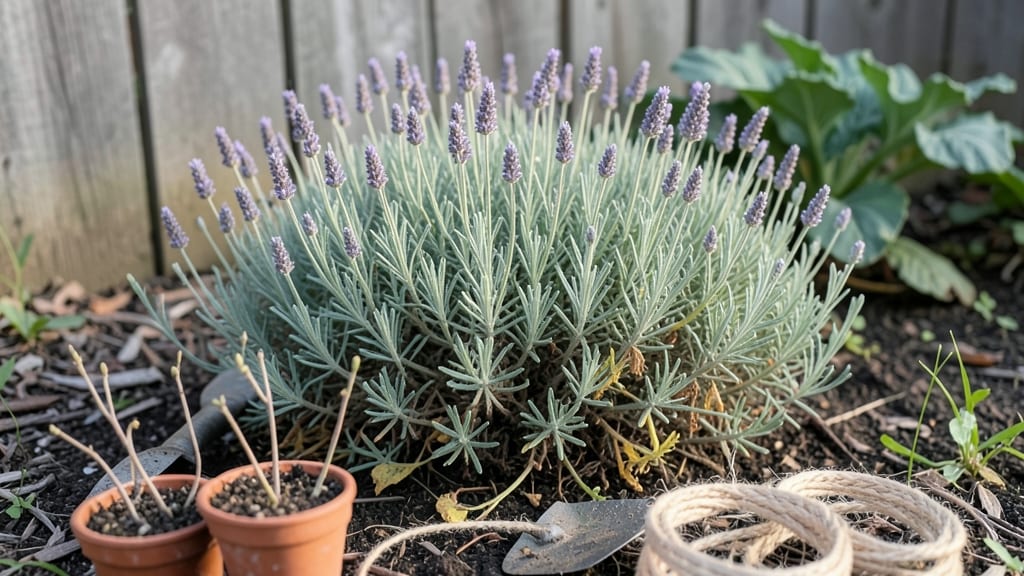
Planning your garden layout isn't just about arranging plants—it's about creating a space that works as hard as you do. 🌱 I've designed dozens of gardens, and the grid system I use transforms even awkward spaces into organized, productive areas that actually make sense.
The key? Starting with a simple sketch on graph paper, then plotting paths, sun exposure, and plant heights before a single shovel hits the dirt.
You'll need basic tools: a tape measure, graph paper or a free layout app, colored pencils (or digital tools), and a notebook for jotting down plant dimensions.
The process takes about 2-3 hours for most backyard gardens, but the payoff is immediate—no more overcrowding, wasted sunlight, or tripping over plants when you harvest. Even small spaces get maximized when you plan for vertical growth and clear walkways.
By the end, you'll have a layout that balances beauty and function, with focal points that draw the eye and paths that make maintenance effortless.
Imagine stepping into a garden where every plant thrives in its perfect spot, where sunlight reaches everything it needs, and where you can actually move through it without stepping on your lettuce. That's the power of a well-planned grid.
This system works for vegetable gardens, flower beds, or mixed landscapes—whether you're working with a sunny backyard, a shady corner, or a tiny urban patio. The same principles apply: assess the space, group plants by their needs, and design for both aesthetics and practicality.
Let's get your garden sketched out before the first seed goes in!
📚 In This Guide
- What you need
- Instructions
- Tips and common mistakes
- Wrapping up and next steps
What you need
- ● Graph paper or digital design tool (e.g., SketchUp, Google Earth, or even a free app like Garden Planner)
- ● Measuring tape (25–50 ft, with metric/imperial markings)
- ● Pencil and eraser (for sketching layouts)
- ● Ruler or straightedge (12–24 inches for precise lines)
- ● Stakes and string (wooden or bamboo stakes + 50–100 ft of twine for marking grid lines)
- ● Notebook or digital notes app (to track plant spacing, sunlight needs, and soil types)
- ○ Soil test kit (optional but helpful for amending soil based on pH/nutrient needs)
- ● Laser level (for perfectly straight grid lines on slopes)
- ● GPS app or surveying tool (for large or complex layouts)
- ● Plant catalogs or seed packets (to reference mature sizes and spacing)
- ● Colored markers or highlighters (to differentiate plant zones, paths, or irrigation areas)
- ● Compost or mulch (prepped in advance for post-layout planting)
Step-by-Step instructions for designing a functional garden layout
Here's the approach I've used to create gardens that work beautifully in any space—no matter how small.
📏 Step 1: Measure Your Space and Define Zones
Start by measuring your garden area with a tape measure, marking key dimensions on graph paper or a digital planning tool. I like to sketch a rough outline of the space, noting permanent features like fences, trees, or walkways that can't be moved. These become your fixed boundaries for planning.
Divide the space into functional zones based on plant needs. For example, group sun-loving plants like tomatoes and peppers together in one area, while shade-tolerant herbs like parsley and cilantro get their own section. This ensures each plant gets the right growing conditions without competing for resources.
🪴 Step 2: Plan Plant Placement Using a Grid System
Draw a grid overlay on your layout sketch, using 1-foot squares for small gardens or 3-foot squares for larger areas. This helps visualize spacing and ensures plants have room to grow without crowding. Place taller plants like sunflowers or corn along the back or north side of the grid to avoid shading shorter plants.
I always leave at least 18 inches between rows for easy maintenance and airflow. For raised beds, I use 2-foot-wide rows with 2-foot pathways between them—this makes weeding and harvesting a breeze. Sketch each plant's mature size on your grid to prevent overcrowding as they grow.
✂️ Step 3: Arrange Plants by Height, Needs, and Companion Pairings
Start by placing the tallest plants at the back or north side of your layout, then work downward in height. This creates natural shading for smaller plants below. Group plants with similar water or sunlight needs together to simplify care—like basil, tomatoes, and peppers in one cluster.
Use companion planting principles to boost growth and deter pests. For example, pair carrots with onions to repel carrot flies, or plant marigolds around tomatoes to keep aphids away. I always include a few sacrificial plants like nasturtiums to lure pests away from your main crops.
🚪 Step 4: Design Access Points and Pathways
Plan pathways that provide easy access to all parts of the garden without stepping on plants. For a 4-foot-wide garden bed, a 2-foot pathway is ideal—wide enough for a wheelbarrow but narrow enough to save space. Use stepping stones, mulch, or gravel to define paths and prevent soil compaction.
Place gates or entry points near the center of the garden if possible, so you can reach all areas without backtracking. I like to add a small bench or storage box along pathways to keep tools handy while working. This small touch makes the garden feel more functional and inviting.
☀️ Step 5: Test Your Layout for Sunlight and Wind Exposure
Observe your garden throughout the day to track sunlight patterns. Most vegetables need at least 6 hours of direct sun daily, while some herbs and leafy greens tolerate partial shade. Adjust your layout if certain areas get too much shade—you might need to move sun-loving plants or add reflective surfaces to bounce light into darker spots.
Check for wind exposure too. If your garden is in a windy area, create windbreaks with tall plants, fences, or trellises to protect delicate crops. I often plant fast-growing crops like radishes or lettuce on the windward side to act as a natural barrier for slower-growing plants behind them.
Tips & tricks for perfect garden layout planning
Here's what I wish I knew before designing my first grid-based garden layout—these tricks will save you time and frustration.
The Grid System Secret: When drawing your 1-foot or 3-foot grid squares in Step 2, use a ruler to keep lines perfectly straight. I learned this the hard way after sketching uneven grids that made spacing inconsistent. Precision here means less weeding and more efficient harvests later.
Plant Height Hierarchy: In Step 3, don't just eyeball plant heights—check seed packets or gardening guides for mature sizes. I once placed tomatoes next to sunflowers, only to have the sunflowers block all sunlight by midsummer. Always place tallest plants at the back or north side first, then work downward.
Pathway Pro Tip: For the 2-foot pathways in Step 4, consider adding a slight curve where you'll walk most frequently. Straight pathways can create awkward turns, while gently curved paths feel more natural and prevent soil compaction. I added a curved path to my herb section, and it's made harvesting so much easier.
Sunlight Testing: The 6 hours of direct sun mentioned in Step 5 is a minimum—most vegetables thrive with 8 hours. I recommend testing your layout by placing a small plant in each zone for a week before finalizing. This real-world test catches shading issues your sketch might miss.
Pro Tips for Plan Garden Layout
- Here's what I wish I knew before designing my first grid-based garden layout—these tricks will save you time and frustration.
- The Grid System Secret: When drawing your 1-foot or 3-foot grid squares in Step 2, use a ruler to keep lines perfectly straight.
- Plant Height Hierarchy: In Step 3, don't just eyeball plant heights—check seed packets or gardening guides for mature sizes.
Frequently asked questions
Got questions about planning your garden layout? You’re not alone! Here are some of the most common queries—plus quick answers to help you get started with confidence.
How do I decide which plants to place together in my garden layout?
Group plants by their sunlight, water, and soil needs—this is called "companion planting." For example, pair tomatoes with basil (they thrive together!) and keep herbs like mint in containers to avoid overcrowding. Check plant tags for care tips to streamline your layout.
Is there a best time of year to plan my garden layout?
Spring is ideal for planning (after the last frost) and early fall (for cooler-weather crops). However, you can sketch layouts year-round! Use a sketchbook or digital tool to adjust as seasons change. Pro tip: Plan for winter too—add evergreens or seasonal interest plants to keep your space lively all year.
What if my space is small or irregularly shaped?
Small or oddly shaped gardens? Think vertical! Use trellises, raised beds, or hanging planters to maximize space. For irregular shapes, create "zones" (e.g., herbs near the kitchen, flowers near seating areas). Even a 5x5-foot patch can yield a bountiful harvest with smart layering!
How do I fix a garden layout that isn’t working?
Start by assessing sunlight patterns—move struggling plants to sunnier/shadier spots. Rotate crops yearly to prevent soil depletion. If overcrowding is the issue, thin out plants or add mulch to suppress weeds. Don’t be afraid to repurpose: Turn a failed veggie bed into a pollinator-friendly flower garden!
Do I need fancy tools to plan my garden layout?
Not at all! A notebook, ruler, and pencil work great for hand-drawn plans. Free apps like Garden Planner or SketchUp offer digital templates. For quick sketches, even graph paper and colored markers can help visualize your dream layout—no tech required!
Wrapping up and next steps
Planning your garden layout doesn’t have to be overwhelming—with a foolproof grid system, you can transform even small spaces into a thriving, organized oasis! 🌱 The key is starting small, sketching your vision, and letting your space guide the flow.
Whether you’re a beginner or a seasoned gardener, this method keeps things simple, functional, and stress-free.
Now that you’ve got the tools and tips, it’s time to roll up your sleeves and dig in! Grab your measuring tape, sketchpad, and a cup of coffee, then start mapping out your dream garden. Pro tip: Take photos along the way—you’ll love looking back at your progress! 📸✨