
Tools
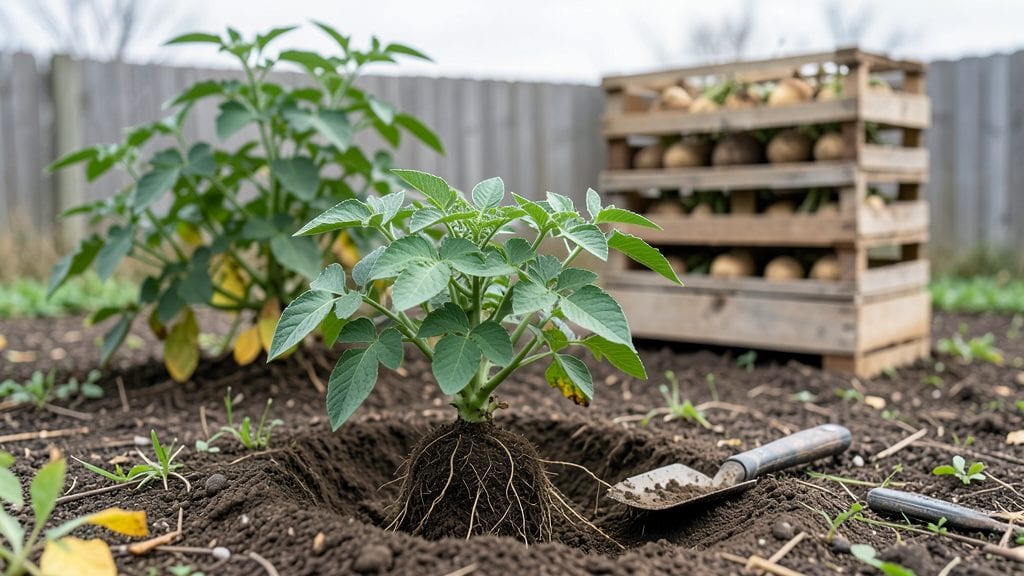
Building a vertical potato garden turns my tiny balcony into a high-yield harvest zone without sacrificing floor space. The concept is simple: use vertical pockets, bags, or trellises to grow potatoes upward instead of outward, saving room while boosting production per square foot.
I’ve grown more spuds in 4 square feet of vertical space than I ever did in a traditional in-ground plot.
You’ll need just a few supplies: sturdy grow bags or fabric pockets (at least 12 inches deep), a sturdy trellis or cage, seed potatoes, and a sunny spot with at least 6 hours of light daily.
The right varieties—like ‘Yukon Gold’ or ‘Red Pontiac’—thrive in these setups because they produce multiple harvests as the stems grow. Even beginners can nail this with minimal fuss.
By midsummer, you’ll be harvesting tender new potatoes from the lower pockets while the top vines keep growing. The vertical layout also makes weeding and watering easier, and the plants look stunning against a fence or balcony railing.
Plus, you can grow other crops like beans or lettuce around the base to maximize space.
Works for apartments, small yards, or even a sunny windowsill with the right lighting. Once you try it, you’ll wonder why you ever planted potatoes any other way. Let’s get those spuds growing upward!
📚 In This Guide
- What you need
- Instructions
- Tips and common mistakes
- Wrapping up and next steps
What you need
- ● Grow bags or vertical planters: 3–5 (10–12 gallons each, with drainage holes). Tip: Look for breathable fabric or sturdy plastic.
- ● Potting soil: 1–2 bags (high-quality, well-draining mix). Pro tip: Add perlite or compost for extra aeration!
- ● Seed potatoes: 5–10 (organic, certified disease-free). Bonus: Choose varieties like Yukon Gold or Red Pontiac for flavor!
- ● Watering can or hose with a gentle spray nozzle.
- ● Fertilizer: Balanced organic fertilizer (e.g., 10-10-10) or compost tea.
- ● Scissors or pruning shears (for cutting potato eyes).
- ● Measuring tape or ruler (to track growth depth).
- ○ Garden twine or stakes (optional, for securing bags to walls/trellises).
- ● Spray bottle (for misting seedlings).
- ● Harvesting knife or fork (for digging up potatoes later).
- ● A sunny spot (6+ hours of sunlight daily).
- ● Wall, fence, or sturdy vertical frame (for mounting planters).
- ● Access to water (consistent moisture is key!).
Step-by-Step instructions for building a vertical potato garden
Here’s how to grow a bountiful potato harvest without sacrificing floor space—perfect for small balconies or urban gardens.
Choose and Prepare the Growing Structure
Start with a sturdy vertical planter designed for potatoes, like a fabric grow bag or a repurposed wooden crate with drainage holes. I like using a 5-gallon fabric grow bag because it’s lightweight, breathable, and allows roots to expand naturally. Cut a few small drainage holes near the bottom if your container doesn’t have them—this prevents waterlogging, which rots tubers.
Line the bottom of the container with 4-6 inches of straw or shredded leaves to improve drainage and aeration. This layer also helps regulate soil moisture, which is critical for preventing disease. Fill the remaining space with loose, well-draining potting mix—never garden soil, as it compacts too easily in containers. Leave about 2 inches of space at the top for adding more soil later.
Plant Potato Seed Pieces at the Right Depth
Cut certified seed potatoes into pieces with at least 2-3 eyes (buds) per piece, letting the cut ends heal for 1-2 days before planting. This speeds up sprouting and ensures stronger plants. Place one seed piece per pocket (if using a pre-pocketed bag) or 4-6 inches apart in loose soil, with the eyes facing upward. Cover them with 2-3 inches of soil—this encourages tuber formation deeper in the container.
Water gently until the soil feels evenly moist but not soggy. You’ll know it’s right when a handful of soil leaves no residue when squeezed. Avoid soaking the soil, as potatoes need consistent moisture but hate waterlogged roots. Place the container in a spot with full sun (6+ hours daily)—potatoes need plenty of light to produce abundant tubers.
Add Soil Gradually as Plants Grow
When the potato plants reach 6-8 inches tall, add 2-3 inches of fresh potting mix around the stems, burying the lower leaves. This “hilling” process encourages more tuber formation and prevents greening (which makes potatoes toxic). Repeat this every 2-3 weeks until the container is full or the plants flower. You’ll see new growth emerge from the soil each time—this is your signal to keep adding soil.
Water deeply 2-3 times per week, ensuring the soil stays consistently moist but never waterlogged. A good rule is to water when the top inch of soil feels dry. Mulch the soil surface with straw or grass clippings to retain moisture and suppress weeds. Avoid overwatering, as soggy conditions invite rot and disease.
Monitor for Pests and Harvest at Peak Maturity
Watch for colorado potato beetles or aphids—remove them by hand or spray with neem oil if they appear. Yellowing leaves or wilting stems usually mean the plant needs more water or sunlight. Harvest when the flowers fade and the foliage yellows, typically 10-12 weeks after planting. Gently empty the container and brush off excess soil to reveal your potatoes.
Let newly harvested potatoes cure in a dark, dry place for 1-2 weeks before storing. This toughens their skins and extends shelf life. For a continuous harvest, plant a second crop 4-6 weeks after the first—this keeps your vertical garden productive all season.
Tips & tricks for perfect vertical potato gardens
A few simple strategies will help you maximize your harvest in a compact space while avoiding common pitfalls that can ruin your crop.
Container Selection Matters: While fabric grow bags are ideal, you can also use repurposed wooden crates or even stacked plastic bins with drainage holes. The key is ensuring your container is at least 18 inches deep—this gives potatoes enough room to develop properly. I've had great success with old wooden wine crates that I drilled holes in myself, but make sure whatever you choose has good airflow to prevent rot.
Soil Layering Technique: In Step 1, when you're adding that initial 4-6 inches of straw, don't just dump it in—fluff it up to create air pockets. This helps prevent waterlogging while still providing excellent drainage. For the potting mix, consider adding 10% perlite or vermiculite to improve aeration. The extra 2 inches you leave at the top is crucial for adding soil later, so don't skimp on this space.
Hilling with Purpose: When you reach Step 3 and begin adding soil every 2-3 weeks, think of it as creating a protective tunnel for your potatoes. Each time you add soil, you're encouraging more tuber formation at different levels. I like to use a small shovel to gently mound soil around the stems rather than just piling it on top—this prevents soil compaction that can restrict root growth.
Watering Wisdom: The 2-3 times per week watering guideline works well, but timing matters more than frequency. Water deeply in the morning so the soil has time to dry slightly before evening. I've found that using a moisture meter helps prevent both underwatering and overwatering—aim to keep the soil consistently moist but never soggy. If your container has drainage holes, you'll know you've watered enough when you see water flowing out the bottom.
Pro Tips for Potato Vertical Garden
- A few simple strategies will help you maximize your harvest in a compact space while avoiding common pitfalls that can ruin your crop.
- Container Selection Matters: While fabric grow bags are ideal, you can also use repurposed wooden crates or even stacked plastic bins with drainage holes.
- Soil Layering Technique: In Step 1, when you're adding that initial 4-6 inches of straw, don't just dump it in—fluff it up to create air pockets.
Frequently asked questions
How long does it take to grow potatoes in a vertical garden?
A vertical potato harvest typically takes 3-5 months from planting, depending on the variety. Early varieties like 'Red Pontiac' mature in about 90 days, while larger types like 'Yukon Gold' may need closer to 120 days. Check seed packets for specific timelines—patience pays off with fluffy, homegrown spuds!
How often should I water a vertical potato garden?
Keep soil consistently moist but not soggy. Water when the top inch feels dry (about 1-2 times weekly, more in hot/dry climates). Vertical gardens dry out faster—use a drip system or water gently at the base to avoid disturbing roots. Pro tip: Mulch with straw to retain moisture and regulate temperature!
Can I grow other vegetables in the same vertical garden?
While potatoes thrive alone, you can companion plant shallow-rooted veggies like lettuce, radishes, or green onions in pockets at the top. Avoid deep-rooted plants (e.g., carrots) or heavy feeders (e.g., tomatoes) that compete for nutrients. Rotate crops yearly to prevent disease and keep your garden productive!
What should I do if my potatoes get pests or diseases?
Prevent pests with row covers or neem oil for aphids. For blight (common in humid climates), remove infected leaves immediately and ensure 6+ hours of sunlight daily. Avoid overhead watering to reduce fungal risks. If bugs strike, handpick or introduce ladybugs—nature’s pest control!
Can I use a vertical potato garden indoors?
Yes, but with bright light (grow lights work!) and good airflow. Place near a sunny window or under LED grow lights for 12+ hours/day. Indoor gardens need more frequent watering and humidity control (a pebble tray helps). Just mimic outdoor conditions, and you’ll get a thriving indoor harvest!
Wrapping up and next steps
Transforming your small space into a thriving potato garden is simpler—and more rewarding—than you think! With a vertical garden, you’re not just saving space; you’re embracing a sustainable, fun, and productive way to grow your own food.
Whether you’re a beginner or a seasoned gardener, this setup proves that big harvests don’t need big yards. 🌱
Ready to dig in? Start by sketching your design—measure your space, gather your materials, and let your creativity guide you. Before you know it, you’ll be harvesting crisp, homegrown potatoes straight from your walls or shelves. Happy growing! 🥔✨