
Landscaping
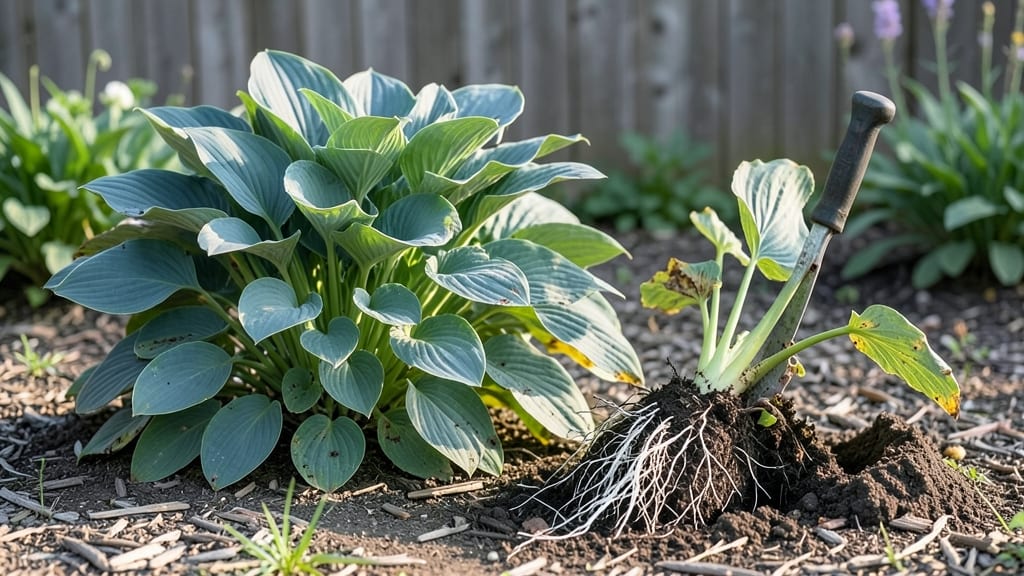
Transforming a narrow side yard into a lush, private retreat starts with smart layering. 🌿 I designed my own side garden after struggling with a cramped, exposed space that felt more like an alley than a garden—until I learned how to stack plants vertically, use tall shrubs as living walls, and weave in climbing vines that create instant privacy.
The key is working with what you’ve got: a 6-foot-wide strip can become a thriving vertical garden with the right mix of compact shrubs, trellises, and climbing roses.
I use evergreen shrubs like boxwood or holly for year-round privacy, then add fast-growing climbers like clematis or jasmine to soften the look while maximizing space. Even in shade, ferns and ivy thrive when given something to climb.
By the end of summer, you’ll have a fragrant, shaded nook that feels like a secret garden. The best part? You’ll save money on fences while creating a space that’s both functional and beautiful—perfect for morning coffee or quiet afternoon reading.
Let’s turn that narrow strip into your new favorite spot.
This design works for any side yard, whether you’ve got full sun or dappled shade. The same principles apply to urban balconies or rural plots—just swap out plants to match your light conditions. Ready to start stacking your privacy?
📚 In This Guide
- What you need
- Instructions
- Tips and common mistakes
- Wrapping up and next steps
What you need
- ● Plants: Tall, fast-growing shrubs (e.g., Bamboo, Arborvitae, or Holly) – 3-5 plants (depending on height goals).
- ● Medium-height foliage (e.g., Boxwood, Hydrangeas, or Dwarf Fothergilla) – 4-6 plants for layered texture.
- ● Low-growing ground covers (e.g., Creeping Jenny, Ivy, or Sedum) – Enough to fill gaps (~10-15 sq. ft. per plant).
- ● Soil & Amendments: Topsoil – 1-2 cubic yards (for planting beds).
- ● Compost – 1-2 bags (to enrich soil).
- ● Mulch – 2-3 bags (for moisture retention and weed control).
- ● Hardware & Structures: Privacy lattice or trellis – 1-2 panels (6-8 ft. tall, depending on space).
- ● Garden stakes or cages – 5-10 stakes (for climbing plants like Clematis or Jasmine).
- ● Garden edging – Flexible metal or plastic (to define plant beds).
- ● Digging & Planting: Shovel, trowel, pruning shears, gloves.
- ● Measuring & Marking: Tape measure, spray paint (for layout), stakes.
- ○ Optional (but handy!): Wheelbarrow (for hauling soil/mulch).
- ● String line (for straight edges).
- ● Post-hole digger (if installing lattice posts).
- ● Check sunlight: Note if your side garden gets full sun, partial shade, or full shade—this dictates plant choices!
- ● Drainage test: Dig a small hole (12” deep) and fill with water. If it drains in <1 hour, you’re good; if not, amend with sand or gravel.
- ● Local regulations: Confirm if your area requires permits for fences, lattice, or tall plants.
- ● 💡 Pro Tip: Start with evergreens for year-round privacy—they won’t leave you exposed in winter!
Step-by-step instructions for designing a privacy-focused side garden
Transform narrow spaces into lush, functional retreats with these layered planting techniques.
🌿 Step 1: Plan Your Vertical Layers for Maximum Privacy
Start by sketching your side garden's dimensions. The key to privacy in tight spaces is layering plants from top to bottom. I always begin with the tallest elements at the back—think 6-8 foot evergreen shrubs like arborvitae or bamboo—then work forward with mid-height plants like 3-5 foot hydrangeas or boxwoods. For the front edge, use 2-3 foot tall ornamental grasses or dwarf shrubs to soften the transition.
Measure your space carefully. A 4-foot wide side garden needs at least 12 inches of planting depth to accommodate all layers without feeling cramped. Place taller plants closest to the house or fence, then step back with each new layer. This creates depth visually while keeping the space functional—no tripping over plants!
🪴 Step 2: Prepare the Soil and Install Structural Plants
Dig a 6-inch deep trench along the length of your garden bed, about 12 inches wide. This gives roots room to establish without competing for space. Amend the native soil with 2-3 inches of compost mixed into the top 6 inches of soil—this improves drainage and nutrient availability for your layered plants.
Plant your tallest elements first. For 6-foot evergreens, dig holes twice as wide as the root ball and 1 inch deeper. Place the plant so the top of the root ball sits 1 inch below soil level—this prevents stem rot. Fill the hole with native soil (no amendments) and water deeply to settle it. Repeat for mid-height and front-edge plants, spacing them 18-24 inches apart for airflow and growth.
☀️ Step 3: Add Foliage and Flowering Fillers for Year-Round Interest
Fill gaps between structural plants with 3-4 inch tall perennials like hostas, heucheras, or ferns. These create a lush middle layer that softens the view while adding texture. I like to mix 3 shades of green—light, medium, and dark—to add depth visually. For color, tuck in 1-2 inch tall annuals like impatiens or begonias in the front; they’ll bloom all season and hide bare soil.
Here’s the trick: plant 1-2 flowering plants per square foot in the front layer. This ensures vibrant color without overwhelming the space. Water everything in thoroughly after planting—1 gallon per new plant—to help roots establish. Mulch with 2 inches of shredded bark to retain moisture and suppress weeds, but keep mulch 3 inches away from plant stems to prevent rot.
✂️ Step 4: Maintain Layers for Long-Term Privacy
Prune structural plants once a year in early spring before new growth begins. For evergreens, remove dead or crossing branches with clean cuts just outside the branch collar. Mid-height shrubs like hydrangeas benefit from light pruning after flowering to encourage bushier growth. Trim ornamental grasses in late winter to remove old growth and make room for fresh shoots.
Watch for gaps as plants mature. If a 3-foot shrub starts to look sparse, add a 1-2 foot tall filler plant in the empty space. I often use dwarf ninebark or spirea for this—they fill in quickly and handle pruning well. Fertilize once in early spring with a balanced, slow-release fertilizer to support steady growth throughout the season.
Tips & tricks for perfect side garden design
These simple strategies will help you create a lush, functional privacy screen that thrives in tight spaces without overpowering your yard.
Layering Height for Visual Impact: The key to making narrow spaces feel more substantial is creating visual depth through height variation. Start with your tallest plants—like those 6-8 foot evergreens—closest to the house or fence. Then work forward with 3-5 foot shrubs in the middle layer, and finish with 2-3 foot grasses or dwarf shrubs at the front. This creates the illusion of a much wider space while maintaining that cozy, intimate feeling. Think of it like a living room arrangement where taller elements anchor the scene.
Soil Preparation Secret: Don't skip amending that 6-inch trench with 2-3 inches of compost—this isn't just about nutrients, it's about creating the right foundation. The compost improves drainage while holding moisture, which is crucial for root establishment in tight spaces where plants compete for resources. I like to mix in a handful of perlite or coarse sand if my native soil is particularly dense—it makes all the difference for plant health.
Plant Spacing for Airflow: Those 18-24 inch spacings between plants might seem generous, but they're essential for long-term health. Tight spacing leads to poor airflow, which invites fungal diseases and attracts pests. In narrow spaces, proper spacing also prevents plants from competing too aggressively for sunlight and nutrients. You'll notice the difference in plant vigor after just one growing season with proper spacing.
Maintenance Made Easy: The once-a-year pruning schedule in early spring is non-negotiable for keeping your privacy screen looking its best. For evergreens, I always prune just outside the branch collar—this little detail prevents unsightly scars and keeps plants healthier. And that late winter trim for ornamental grasses? It's not just about looks—it makes room for fresh growth and prevents that "tired" look by mid-summer.
Pro Tips for Side Garden Design
- These simple strategies will help you create a lush, functional privacy screen that thrives in tight spaces without overpowering your yard.
- Layering Height for Visual Impact: The key to making narrow spaces feel more substantial is creating visual depth through height variation.
- Soil Preparation Secret: Don't skip amending that 6-inch trench with 2-3 inches of compost—this isn't just about nutrients, it's about creating the right foundation.
Frequently asked questions
Got questions about transforming your side garden into a lush, private retreat? Here are some of the most common ones—and their practical solutions!
What are the best plants for fast privacy in a narrow side garden?
Opt for quick-growing varieties like bamboo (for height), arborvitae (evergreen structure), or ivy-covered trellises (vertical coverage). For smaller spaces, ornamental grasses (e.g., Miscanthus) or climbing roses add density fast. Pro tip: Layer plants with different growth rates (e.g., shrubs + vines) to fill gaps efficiently.
How long does it take to see noticeable privacy improvements?
Timelines vary: Fastest options (e.g., bamboo, willow trees) can block views in 1–3 years, while slower growers (like boxwood) take 3–5 years. Instant solutions: Use privacy screens (wood/vinyl) or tall lattice panels for immediate coverage, then plant around them. Combine both for a hybrid approach!
Are there budget-friendly alternatives to expensive privacy plants?
Yes! Try these cost-effective swaps:
- Native plants (e.g., Russian olive or sumac)—thrive with minimal care.
- DIY trellises with perennial vines (e.g., clematis) on repurposed fencing.
- Dense shrubs like barberry or spirea (often cheaper than exotic species).
Check local plant swaps or nurseries for discounted overstock!
Does a side garden need full sun to thrive?
Not at all! Shady side gardens can thrive with low-light lovers like:
Test your space’s light with a 1-hour observation—adjust plant choices accordingly. Use natural deterrents:
Bonus: Motion-activated sprinklers scare off critters without harm!
How do I keep pests (like deer or rabbits) from destroying my side garden?
Wrapping up and next steps
Designing a side garden with privacy-focused layers doesn’t have to be complicated—it’s all about strategic planning, smart plant choices, and a little creativity.
Whether you’re working with a narrow space or just want to add greenery and seclusion, the right combination of plants, structures, and textures can transform your side yard into a serene retreat. 🌿
Now that you’re armed with ideas, take the first step—start small! Sketch a rough layout, pick one or two standout plants, or even just add a trellis for instant privacy.
Every little change makes a difference, so don’t wait for the "perfect" moment. Your dream side garden is closer than you think!