
Tools
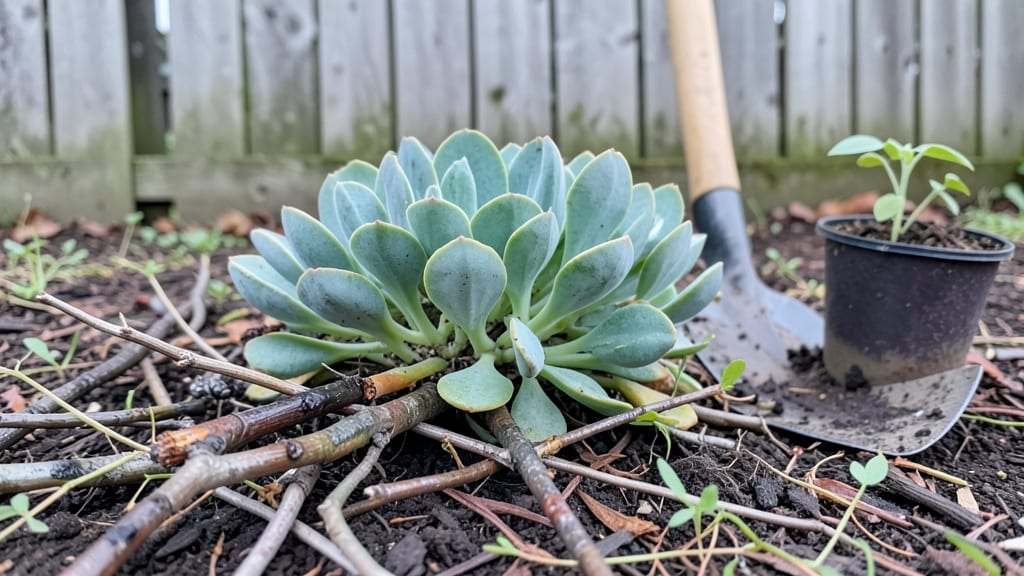
A triangular garden bed turns awkward corners into prime growing space. 🌱 I used one to fit a thriving herb garden where my last rectangular bed just sat empty—now every inch works.
The geometry might look tricky, but the math is simple: triangles maximize edges for plants while taking up less ground than squares or circles.
Start with a 5-foot base and a 3-foot height for a beginner-friendly size—plenty of room for shallow-rooted veggies or cascading flowers. Use 2x4 lumber for the frame and cedar planks for longevity, or go stone for a rustic look.
The key is keeping the sides 12-18 inches tall so weeds don’t take over and soil stays contained.
Plant along the edges where sunlight hits strongest—think radishes, lettuce, or thyme—and fill the center with taller plants like sunflowers or basil that won’t shade out the edges. The sloped sides create natural drainage, so you’ll avoid soggy soil even in rainy seasons.
Works in urban courtyards, between fence lines, or tucked into flowerbeds where straight edges won’t fit. Once built, it’s a permanent or portable solution—just move the frame if you need to rethink your layout next year. Let’s make that unused corner pay off.
📚 In This Guide
- What you need
- Instructions
- Tips and common mistakes
- Wrapping up and next steps
What you need
- ● Garden bed fabric or landscape fabric: 1 roll (minimum 3’ x 5’ to cover the base and extend slightly beyond edges).
- ● Soil or compost: 1 cubic yard (or ~27 bags of high-quality garden soil or compost mix).
- ○ Mulch (optional but recommended): 1 bag of organic mulch (e.g., shredded bark or straw).
- ● Garden edging: Metal or plastic edging strips (e.g., 6” tall, 10–15 ft total length), or
- ● Bricks, pavers, or stones (enough to outline the triangle’s three sides).
- ● Measuring tape: 1 (25–50 ft for accuracy).
- ● String or garden twine: 1 spool (for marking layout).
- ● Stakes or wooden pegs: 3–4 (to secure the string).
- ● Shovel or spade: 1 (for digging and soil prep).
- ● Wheelbarrow or bucket: 1 (for transporting soil).
- ● Gloves and knee pads: 1 pair each (for comfort).
- ● Drip irrigation kit: For efficient watering (check your triangle’s dimensions for tubing needs).
- ● Plant markers: Small stakes or labels for identifying plants.
- ● Compost activator: To boost soil fertility if using fresh compost.
- ● Waterproof underlayment: If placing the bed on a patio or deck.
- ● Garden hose with spray nozzle: For easy watering.
Step-by-Step instructions for designing a triangular garden bed
This layout maximizes visual interest while optimizing every square foot of limited space.
🪴 Step 1: Choose Your Location and Mark the Triangle
Start by selecting a sunny spot with at least 6 hours of direct sunlight daily—most vegetables and herbs thrive here. Use a garden hose or spray paint to outline a triangle with sides measuring 4-6 feet each (adjust based on your yard size). The most stable design uses a base of 4 feet and two equal sides of 5 feet, creating a sturdy shape that won’t collapse under soil weight.
Check for underground utilities before digging—call 811 if unsure. The triangle’s apex should point toward the sunniest corner of your yard. This orientation ensures even light distribution across all plants. Press a stake at each corner to mark the shape permanently while you prepare the soil.
🌱 Step 2: Prepare the Soil Within the Triangle
Remove grass or weeds within your marked triangle, then loosen the soil to a depth of 12 inches using a shovel or garden fork. Break up any compacted layers—roots need room to spread. Mix in 2-3 inches of compost evenly across the bed, working it into the top 6 inches of soil. This improves drainage and provides nutrients for your plants.
For compact yards, I often add a 1-inch layer of coarse sand first if the native soil drains poorly. Test moisture by squeezing a handful—it should hold together but not feel soggy. If your soil feels heavy or clay-like, add a handful of perlite to improve aeration. The goal is loose, crumbly soil that won’t suffocate roots.
☀️ Step 3: Install Edging for Structure and Aesthetics
Line the triangle’s edges with landscape fabric to prevent grass from encroaching, then secure it with landscape staples every 12 inches. For a clean finish, use metal or stone edging—I prefer flexible metal because it conforms to the triangle’s angles without gaps. Bend the edging into place at each corner, then tuck the ends under the soil to hold it firmly.
Leave the fabric exposed at the top edge to allow rainwater to penetrate while blocking weeds. If using stones, arrange them in a staggered pattern for stability. The edging not only keeps your bed neat but also prevents soil from spilling into walkways. This step is especially critical in triangular beds, where soil pressure against the sides can cause erosion.
🌿 Step 4: Plant in Zones for Maximum Efficiency
Divide your triangle into three planting zones: the apex (top corner) for tall plants like sunflowers or trellised tomatoes, the sides for mid-height plants such as peppers or bush beans, and the base for sprawling varieties like zucchini or cucumbers. Space plants based on their mature size—12-18 inches apart for most vegetables, 24 inches apart for larger plants like pumpkins.
Start with the tallest plants at the back (closest to the apex) and work your way down. This prevents shading issues and creates a natural focal point. Water deeply after planting to settle the soil around roots. Mulch with 2 inches of shredded bark or straw to retain moisture and suppress weeds—this is particularly important in triangular beds, where water can run off more quickly.
⏰ Step 5: Maintain and Adjust Seasonally
Water the bed 1-2 times weekly, aiming for 1 inch of water per week, depending on rainfall. Triangular beds dry out faster than rectangular ones, so check soil moisture by pushing a finger 1 inch deep—if it’s dry, it’s time to water. Use a soaker hose along the base of the triangle to deliver moisture evenly without disturbing plants.
Every 4-6 weeks, top-dress with a ½-inch layer of compost to replenish nutrients. In late fall, remove spent plants and add a 3-inch layer of leaves or straw as mulch to protect soil over winter. The triangle’s shape makes it easy to reach all areas for maintenance—no wasted steps or missed spots.
Tips & tricks for perfect triangular garden beds
Here's what I've learned after designing these space-saving layouts for clients with limited yards—details that make all the difference.
The Sunlight Factor: That 6-hour minimum of sunlight is non-negotiable for most vegetables, but here's the thing: the triangle's orientation matters just as much as the duration. I've found that positioning the apex toward the sunniest corner creates a natural light gradient—tall plants at the apex get full exposure, while mid-height plants on the sides receive gentle morning light. This prevents the uneven growth I saw in my first attempt when I ignored the orientation entirely.
Soil Preparation Secret: When loosening that 12-inch depth in Step 2, don't just stab at the soil—work the fork in a sawing motion to create vertical slices. This breaks up compaction more effectively than vertical pokes. For clay-heavy soils, I've had success adding a thin layer of coconut coir along with the perlite—it improves moisture retention while still allowing drainage. The goal is soil that crumbles easily when you squeeze it, not something that sticks together like wet clay.
Edging Strategy: The 12-inch spacing for landscape staples is perfect, but here's my pro move: I overlap the fabric edges by 2-3 inches at each corner before securing. This creates a stronger barrier against grass intrusion, especially important in triangular beds where the angles create more edge perimeter. For the metal edging, I bend it at 45-degree angles at each corner—this prevents soil from pushing the edges outward over time.
Planting Zone Hack: In Step 4, when dividing your zones, consider adding a small trellis at the base near the apex. This creates a vertical element that draws the eye upward, making the triangular shape feel more intentional. I've used obelisks or simple wire frames—just make sure to plant vining plants like cucumbers or beans at the base where they won't compete with taller plants for light. The mulch thickness matters too: 2 inches is ideal, but if you're using straw, fluff it up slightly after spreading to improve water penetration.
Pro Tips for Triangular Garden Bed
- Here's what I've learned after designing these space-saving layouts for clients with limited yards—details that make all the difference.
- The Sunlight Factor: That 6-hour minimum of sunlight is non-negotiable for most vegetables, but here's the thing: the triangle's orientation matters just as much as the duration.
- Soil Preparation Secret: When loosening that 12-inch depth in Step 2, don't just stab at the soil—work the fork in a sawing motion to create vertical slices.
Frequently asked questions
Got questions about triangular garden beds?
You’re not alone! Here are answers to the most common queries to help you create a thriving, space-efficient garden.
What are the best plants for a triangular garden bed?
A triangular shape works well with vertical growers like pole beans, trellised cucumbers, or climbing roses. For ground cover, try lettuce, radishes, or strawberries. Herbs like basil or thyme thrive in tight spaces too! Just match plant heights—tall plants at the back, shorter ones at the front.
When is the best time to install a triangular garden bed?
The ideal time is early spring or fall when soil is workable but not frozen. Avoid planting during extreme heat or heavy rain. If starting from scratch, mark your bed in winter (with stakes) to plan soil prep ahead of time.
Can I convert a rectangular bed into a triangular one?
Use a string-and-stakes method to outline the triangle, then remove soil from the center to create the shape. For raised beds, cut and adjust the frame with a saw. Just ensure the base is wide enough to support plants and avoid sharp angles that could damage roots.
How do I prevent pests in a triangular garden bed?
Pests love tight spaces! Use row covers for early planting, interplant with pest-repelling herbs (like mint or marigolds), and mulch heavily. For slugs/snails, place a beer trap or copper tape along the edges. Regularly inspect leaves for early signs of trouble.
What’s the optimal size for a triangular garden bed?
Aim for a base of 3–4 feet and a height of 2–3 feet (like a right triangle). This gives enough space for 3–5 plants per side without overcrowding. For larger yields, create multiple small triangles instead of one giant shape—easier to maintain!
Pro Tip:
Use laser levels or a garden hose to ensure your triangle is perfectly straight before digging. A level bed = happier plants!
Wrapping up and next steps
Creating a triangular garden bed is a brilliant way to maximize small spaces while adding charm to your yard!
Whether you’re working with limited room or just love a unique design, this layout proves that big results come in compact packages. 🌱 With the right materials and a little creativity, you can transform even the trickiest corner into a thriving green oasis.
Ready to get started? Sketch your design, gather your tools, and dig in! Your future garden—and your neighbors—will thank you.