
Tools
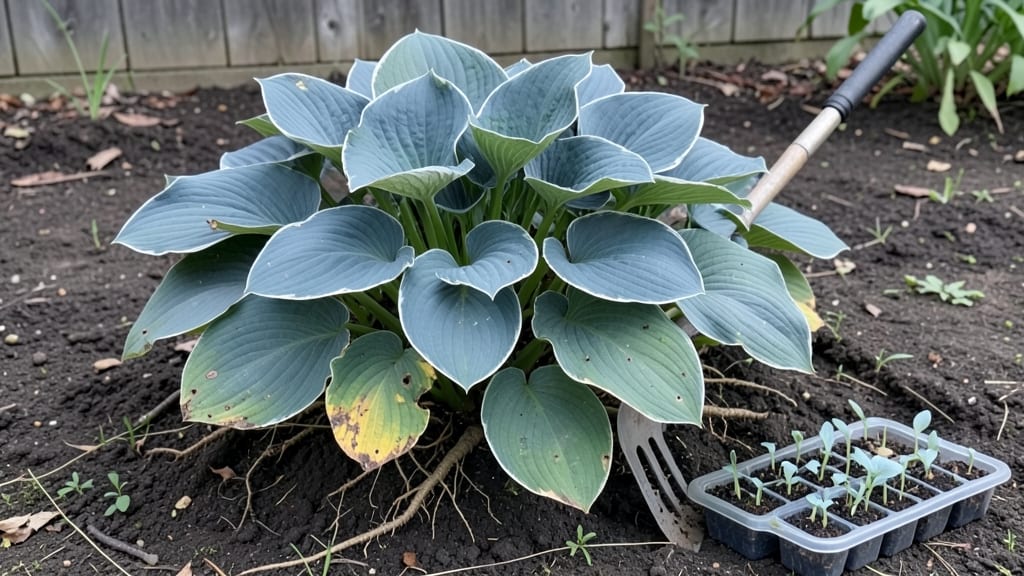
My deep bed gardening method transformed my backyard from a muddy afterthought into a thriving, waist-high paradise where even my black thumb can't kill anything. 🌱 The secret lies in those extra 12-18 inches of soil—where roots stretch deep, water drains perfectly, and weeds struggle to take hold.
I built my first bed after years of bending over soggy soil, and now I harvest greens in spring, tomatoes in summer, and kale through fall without bending once.
You'll need basic tools—a broadfork, compost, and some cardboard for weed suppression—but the real magic happens in the layers. I start with a sturdy frame, then build up with carbon-rich materials (leaves, straw) and nitrogen-rich (manure, veggie scraps), topped with finished compost.
This creates a living soil ecosystem that feeds plants all season, even in heavy clay or sandy soil. The beds stay loose and fertile for years with minimal work.
What you end up with is a garden that produces 30-50% more than traditional rows, stays weed-free longer, and grows plants that taste better because they develop strong roots. My zucchini vines sprawl 6 feet wide but produce twice as many squash because they're not competing for shallow nutrients.
The beds also warm up faster in spring, letting me plant lettuce in March when flat-ground gardens are still frozen.
Perfect for small spaces, backyards with bad soil, or anyone tired of annual tilling. Whether you're growing vegetables, flowers, or herbs, these beds adapt to any climate—just adjust the mulch thickness for hot summers or cold winters. Here's how to build yours without breaking your back or the bank.
📚 In This Guide
- What you need
- Instructions
- Tips and common mistakes
- Wrapping up and next steps
What you need
- ● Garden space: A dedicated area (minimum 4’ x 8’) with full sun (6+ hours/day) or partial shade, depending on crops.
- ● Cardboard or landscape fabric: 1–2 sheets (to smother weeds and define beds).
- ● Layered amendments: Browns (carbon-rich): 2–3 inches of straw, leaves, or wood chips (shredded for faster breakdown).
- ● Greens (nitrogen-rich): 1–2 inches of compost, manure, or worm castings (well-aged!).
- ● Bulk soil: 6–12 inches of topsoil or a mix of 60% topsoil + 40% compost.
- ● Basic tools: Garden fork or broadfork (for aerating).
- ● Garden shovel or spade (for digging).
- ● Rake (to level layers).
- ● Wheelbarrow or large bin (for mixing materials).
- ● Mulch: 2–3 inches of straw, grass clippings, or pine needles (to retain moisture).
- ● Soil test kit: To check pH and nutrient levels before planting.
- ● Drip irrigation or soaker hose: For efficient watering (especially in dry climates).
- ● Compost thermometer: If using fresh manure (to monitor heat safety).
- ● Kneeling pad or stool: For comfort during layering.
- ● Plant markers: Wooden sticks or labels for tracking crops.
Step-by-Step guide to building a deep garden bed
This method transforms compact soil into a nutrient-rich, year-round growing powerhouse.
🪴 Step 1: Mark and Prepare the Bed Location
Choose a 4-foot-wide by 8-foot-long area in full sun or partial shade, depending on your plants. Use a garden hose or string to outline the space—this ensures straight edges and prevents soil spillage into lawn areas. Clear all grass, weeds, and debris from the marked zone, then loosen the top 6 inches of soil with a shovel or broadfork.
Real talk: Don’t skip this prep. Compacted soil won’t drain properly, and your layers will compress over time. If your soil feels rock-hard, add a 2-inch layer of coarse sand or perlite to improve drainage before proceeding.
🌱 Step 2: Build the Foundation Layer
Start with a 4-inch base layer of untreated hardwood mulch or straw. This prevents weeds from pushing up through your bed and adds organic matter as it breaks down. Spread it evenly across the entire area, then top with a 2-inch layer of coarse wood chips or bark mulch for extra weed suppression.
Here’s where it gets fun—press down lightly with your foot or a board to create a firm, level base. You’ll see the mulch settle slightly, which is normal. This layer also helps regulate soil temperature, keeping roots cozy in winter and cool in summer.
🌿 Step 3: Add the Carbon-Rich Layer
Next, add a 4-inch layer of carbon-rich materials like shredded newspaper, cardboard, or dry leaves. These break down slowly, feeding soil microbes without robbing nitrogen from your plants. Wet this layer thoroughly with water—it should feel damp like a wrung-out sponge but not soggy.
If you’re using cardboard, remove any tape or staples first. I like to overlap edges slightly to block light completely. This ensures the cardboard decomposes into the soil rather than just turning into mulch on top.
💧 Step 4: Layer with Nitrogen-Rich Materials
Now comes the 3-inch layer of nitrogen-rich "greens"—think grass clippings, fresh manure, or kitchen scraps like fruit/vegetable trimmings. These materials decompose quickly, providing nutrients for your plants. Mix in a handful of compost or worm castings to jumpstart microbial activity.
Don’t overdo it with fresh manure—too much can burn plants. I use a 50/50 mix of manure and compost for balance. Water this layer lightly to help it settle and begin breaking down.
☀️ Step 5: Top with Finished Compost and Mulch
Finish with a 3-inch layer of finished compost (well-aged, dark, and crumbly) and a 1-inch layer of straw or wood chips. This top layer retains moisture, regulates temperature, and provides a clean planting surface. Let it sit for 2-4 weeks before planting—this gives microbes time to colonize and warm the soil.
You’ll know it’s ready when the surface feels spongy and smells earthy (not sour or chemical-like). This layered approach mimics natural forest floors, creating a self-sustaining ecosystem where plants thrive year after year.
Tips & tricks for perfect deep garden beds
A few simple strategies that'll make your deep garden bed project even more successful—and save you from common pitfalls.
Soil Prep is Non-Negotiable: In Step 1, when loosening that top 6 inches of soil, don't rush it. I've seen gardeners skip this because it's tedious, but compacted soil is the #1 reason deep beds fail. Use a broadfork to break up the soil without turning it—this preserves soil structure while improving drainage. If your soil is particularly dense, consider adding that 2-inch sand layer right away rather than waiting until you notice drainage issues later. The extra effort now means fewer headaches when planting.
The Mulch Pressing Technique: Step 2 mentions pressing down that 4-inch mulch layer, but here's the thing: don't overdo it. You want firm, not compacted. Walk across the bed in your boots—just enough pressure to settle the material. This creates the perfect balance: stable enough to prevent weeds but loose enough to allow roots to penetrate. I've seen beds where people pressed so hard the mulch became almost solid, making it difficult for plants to establish.
Carbon-Nitrogen Balance Matters: In Step 4, when adding those nitrogen-rich greens, remember the golden ratio: for every 3 parts greens, you need 1 part browns (carbon). I like to keep a bucket of shredded leaves handy to adjust the mix as I go. Too much nitrogen without carbon creates a stinky, anaerobic environment that burns plant roots. Too much carbon without nitrogen means your microbes will starve. The 50/50 manure-to-compost mix mentioned is perfect for balance—stick with it unless you're working with very specific plant needs.
Patience Pays Off: That 2-4 week waiting period in Step 5 is crucial, but I know it's tempting to plant sooner. Here's my trick: if you're impatient, plant fast-growing cover crops like clover or winter rye during that waiting period. They'll help stabilize the soil while you wait for the full ecosystem to establish. Just be sure to remove them before planting your main crops. The key is letting those microbes colonize—they're the invisible workforce that makes your deep bed work magic.
Pro Tips for Deep Bed Gardening
- A few simple strategies that'll make your deep garden bed project even more successful—and save you from common pitfalls.
- Soil Prep is Non-Negotiable: In Step 1, when loosening that top 6 inches of soil, don't rush it.
- The Mulch Pressing Technique: Step 2 mentions pressing down that 4-inch mulch layer, but here's the thing: don't overdo it.
Frequently asked questions
Got questions about deep bed gardening?
You’re not alone! Here are answers to the most common queries to help you get started with confidence.
What’s the ideal depth for a deep bed?
Aim for 12–18 inches deep—this mimics natural soil layers and gives roots room to thrive. Shallower beds (6–12 inches) work for lighter plants like lettuce, but deeper beds support heavy feeders like tomatoes or corn. Pro tip: Use a tape measure or a sturdy stick to check depth before filling!
How long does it take to build a deep bed?
Most beds take 1–2 days to assemble, depending on size and materials. Layering (cardboard, compost, mulch) is the time-consuming part, but it’s worth it! Break it into sessions if needed—just keep the layers moist until planting. Prep the base (removing weeds/grass) first to save time later.
Is deep bed gardening more expensive than traditional gardening?
Not necessarily! While materials like compost or mulch add up, deep beds reduce costs long-term by cutting back on fertilizers, water, and soil replacements. Start small (e.g., a 4’x4’ bed) to test costs before scaling up. Repurpose free materials like leaves or straw for mulch.
Can I garden deep beds in cold climates?
Deep beds insulate roots naturally, protecting plants from frost. In cold zones, add an extra layer of straw or leaves in winter. Evergreens or row covers also help. Plant cold-hardy crops like kale or spinach in fall for early spring harvests.
What if my plants struggle despite proper layers?
Check for compaction (roots need air!) or poor drainage (add sand or perlite if soggy). Pests? Inspect leaves for chew marks or eggs. Adjust pH with lime (too acidic) or sulfur (too alkaline). Keep a gardening journal to track issues and solutions!
Wrapping up and next steps
Deep bed gardening isn’t just a technique—it’s a revolution in how we grow food. By mimicking nature’s layered soil structure, you unlock the potential for year-round harvests, reduced water waste, and healthier plants.
Whether you're a seasoned gardener or just starting out, this method makes gardening accessible, sustainable, and rewarding.
Ready to transform your garden? Start small—pick a sunny spot, gather your materials, and build your first deep bed. Your future harvests will thank you! 🌱💚