
Tools
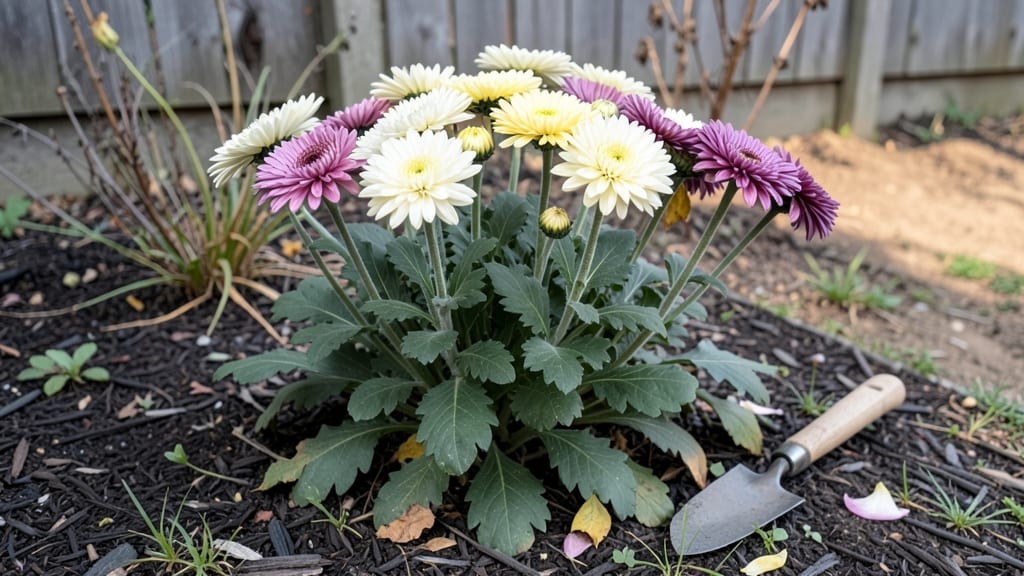
Fall garden prep turns your small plot into a productive winter machine—even if you only have a balcony or a 4-foot bed. 🌿 I’ve learned that the right layout and timing can stretch your harvest well past the first frost, and it’s easier than you think.
Start by clearing out spent summer plants and amending the soil with compost—this feeds roots through the cold months. Then, choose cold-hardy crops like kale, spinach, or garlic that thrive when days grow shorter.
A simple 3-foot by 3-foot raised bed can yield enough greens for a family of four through winter if you plant at the right time.
Mulch heavily to protect roots from freezing and smother weeds, then add row covers for extra frost protection. By late October, you’ll have a garden that keeps producing while everything else sleeps. The key is working with the season, not against it.
Northern gardens need earlier planting and more insulation, while southern climates can extend harvests into December with shade cloth. Either way, this prep ensures your garden stays alive and productive when others are dormant.
📚 In This Guide
- What you need
- Instructions
- Tips and common mistakes
- Wrapping up and next steps
What you need
- ● Garden soil: 5–10 bags (1–2 cubic feet each) of high-quality, well-draining potting mix or compost-enriched soil. Look for a blend labeled for vegetables or container gardening.
- ● Containers or raised beds: 5+ pots (5–10 gallons each) for compact spaces, or
- ● 1 raised bed (4’x8’ or smaller) with drainage holes.
- ● Seeds or seedlings: Choose cold-hardy varieties like kale, spinach, carrots, or radishes. Buy seeds in small packets (100–500 seeds) or 3–6 seedlings per variety.
- ● Basic tools: 1 trowel (for planting and soil prep),
- ● 1 hand pruners (for trimming), and
- ● 1 watering can (1–2 gallons) or hose with a gentle spray nozzle.
- ● Mulch: 2–3 bags of straw or shredded leaves (for insulation and moisture retention).
- ● Fertilizer: Slow-release granular fertilizer (e.g., 10-10-10) or organic options like composted manure or worm castings.
- ● Soil test kit (to check pH and nutrient levels).
- ● Garden gloves (to protect your hands).
- ● Row covers or frost cloth (for extra protection in chilly climates).
- ● Drip irrigation system or timer (for efficient watering).
- ● Garden journal (to track progress and notes).
Step-by-Step guide to designing a year-round compact garden
Here's how to maximize small spaces while planning for continuous harvests.
🌱 Step 1: Assess Your Space and Sunlight Patterns
Start by measuring your garden area and mapping sunlight exposure throughout the day. I always sketch a simple diagram showing where the sun hits at different times—this helps me identify the sunniest spots for warm-season crops and partial-shade areas for cooler-season plants. Use a tape measure to mark boundaries and note any obstructions like trees or fences that might cast shade.
Pay special attention to microclimates—some spots might stay warmer longer into fall or get more afternoon sun. This is where you'll place your most cold-tolerant crops like kale or spinach. If your space gets less than 6 hours of sun, focus on shade-tolerant herbs and greens instead of sun-loving vegetables.
🪴 Step 2: Plan Multi-Level Planting Zones
Create vertical layers to maximize growing space without taking up extra ground. Start with taller plants like pole beans or trellised tomatoes at the back or along fences. These should get planted first, as they'll establish roots before cooler weather arrives. In the middle layer, place medium-height plants like bush beans, lettuce, or carrots—these will benefit from the partial shade cast by taller plants.
For the front layer, choose low-growing crops like radishes, spinach, or strawberries. These will thrive in the remaining sunlight and can be harvested before taller plants fully mature. Use the 4-foot rule: most plants will reach their mature height within 4 feet, so arrange them accordingly to avoid shading each other.
☀️ Step 3: Schedule Crop Successions for Continuous Harvests
Plan your planting schedule so that as one crop finishes, another is ready to take its place. Start with fast-growing crops like radishes or lettuce in early fall, followed by slightly slower greens like kale or Swiss chard. These can be harvested before winter sets in. In late fall, sow cold-hardy crops like spinach, arugula, or winter radishes that will thrive in cooler temperatures.
Use a planting calendar to track when each crop should go in and when it will be ready to harvest. For example, if you plant lettuce in early September, it might be ready by late October—just as your spinach, planted in late September, starts to mature. This overlapping schedule ensures you always have something fresh to pick.
💧 Step 4: Prepare Soil and Add Seasonal Amendments
Test your soil’s pH and nutrient levels before planting. Fall is a great time to amend the soil with compost or organic matter to improve its structure and fertility for next year’s crops. Work in 2-3 inches of compost or well-rotted manure into the top 6 inches of soil. This not only feeds your plants but also helps retain moisture during cooler months.
If your soil drains poorly, mix in sand or perlite to improve aeration. For clay-heavy soil, adding peanut hulls or coarse compost can help break it up. Avoid working the soil when it’s too wet—wait until it’s just damp enough to crumble easily in your hands. This ensures you don’t compact the soil further.
⏰ Step 5: Install Seasonal Supports and Protective Structures
Set up trellises, cages, or stakes for vining plants like cucumbers, beans, or peas before they need them. This prevents disturbing roots later. For taller plants, use 5-foot stakes or tomato cages buried 6 inches deep to provide stability. If you’re growing indeterminate tomatoes, consider a 6-foot trellis to support their growth throughout the season.
Install low tunnels or row covers over cold-sensitive crops to extend the growing season. These simple structures can add 4-6 weeks of growing time by trapping heat and protecting plants from frost. Use hoop houses made from PVC pipes and row cover fabric for a quick and effective solution. Remove them during the day if temperatures rise above 70°F to prevent overheating.
Tips & tricks for perfect fall garden layouts
Here's how to avoid common mistakes and maximize every inch of your compact garden space.
Sunlight Strategy: When assessing sunlight in Step 1, use a simple trick: place a white plate where you want to plant sun-lovers like tomatoes. If it stays warm to the touch for at least 6 hours during the day, that spot gets full sun. For partial shade areas, check the plate at midday—if it's only warm for 3-4 hours, it's perfect for greens like spinach or lettuce. This visual test saves you from guessing!
Vertical Space Hack: In Step 2, don't limit yourself to just three layers. Add a fourth "ceiling" layer for vining plants like cucumbers or peas by hanging baskets from overhead structures. This frees up ground space for root crops. I've doubled my growing area by using vertical space this way—just make sure your supports are sturdy enough to handle mature plants.
Seasonal Successions: For Step 3, create a simple planting calendar using free online tools or even a whiteboard. Mark key dates like the first frost (typically mid-October in most regions) and work backward from there. This helps you visualize how crops will overlap. For example, if you plant radishes in late August, they'll be ready by late September—just as your lettuce planted in early September starts to mature.
Soil Prep Shortcut: In Step 4, instead of testing soil pH with expensive kits, use simple household items. Vinegar (white) turns pink in alkaline soil, while baking soda fizzes in acidic soil. For most fall crops, aim for a neutral pH around 6.5-7.0. If you need to adjust, add lime to raise pH or sulfur to lower it—both break down slowly over fall and winter for next season's plants.
Pro Tips for Fall Garden Prep
- Here's how to avoid common mistakes and maximize every inch of your compact garden space.
- Sunlight Strategy: When assessing sunlight in Step 1, use a simple trick: place a white plate where you want to plant sun-lovers like tomatoes.
- Vertical Space Hack: In Step 2, don't limit yourself to just three layers.
Frequently asked questions
Got questions about prepping your garden for fall? Here are some common ones—and their answers—to help you plan like a pro!
When is the best time to start fall garden prep?
Start preparing your garden 4–6 weeks before your first expected frost date (check your USDA zone!). This gives plants time to establish roots before cooler weather sets in. For most regions, late summer (August–early September) is ideal. Focus first on soil prep, then plant cool-season crops like kale, spinach, or carrots.
Can I still garden in fall if I live in a cold climate?
Use row covers, cold frames, or raised beds to extend your growing season. Hardy crops like Brussels sprouts, broccoli, and hardy greens thrive in cooler temps. Even in Zone 3, you can grow winter rye or garlic for early spring harvests. Just adjust planting dates and protect tender plants with mulch or cloches.
What should I do with my summer garden after harvest?
Don’t just clear it—repurpose! Remove spent plants and weeds, then amend the soil with compost. Plant cover crops (like clover or winter rye) to prevent erosion and enrich the soil. If space is tight, try interplanting fast-growing fall crops (like radishes) between slower-maturing plants (like cabbage).
Do I need special tools for fall gardening?
Not necessarily! Basic tools like a garden fork, hoe, and pruners work for most tasks. For compact spaces, consider a foldable trowel or ergonomic gloves to reduce strain. If you’re planting in containers, a 5-gallon bucket with drainage holes makes a great low-cost planter.
How do I protect my fall garden from pests?
Fall pests like slugs, aphids, and squash bugs can be tricky. Use organic sprays (neem oil, insecticidal soap) or physical barriers (copper tape for slugs, row covers for bugs). Crop rotation and healthy soil also deter pests—strong plants resist damage better! Check plants regularly and remove affected leaves promptly.
Wrapping up and next steps
Prepping your fall garden isn’t just about timing—it’s about strategic planning that maximizes space and harvests. Whether you’re tucking in cold-hardy greens, reviving soil, or designing layered beds, small adjustments now mean bountiful yields all season long. 🌱
Ready to roll up your sleeves? Start by sketching your layout this weekend—your future self (and taste buds!) will thank you. Need a hand? Check out our free garden planner template to visualize your dream compact plot.