
Tools
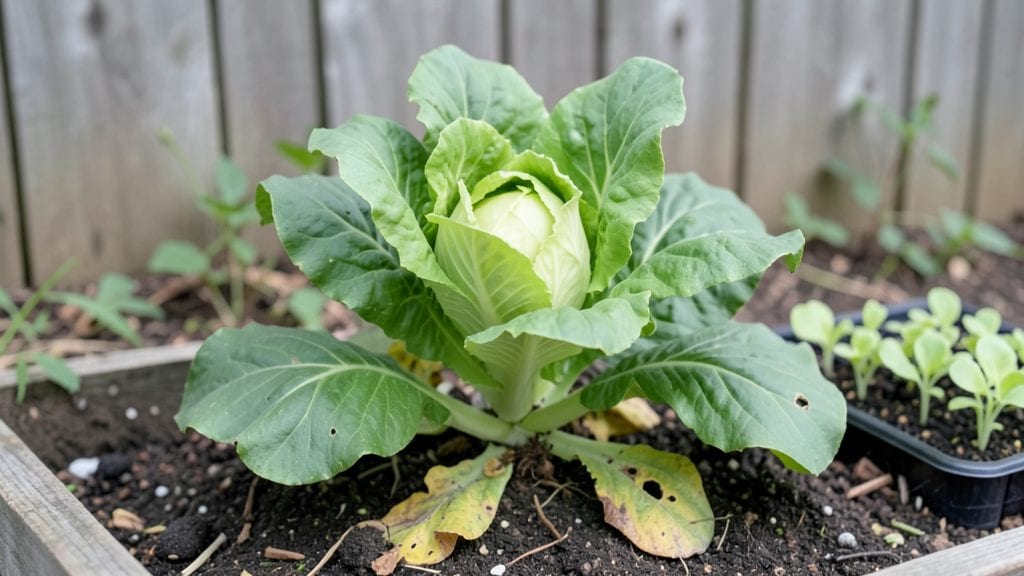
Square-foot garden box layouts turn small spaces into high-yield growing powerhouses—my 4x4-foot cedar box now produces more tomatoes than my entire in-ground plot ever did. The trick isn't just packing plants tightly; it's arranging them so they support each other's growth habits while maximizing sunlight and airflow.
I started with a simple grid, but after tracking what worked (and what flopped), I refined it into a system that fits any box size or garden goal.
You'll need basic materials—cedar lumber for durability, landscape fabric to suppress weeds, and a moisture meter to avoid overwatering—but the real secret is the 12-inch grid that lets you map out plant spacing like a puzzle.
Herbs like thyme and oregano thrive in 1-inch squares, while tomatoes need 4 squares each. The layout even accounts for companion plants: basil next to tomatoes deters pests, and carrots between onions confuse root maggots. My first box had too many tomatoes competing for space, but the second one?
Every plant got exactly what it needed.
By summer's end, you'll have a box that's not just functional but visually satisfying—rows of lush basil framing cherry tomatoes, their vines trained upward to save space. The cedar edges stay sturdy for years, and the fabric keeps weeds from stealing nutrients.
Even my neighbor's skeptical "that's too small" turned into "how do you fit so much in there?" when they saw the harvest. This system works for beginners and seasoned gardeners alike, whether you're growing veggies, herbs, or flowers.
Pro tip: Mark your grid with removable stakes before planting—it saves time and keeps you from crowding seedlings. And if you're short on sunlight? Stick to leafy greens and herbs in partial shade; they're the box's unsung heroes. Ready to design a layout that actually works for your space?
📚 In This Guide
- What you need
- Instructions
- Tips and common mistakes
- Wrapping up and next steps
What you need
- ● Garden box frame: 4x untreated cedar, redwood, or galvanized steel boards (8–12 ft long, 2x8 or 2x10 inches thick). Pro tip: Cedar resists rot naturally! 🌲
- ● Corner brackets or screws: 4–8 galvanized or stainless steel brackets (or 2.5-inch deck screws for assembly).
- ● Landscape fabric: 1 roll (3–4 ft wide) to block weeds and retain moisture.
- ● Soil mix: 6–8 cubic feet of high-quality mel’s mix or a blend of 60% compost, 30% peat moss, and 10% perlite.
- ● Drainage layer: 2–3 inches of gravel or coarse sand (for bottom layer).
- ● Measuring tape, pencil, and square for precise cuts.
- ● Circular saw or handsaw for cutting boards.
- ● Drill/driver (with Phillips or square-drive bit).
- ● Level tool to ensure your box is even.
- ● Gloves, safety goggles, and ear protection.
- ● Drip irrigation kit or soaker hoses for hassle-free watering. 💧
- ● Wood stain or paint (if using untreated wood for longevity).
- ● Self-watering reservoir or wicking system for drought-prone areas.
- ● Plant labels and a small notebook to track your square-foot garden layout!
Step-by-Step instructions for designing a square-foot garden box layout
Here's how to maximize every inch of your garden box using square-foot planning.
Measure and Divide Your Garden Box
Start by measuring your garden box's length and width. For a 4-foot by 4-foot box, you'll have 16 square feet of space to work with. Divide each foot into 12-inch sections using string or a garden grid—this creates a grid of 16 one-foot squares. Each square represents a planting zone where you'll place specific plants based on their spacing needs.
I like to use stakes and twine to mark the grid lines temporarily. This keeps everything neat and makes it easy to visualize where each plant will go. Double-check your measurements to ensure each square is exactly 12 inches by 12 inches—accuracy here prevents overcrowding later.
Assign Plants to Each Square Based on Spacing Charts
Refer to a square-foot gardening chart to determine how many plants of each type fit in a single square foot. For example, 16 basil plants or 4 tomato plants might share one square, while 9 carrots or 16 radishes would also fit. Write the plant names and quantities in each square on a sketch or directly on the grid with a waterproof marker.
I always start with large plants like tomatoes or peppers in the center squares, then fill the edges with smaller plants like lettuce or herbs. This ensures taller plants don’t shade out the smaller ones. Group plants with similar watering needs together—like herbs and greens—to simplify maintenance.
Plan for Companion Planting and Plant Families
Use companion planting to boost growth and deter pests. Pair basil with tomatoes to improve flavor and repel insects, or plant carrots near onions to confuse carrot flies. Avoid planting related plants like tomatoes, peppers, and eggplants in the same square—they share diseases and pests.
Leave at least one square empty for fast-growing crops like radishes or lettuce, which you can sow every 2-3 weeks for a continuous harvest. This also acts as a buffer if a plant fails, so you’re not left with bare spots. Sketch your layout on paper first—it’s easier to rearrange plants before digging.
Arrange for Sunlight and Airflow
Place sun-loving plants like tomatoes, peppers, and cucumbers in the southern half of the box where they’ll get 6-8 hours of direct sunlight. Shade-tolerant plants like lettuce or spinach belong in the northern or western edges, where they won’t compete for light. Rotate your box quarter-turn weekly to ensure even sunlight exposure and prevent leggy growth.
Leave 2-inch walkways between rows if your box is larger than 4 feet by 4 feet. This makes it easier to reach plants without stepping on the soil, which compacts it and damages roots. If space is tight, plant low-growing crops like strawberries or thyme along the edges to define pathways naturally.
Finalize Your Layout with a Test Run
Before planting, do a dry run by laying out your plants (or their pots) in the grid. This helps you spot any spacing issues or sunlight conflicts. Adjust as needed—sometimes a plant looks perfect on paper but struggles in reality. Take photos of your layout for future reference, especially if you’re repeating the design next year.
I always keep a planting journal to note which combinations worked and which didn’t. For example, I learned that planting onions too close to carrots led to stunted roots, so I adjusted the spacing in later boxes. Your first layout might not be perfect, but each season refines the process.
Tips & tricks for perfect square-foot garden box layouts
Square-foot gardening transforms limited space into a highly productive harvest—here’s how to maximize every inch without the common pitfalls.
Precision in Step 1: When marking your 12-inch squares, use a level to ensure they’re perfectly square, not diamond-shaped. I’ve seen gardeners skip this step and end up with wonky spacing that makes planting difficult. A simple carpenter’s square tool makes this check effortless, and it’s worth the few extra minutes to avoid frustration later. The key is consistency—every square should be exactly 12 inches by 12 inches, not "close enough."
Plant Placement Strategy: In Step 2, when assigning plants to squares, prioritize vertical growth in the center squares. Tall plants like pole beans or sunflowers can grow over smaller plants in the edges, creating a natural trellis effect. This vertical layering not only saves space but also improves airflow around your plants, reducing disease risk. I’ve found that placing fast-growing crops like radishes in the northern squares first lets you harvest them before they shade out slower-growing plants like carrots.
Companion Planting Shortcuts: For Step 3, create a quick-reference companion planting chart using sticky notes on your grid. Write the plant names and their benefits (like "basil repels pests" or "onions deter carrot flies") directly on the grid squares. This visual reminder prevents me from accidentally planting incompatible pairs. For example, I always place marigolds along the edges—they’re pest-repellent powerhouses that don’t compete for space with other plants.
Sunlight Rotation Hack: The quarter-turn weekly rotation in Step 4 works best if you mark the box’s original orientation with a permanent marker before planting. This creates a reference point so you always know which direction is north. I’ve seen gardeners forget this and end up rotating their box in the wrong direction, which can actually increase shade issues. A small piece of flagging tape tied to the corner works perfectly as a visual guide when checking your rotation.
Pro Tips for Garden Box Layout
- Square-foot gardening transforms limited space into a highly productive harvest—here’s how to maximize every inch without the common pitfalls.
- Precision in Step 1: When marking your 12-inch squares, use a level to ensure they’re perfectly square, not diamond-shaped.
- Plant Placement Strategy: In Step 2, when assigning plants to squares, prioritize vertical growth in the center squares.
Frequently asked questions
Got questions about optimizing your garden box layout? You’re not alone! Here are answers to the most common queries to help you plan like a pro.
What’s the best square-foot layout for beginners?
Start with a simple 4’x4’ box (16 sq ft) and divide it into 1’x1’ squares. Plant 1 tomato or 16 radishes per square—this keeps it manageable while maximizing yield. Use Mel Bartholomew’s Square Foot Gardening method as your guide!
When’s the best time to plant my garden box?
Timing depends on your climate! For warm-season crops (tomatoes, peppers), wait until after the last frost (usually late spring). Cool-season crops (lettuce, spinach) thrive in early spring or fall. Check your USDA Plant Hardiness Zone for precision.
Can I reuse soil from last year’s garden box?
Not ideal! Old soil loses nutrients and may harbor pests/diseases. Instead, refresh it with a mix of 60% compost, 30% coco coir or peat moss, and 10% perlite. This keeps roots happy and boosts productivity.
How do I fix overcrowded plants in my layout?
If your garden looks like a jungle, thin seedlings early (keep only the strongest) or harvest greens like lettuce before they bolt. For woody plants (like herbs), prune aggressively and replant bare spots with fast growers like bush beans.
Are there space-saving alternatives to square-foot gardening?
Try vertical gardening (trellises for cucumbers, peas) or intercropping (planting shallow roots like carrots with deep roots like corn). For tiny spaces, hanging planters work great for herbs and strawberries!
What do I do if my garden box drains too fast or holds too much water?
For fast drainage, add 2–3 inches of compost to improve water retention. For poor drainage, drill holes in the bottom and add a 1-inch gravel layer before soil. Elevate the box slightly if your yard floods easily.
Wrapping up and next steps
Designing the perfect garden box layout is all about maximizing space, yield, and joy—whether you’re a seasoned gardener or just starting out! 🌱 By following square-foot planning, you’ve taken the first step toward a thriving, efficient, and visually stunning garden.
Remember, the key is to start small, experiment, and adapt as you grow.
Now that you’re armed with layouts, tips, and answers to common questions, it’s time to roll up your sleeves and get planting! Grab your tools, sketch your design, and let your green thumb shine. Happy gardening—your future harvest (and future bragging rights) await! 🌿