
Tools
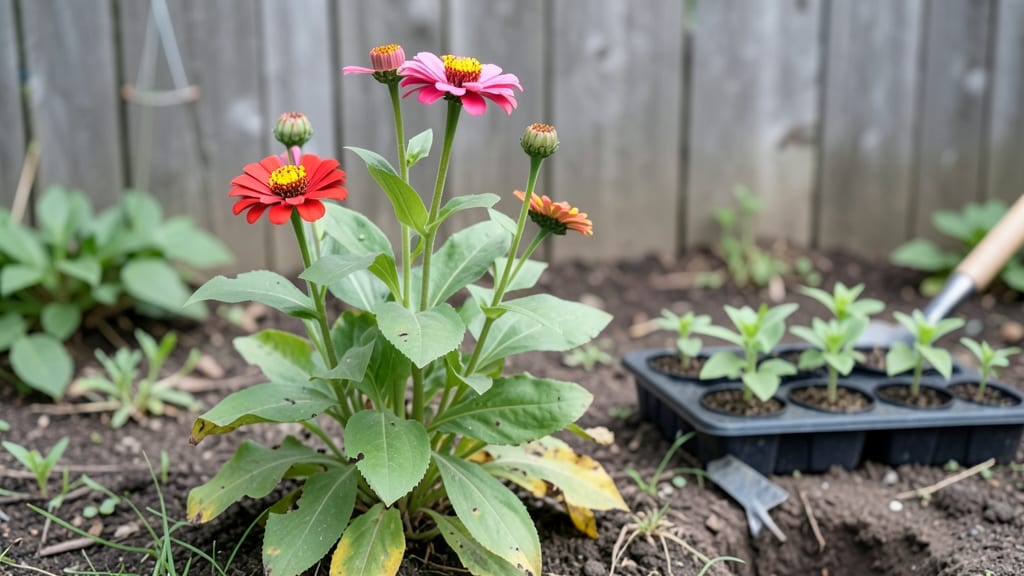
Some of my best garden planning tips came from turning my narrow, sun-splashed backyard into a productive patch by... mapping out zones for vegetables, flowers, and pathways first, before ever digging a hole.
The key isn’t just what you plant, but how you arrange it so everything gets what it needs without crowding each other out.
Start with a simple sketch on graph paper or use a free app to map your yard’s sunlight patterns—morning sun for leafy greens, afternoon shade for heat-sensitive herbs.
Measure your space and group plants by their needs: tall tomatoes in the back, low-spreadting herbs up front, and flowers along pathways to attract pollinators. This isn’t rocket science; it’s just smart real estate planning for your garden.
By the time you’re done, you’ll have a layout that’s not only beautiful but also foolproof to maintain. Imagine walking through a space where every plant has room to grow, weeds stay minimal, and you can harvest fresh veggies without stepping on your own beds.
The best part? You’ll save time, money, and frustration by avoiding common mistakes like overcrowding or ignoring sunlight needs.
Works for any yard size—from tiny urban balconies to suburban backyards—because the principles stay the same. Grab a pencil, some string, and let’s get your garden mapped out for a season of effortless success.
📚 In This Guide
- What you need
- Instructions
- Tips and common mistakes
- Wrapping up and next steps
What you need
- ● Sketchbook or graph paper – For drafting your garden layout (1 pad or digital tool).
- ● Measuring tape – 25-foot tape for accurate spacing (1-2 tapes).
- ● Graph paper or grid overlay – To scale your design (1 sheet or digital template).
- ● Pencil & erasers – For sketching and adjusting plans.
- ● Ruler or straightedge – For precise lines and measurements.
- ● Stakes & string – Wooden or metal stakes (10-20) + twine/string to mark plant placements.
- ● Garden markers or labels – Small flags or sticks (50+) to label plants.
- ● Notebook or app – For tracking plant care, seasons, and notes (e.g., Gardenize or Planter).
- ● Soil test kit – To check pH and nutrient levels (1 kit).
- ● Compost or organic matter – 2-3 bags or a wheelbarrow’s worth for enriching soil.
- ● Laser level – For perfectly straight lines (1).
- ● Garden hose with spray nozzle – For hydrating plants during planning (1).
- ● Kneeling pad or stool – For comfort while sketching or planting (1).
- ● Digital camera – To document your layout and progress (1).
- ● Seasonal plant catalogues – For reference (print or digital).
- ● Rain gauge – To monitor watering needs (1).
Instructions for designing a year-round compact garden layout
Let’s create a space that thrives through every season without taking over your yard.
Measure and Sketch Your Space
Start by measuring your garden area with a tape measure, noting dimensions in feet. I like to sketch a simple outline on graph paper, using each square to represent 1 square foot—this helps visualize proportions. Mark fixed features like fences, walkways, or existing plants that can’t move.
Next, shade in areas that get full sun (6+ hours daily) and partial shade (3-6 hours). Sun patterns change with seasons, so observe your space at different times of day. This ensures you’ll place sun-loving plants where they’ll thrive year-round.
Plan for Seasonal Layers
Layer your design by grouping plants based on their seasonal performance. For example, place spring bulbs like daffodils or tulips in the front, where they’ll bloom early before taller plants overshadow them. Behind them, add perennials that provide summer color and structure, like coneflowers or black-eyed Susans.
In the back, include tall shrubs or ornamental grasses for height and winter interest. These act as a backdrop for all seasons, while lower-growing plants in front can be swapped out for seasonal favorites—like pansies in winter or impatiens in summer.
Group Plants by Water and Care Needs
Organize your garden into zones based on water requirements. Place drought-tolerant plants like lavender or sedum near the edges or in sunny spots where they won’t compete with thirstier plants. Group moisture-loving plants, such as hostas or ferns, together near a water source or in shaded areas where soil stays damp.
Label each zone on your sketch with care notes—like "water twice weekly" or "mulch heavily"—to streamline maintenance. This prevents overwatering or neglect, keeping your garden healthy with minimal effort.
Add Hardscaping and Functional Elements
Incorporate paths, benches, or raised beds to define sections and make your garden usable. A simple gravel path (2-3 feet wide) not only guides movement but also reduces soil compaction. Place a small bench or trellis in a sunny spot to create a focal point while adding vertical interest with climbing plants like clematis or morning glories.
Consider adding a small water feature, like a bubbling stone fountain, to attract wildlife and add soothing ambiance. Even a shallow dish with water can support pollinators. Position it where it won’t overshadow plants but remains visible from your home.
Test Your Layout Before Planting
Walk through your sketch and visualize each season. Does the layout provide year-round color? Will taller plants block sunlight from shorter ones as they grow? Adjust by swapping positions or adding seasonal accents, like annuals for quick color changes.
Once you’re satisfied, transfer your design to the garden using stakes and string to mark plant locations. This step saves time and prevents mistakes when digging. Take photos of your layout for reference—it’ll help you troubleshoot issues later.
Tips & tricks for perfect season-long garden layouts
Creating a garden that thrives year-round takes a little strategy—here are my go-to tips to make the process smoother and more effective.
Visualize Sunlight Patterns: In Step 1, when you're measuring and sketching, take photos of your garden at different times of day—morning, noon, and evening. Sunlight shifts throughout the year, and these photos will help you accurately map where full sun and partial shade areas truly exist. This is especially important for compact gardens where every square foot matters.
Seasonal Plant Rotation Strategy: For Step 2, consider creating a "seasonal swap" list. Note which plants will fade in late summer or winter, and keep a few annuals on hand for quick replacements. For example, swap out summer impatiens with pansies in fall—this keeps your garden vibrant without major replanting. I always keep a small notebook with my seasonal favorites to reference.
Water Zone Efficiency: When organizing your water zones in Step 3, think about grouping plants by their mature size, not just their current size. A small hosta plant might stay compact, but a lavender bush will spread—place them near the edge of your moisture zone so they won't compete with thirstier plants for water as they grow. This prevents overwatering in one area while others dry out.
Hardscaping as a Foundation: Before adding plants in Step 4, lay out your gravel paths and hardscaping elements first. This creates a framework that defines your garden's structure before you fill in with plants. I like to use chalk or spray paint to mark path lines temporarily—it's easy to adjust before making permanent changes. This also helps you visualize how much space each plant group will actually have.
Pro Tips for Garden Planning Tips
- Creating a garden that thrives year-round takes a little strategy—here are my go-to tips to make the process smoother and more effective.
- Visualize Sunlight Patterns: In Step 1, when you're measuring and sketching, take photos of your garden at different times of day—morning, noon, and evening.
- Seasonal Plant Rotation Strategy: For Step 2, consider creating a "seasonal swap" list.
Frequently asked questions
Got questions about maximizing your compact garden space? Here are some common ones—and their answers—to help you plan like a pro!
What’s the best time of year to start planning my compact garden?
Start planning indoors in late winter or early spring (February–March) when seed catalogs arrive. This gives you time to sketch layouts, order supplies, and prep soil before planting season. For fall gardens, begin planning in early summer (June–July) to account for shorter growing seasons.
How do I measure my space accurately for a small garden?
Use a tape measure or laser distance tool to record the length and width of your garden bed. Sketch a simple grid on paper, labeling dimensions in feet/inches. Pro tip: Account for pathways (2–3 ft wide) and plant spacing (check seed packets for mature sizes). Digital apps like Garden Planner can help visualize layouts!
Can I mix vegetables and flowers in a small garden?
Companion planting (e.g., marigolds with tomatoes or basil with peppers) deters pests and attracts pollinators. Just avoid overcrowding—prioritize high-value crops (like herbs or greens) and tuck flowers in gaps. Edible flowers like nasturtiums add beauty and flavor!
What if my soil is poor or rocky? Can I still garden in a small space?
Yes! Raise beds (4–6" deep) with a mix of compost, coconut coir, and perlite to improve drainage. For rocky soil, use container gardening (pots, fabric grow bags) or create tiered planters. Test your soil’s pH (kits cost $10) and amend as needed—most veggies thrive in 6.0–7.0 pH.
How do I keep pests out of a tiny garden without chemicals?
Start with physical barriers like row covers or chicken wire. Plant pest-repellent herbs (mint, rosemary) near vulnerable crops. Handpick pests early in the morning, or introduce beneficial insects (ladybugs, lacewings). Crop rotation and healthy soil also reduce infestations naturally.
What’s the fastest way to fill a small garden with edibles?
Opt for fast-growing crops like radishes (30 days), lettuce (45 days), or bush beans (50 days). Use successive planting: Sow seeds every 2–3 weeks for a continuous harvest. Start with microgreens or sprouts indoors—they’re ready in 7–14 days!
Wrapping up and next steps
Planning your compact garden doesn’t have to be overwhelming—just start small, prioritize your space, and let your vision grow with you! 🌱 Whether you’re maximizing vertical space, choosing the right plants, or designing for seasonal changes, the key is to keep it simple, functional, and enjoyable.
Now that you’re armed with these tips, take that first step: sketch your layout, gather your tools, and watch your little patch of earth transform into a thriving oasis.
Ready to dig in? Your dream garden is just a shovel’s throw away!