
Landscaping
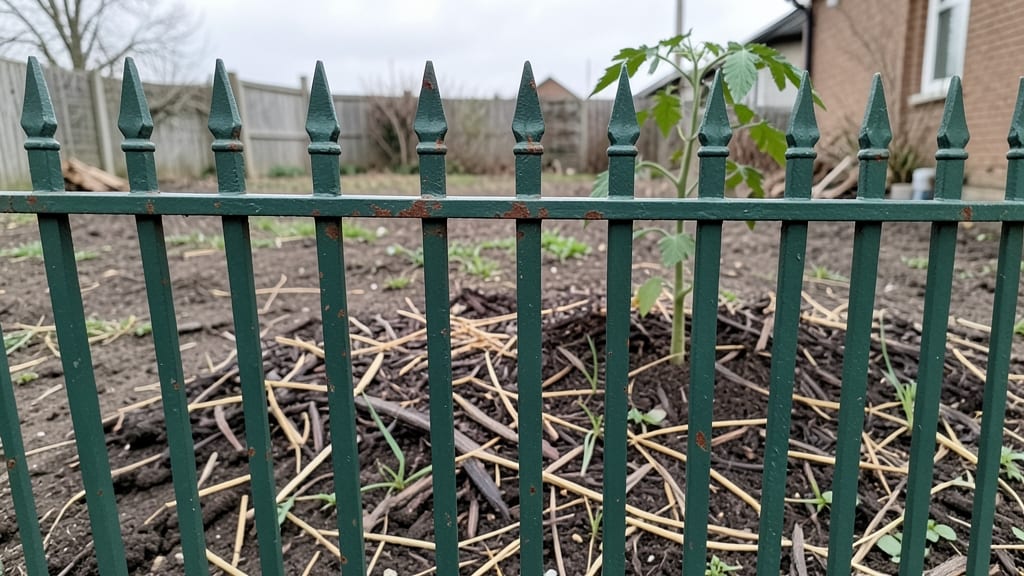
An iron garden fence transforms your yard into a statement piece that weatherproofs your privacy while adding timeless elegance. 🌿 I’ve seen how these fences withstand hurricane-force winds and still look stunning years later—no flimsy wood or sagging vinyl here.
The craftsmanship alone makes them worth considering, but the way they pair with climbing roses or wisteria? Absolute game-changer.
You’ll need basic tools, a sturdy post hole digger, and concrete for anchoring—nothing that requires heavy machinery. Most styles come in pre-cut sections, so assembly is straightforward, though heavier panels might need two people to lift.
The real magic happens when you choose decorative elements like scrollwork or lattice inserts to match your garden’s vibe.
Imagine a lush garden backdrop where every bloom feels protected yet framed by that classic ironwork. The metal resists rust better than wood, and with proper sealing, it’ll outlast cheaper alternatives by decades.
Plus, the vertical space becomes prime real estate for clematis or morning glories to climb and cascade over.
Whether you’re enclosing a cozy seating area or defining property lines, iron fences elevate the look while handling storms like a champ. Pair them with gravel paths or stone pillars for extra curb appeal—your neighbors will be asking for your contractor’s number in no time.
📚 In This Guide
- What you need
- Instructions
- Tips and common mistakes
- Wrapping up and next steps
What you need
- ● Iron fence panels: Pre-assembled or custom-cut (check local building codes for height restrictions, typically 6–8 ft). Quantity: Enough to cover your fence length + 10% extra for cuts/waste.
- ● Concrete footings: 4-inch diameter x 3-foot deep (for stability in wind/rain). Quantity: 1 per 6–8 ft of fence panel.
- ● Galvanized steel posts: 2.5-inch diameter x 8 ft long (for post-and-panel fences). Quantity: 1 post per 6 ft of fence length.
- ● Heavy-duty fence screws: 3-inch galvanized deck screws (for securing panels to posts). Quantity: ~10 screws per panel.
- ○ Post anchors or brackets: For additional wind resistance (optional but recommended for storm-prone areas).
- ● Weatherproof sealant: Rust-resistant paint or powder coating (apply after assembly).
- ● Heavy-duty work gloves & safety goggles
- ● Post hole digger or auger (for footings)
- ● Level (4 ft) & measuring tape
- ● Circular saw or reciprocating saw (for cutting iron)
- ● Drill/driver (for screws) + impact driver (for stubborn bolts)
- ● Wheelbarrow (for mixing concrete)
- ● Paintbrush/roller (for sealant)
- ○ Optional: Concrete mixer, post-leveling system, or fence installation kit for DIY ease.
- ● ✅ Check local permits: Some areas require approval for metal fences over 6 ft tall.
- ● ✅ Clear the area: Remove rocks, roots, or debris from the fence line.
- ● ✅ Mark layout: Use stakes and string to outline the fence path before digging.
- ● 💡 Pro tip: Pre-drill holes in iron panels to prevent cracking when screwing.
- ● 🌡️ Weather watch: Avoid installing during rain or high winds—wait for dry, calm days.
How to install an iron garden fence for lasting privacy
Here’s how to build a sturdy, eye-catching fence that weatherproofs your yard and blocks wind.
🪴 Step 1: Measure and Mark Your Layout
Use a tape measure to mark the fence line with wooden stakes and string. Iron fences need straight, level lines—uneven ground will make installation wobbly. Measure between stakes every 6 feet to ensure consistency. If your yard slopes, adjust the first post depth to compensate, or you’ll end up with a leaning fence.
I like to snap a chalk line for visibility—it helps spot mistakes before digging. Double-check corners with a 45-degree angle to avoid awkward gaps. Pro tip: Bury stakes 6 inches deep so they don’t shift when you’re working.
💧 Step 2: Dig Post Holes and Set Concrete
Dig holes 12 inches deep and 8 inches wide for each post—deeper in windy areas. Use a post hole digger or auger for clean edges. Mix 1 part cement with 3 parts sand (or use pre-mixed concrete) and add water until it’s like thick pudding. Pour into the hole, then insert the post, tapping it with a rubber mallet until it’s level and plumb.
Let the concrete set for 24 hours before attaching fence panels. If you’re in freezing temps, use a concrete additive to prevent cracking. I’ve seen fences tilt when posts weren’t fully cured—rush this step, and you’ll regret it later.
☀️ Step 3: Attach Panels and Secure with Hardware
Lift each panel into place, aligning the top edge with your marked string line. Use 3-inch deck screws to attach the panel to the posts, starting at the top and working downward. Space screws 12 inches apart along the panel’s vertical edges. For extra stability, add a horizontal brace across the back of each panel.
Check for gaps with a level—panels should sit flat and flush. If your fence has decorative scrollwork, leave ¼-inch clearance between panels to prevent rubbing. Tighten all screws with a drill, but don’t over-torque or you’ll strip the metal.
✂️ Step 4: Finish and Weatherproof
Once all panels are up, inspect for sharp edges and sand them smooth with 80-grit sandpaper. Apply a metal primer to prevent rust, then coat with outdoor-grade paint or a clear sealant. I recommend two coats for full protection. Let each layer dry completely—usually 4-6 hours between coats.
Add a drip cap at the top of each post to shed rainwater. This keeps moisture from pooling and corroding the base. If your fence has gates, install heavy-duty hinges and a latch that matches the panel style. Test the gate’s swing before finalizing—it should open and close smoothly.
⏰ Step 5: Maintain for Longevity
Inspect your fence twice a year for loose screws or rust spots. Tighten hardware immediately—vibrations from wind or foot traffic will loosen it over time. Touch up paint every 2-3 years, especially in high-moisture areas. If a panel sags, check the post anchors; you may need to add concrete or replace the post.
Trim back nearby plants to avoid brush against the fence, which can cause scratches or rust. A quick wipe-down with a damp cloth after storms removes debris and extends the finish. With proper care, an iron fence lasts 20+ years—that’s decades of privacy and curb appeal.
Tips & tricks for building a sturdy iron garden fence
A few key strategies to ensure your iron fence stands strong against wind, weather, and time.
Precision in Step 1: I can't emphasize enough how critical those 6-foot measurements are between stakes. Grab a helper to hold the string taut while you mark—even a slight misalignment will show up when you attach panels. For slopes, I like to use a laser level to check post depth before digging. That extra 10 minutes now saves hours of frustration later when panels won't sit flush.
Concrete Curing Strategy: The 24-hour concrete set time is non-negotiable, but here's what I do differently: I mix in a concrete additive that speeds curing to 18 hours in cold weather. For hot days, I keep concrete moist with a spray bottle for the first 12 hours to prevent surface cracking. Pro move: Use a rubber mallet to tap posts every 5 minutes while setting—this eliminates air pockets that weaken the anchor.
Panel Attachment Secret: When attaching panels in Step 3, I start with the top screw and work downward—this prevents panels from sagging before they're fully secured. For extra stability, I add a third screw at the bottom center of each panel. And here's the thing: if your fence has decorative elements, leave that ¼-inch gap between panels even if it looks tight now. Metal expands and contracts with temperature changes, and forcing them together will cause warping over time.
Weatherproofing Upgrade: While two coats of outdoor paint are standard, I go an extra step with the first coat: I use a spray primer instead of brush-on. The even coverage prevents rust spots from forming under paint. For the final coat, I mix in a UV inhibitor to prevent fading from sun exposure. Don't forget to paint the inside of scrollwork too—those hidden areas collect moisture and rust fastest.
Pro Tips for Iron Garden Fence
- A few key strategies to ensure your iron fence stands strong against wind, weather, and time.
- Precision in Step 1: I can't emphasize enough how critical those 6-foot measurements are between stakes.
- Concrete Curing Strategy: The 24-hour concrete set time is non-negotiable, but here's what I do differently: I mix in a concrete additive that speeds curing to 18 hours in cold weather.
Frequently asked questions
Got questions about installing or maintaining an iron garden fence? You’re not alone! Here are some of the most common concerns—plus straightforward answers to help you make the best choice for your outdoor space.
How long does an iron garden fence last?
With proper care, an iron garden fence can last 20–30 years or longer. Rust resistance depends on the coating (powder-coated or galvanized steel), but regular cleaning and touch-ups will extend its lifespan. Investing in high-quality materials upfront saves time and money in the long run!
Can an iron fence handle harsh weather, like storms or heavy snow?
Iron is one of the most durable materials for outdoor fences. Look for heavy-gauge steel (12–14 gauge) with a sturdy frame and secure posts. While it won’t bend like wood, proper installation (anchoring posts deep into the ground) ensures it stays upright even in high winds or snow loads.
Is an iron fence more expensive than wood or vinyl?
Yes, iron fences typically cost $20–$50 per linear foot installed, compared to $10–$30 for wood or vinyl. However, the low maintenance and longevity make it a cost-effective choice over time. Think of it as a long-term investment in security, privacy, and curb appeal!
Can I paint or customize the color of my iron fence?
Yes! Iron fences are highly customizable. Start with a rust-inhibiting primer, then use exterior-grade paint or powder coating for a professional finish. Popular choices include black, bronze, or deep green, but any color works. Just avoid cheap paints—they’ll chip faster and require more upkeep.
How do I prevent rust on my iron fence?
Rust is the biggest enemy of iron fences, but prevention is easy! Clean with a wire brush and mild soap annually, then apply a clear sealant or paint to protect the metal. For existing rust spots, use a rust converter before repainting. Pro tip: Check for moisture buildup (like from dripping gutters) and address it quickly!
Are there alternatives to iron for a storm-resistant fence?
If iron isn’t your style, consider vinyl (for flexibility) or aluminum (for lightweight durability). However, neither matches iron’s unmatched strength and timeless look. For a balance, wrought iron with a decorative design adds elegance while keeping structural integrity.
Wrapping up and next steps
An iron garden fence isn’t just a boundary—it’s a statement of strength, style, and resilience. Whether you’re shielding your yard from storms or adding timeless elegance, its durability and bold aesthetic make it a standout choice.
With the right materials and installation, you’ll enjoy years of low-maintenance privacy and curb appeal.
Ready to transform your outdoor space? Take the next step:
- 📏 Measure your space and gather supplies.
- 🛠️ Reach out to local experts for custom designs.
- 🌟 Imagine the impact—your fence will be the talk of the neighborhood!