
Tools
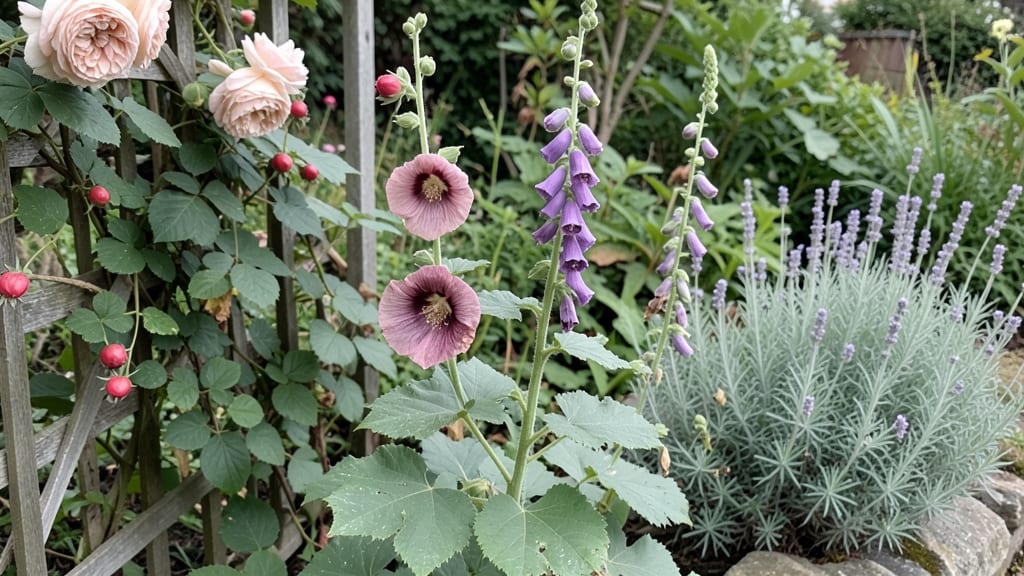
Mary's Garden Patch isn’t just a garden—it’s a vertically stacked harvest that turns tiny spaces into lush, productive oases. 🌿 I stumbled onto this idea after watching my urban balcony transform from bare concrete to a thriving edible wall, and it changed how I think about gardening forever.
The magic happens with trellises, hanging pockets, and tiered planters that let you grow upward instead of outward. You can tuck herbs along a fence, let cucumbers climb a rustic wooden frame, or stack strawberries in hanging baskets—all while keeping the footprint small.
The best part? No digging, no weeding, and a harvest that feels like a fairy-tale surprise every time you pass by.
Picture fragrant rosemary brushing your arm, cherry tomatoes dangling like jewels, and fresh basil ready to snip—all within arm’s reach. This isn’t just efficient; it’s visually stunning, too, with layers of greenery, flowers, and edibles that make your space feel alive.
The key is starting small, choosing the right plants, and letting them climb, cascade, or spill over in ways that feel effortless.
Whether you’re working with a sunny windowsill, a balcony railing, or a corner of your yard, this method adapts to almost any space. The only rule? Let your plants do the heavy lifting—up, not out. Ready to turn your patch into a productive, charming vertical wonderland?
📚 In This Guide
- What you need
- Instructions
- Tips and common mistakes
- Wrapping up and next steps
What you need
- ● Vertical Garden Structure: 1–2 pre-made vertical planters (e.g., wall pockets, trellis frames, or stackable pots) OR
- ● DIY materials: cedar planks (2–4, 1"x6"x8'), L-brackets (6–8), zip ties (50), and landscape fabric (1 roll).
- ● Growing Medium: High-quality potting mix (2–3 cubic feet)—look for moisture-retentive blends with perlite.
- ○ Coco coir or compost (1–2 bags) for added nutrients (optional but recommended).
- ● Plants: 6–10 compact, vertical-friendly edibles (e.g., cherry tomatoes, strawberries, peppers, herbs like basil/thyme, or dwarf beans).
- ● Seedlings (3–5) OR seeds (pre-soaked for faster germination).
- ● Hardware & Fasteners: Outdoor screws (1/4" stainless steel, 20–30).
- ● Drill + drill bits (for DIY setups).
- ● Drip irrigation kit or self-watering reservoir (saves time!).
- ● Organic fertilizer (slow-release pellets) for a nutrient boost.
- ● Lightweight trellis netting (for climbing plants like cucumbers).
- ● Decorative elements: Paint, moss, or solar-powered lights for charm.
Instructions: building mary's space-saving vertical edible garden
Let's transform that awkward corner into a thriving vertical harvest system that works in any yard size.
🪴 Step 1: Assemble the Vertical Framework
Start by constructing your vertical structure using the 4 wooden planter boxes and 2 sturdy metal brackets. I recommend pre-drilling holes in the brackets to attach them to your fence or wall at 4-foot intervals—this creates a stable, freestanding system that won't wobble in wind. Use the 12 wood screws to secure everything tightly, testing stability by gently pushing each corner before planting.
Position the bottom box first, then stack the remaining three with 1-inch gaps between each for airflow. The landscape fabric goes between layers to prevent soil mixing and pests from migrating upward. Cut it to size with scissors, tucking the edges neatly into the box edges before adding soil.
🌱 Step 2: Prepare and Fill Each Layer
Fill each box with 2 gallons of premium potting mix per layer, leaving 2 inches of space at the top for watering. I like to mix in 1 cup of compost per box to boost early growth—this gives your plants a nutrient head start without overloading them. Press the soil down lightly with your hands to eliminate air pockets, but don't compact it too firmly.
For the 4 plants you're growing, place each in its own pocket using the 4 biodegradable mesh pockets designed for vertical gardens. These pockets keep roots contained while allowing excess water to drain freely. Position them diagonally across each box to maximize sunlight exposure on all sides.
☀️ Step 3: Select and Plant Your Edibles
Choose 4 fast-growing, compact varieties like cherry tomatoes, bush beans, or dwarf peppers—these thrive in vertical spaces. Dig a hole in each pocket twice as deep as the root ball, then place the plant so the top of the root ball sits 1 inch below the pocket's rim. This ensures stability while allowing room for growth.
Gently firm the potting mix around the base to eliminate air gaps, then water each plant until water runs freely from the bottom. The first watering helps settle the soil and removes any air pockets that could strangle young roots. I always add 1 tablespoon of slow-release fertilizer to each pocket after planting to support steady growth.
💧 Step 4: Establish Watering and Light Routines
Water deeply every other day during the first 2 weeks, checking that top inch of soil feels moist before watering again. Vertical gardens dry out faster than ground beds, so I use a watering can with a long spout to reach all pockets evenly. Avoid overhead watering—it can wash soil out of the pockets and encourage fungal diseases.
Position your vertical garden in full sun (at least 6-8 hours daily) for maximum productivity. If your space gets only partial sun, focus on shade-tolerant crops like lettuce or Swiss chard. You'll notice leaves turning toward the light? That's normal—rotate the entire structure quarter-turn weekly to encourage even growth on all sides.
✂️ Step 5: Maintain and Harvest for Continuous Yields
Prune regularly to encourage bushier growth: pinch off the tips of vines when they reach 6 inches tall, and remove any yellow or diseased leaves immediately. This redirection of energy produces more flowers and fruit. For tomatoes, I also tie main stems to the vertical structure with soft plant ties to prevent them from snapping under fruit weight.
Harvest frequently to stimulate production—cherry tomatoes, for example, produce best when picked every 5-7 days. You'll know it's time when fruit changes color and feels slightly soft to the touch. With proper care, your vertical garden will keep yielding until the first frost, often producing twice as much as a traditional in-ground plot in the same space.
Tips & tricks for perfect vertical edible gardens
Transforming awkward spaces into productive gardens isn't just about assembly—it's about creating an ecosystem that thrives. Here's what I've learned from building these systems myself.
Structural Stability: When attaching your 4 wooden planter boxes with 2 sturdy metal brackets at 4-foot intervals, use a level to ensure perfect alignment before securing with the 12 wood screws. I've seen systems wobble because someone skipped this step—trust me, it's worth the extra minute. For extra security, especially in windy areas, add a third bracket at the midpoint. The 1-inch gaps between boxes aren't just for airflow; they also create visual interest while preventing root competition between layers.
Soil Science: That 2 gallons of premium potting mix per layer needs to be the right texture—light enough to drain but rich enough to retain moisture. I always mix in the 1 cup of compost per box right before planting, not when I first fill the containers. This prevents nutrient loss from leaching during the initial watering. Press the soil lightly with your hands (not a tamper!) to eliminate air pockets, but don't compact it—roots need to breathe. For the 4 biodegradable mesh pockets, position them diagonally to catch sunlight from multiple angles throughout the day.
Plant Placement Strategy: When you're planting your 4 fast-growing varieties, dig holes twice as deep as the root ball but place the plant so the top sits just 1 inch below the pocket's rim. This creates a stable anchor while allowing room for growth. For vining plants like cherry tomatoes, I tuck a small wooden stake behind the pocket during planting—this gives you something to tie to later without disturbing roots. The first deep watering (until water runs freely from the bottom) is critical—it removes air pockets that could strangle young roots and helps settle the soil around delicate stems.
Light Management: That 6-8 hours of full sun daily requirement isn't negotiable for most edibles. If your space only gets partial sun, choose shade-tolerant crops like lettuce or Swiss chard, but be prepared for reduced yields. The quarter-turn weekly rotation isn't just about aesthetics—it ensures all sides get equal exposure as plants naturally grow toward the light. For maximum productivity, position your vertical garden where it gets morning sun (which is less intense) and afternoon shade if your climate gets extremely hot.
Pro Tips for Mary'S Garden Patch
- Transforming awkward spaces into productive gardens isn't just about assembly—it's about creating an ecosystem that thrives.
- Structural Stability: When attaching your 4 wooden planter boxes with 2 sturdy metal brackets at 4-foot intervals, use a level to ensure perfect alignment before securing with the 12 wood screws.
- Soil Science: That 2 gallons of premium potting mix per layer needs to be the right texture—light enough to drain but rich enough to retain moisture.
Frequently asked questions
What’s the best time of year to start my vertical garden?
For most climates, spring (after the last frost) or early fall is ideal—when soil is warm but temperatures aren’t scorching. In warmer zones, you can plant year-round! Check your local frost dates and choose heat-tolerant varieties (like basil or peppers) if starting later. Pro tip: Use shade cloth if planting in peak summer to protect tender greens!
How much space do I need for a vertical garden?
Mary’s Garden Patch is designed for flexibility! A small patch (3’x3’) fits balconies, while larger setups (6’x6’) work for patios or sunny walls. Measure your wall or trellis first—ensure it can support 10–20 lbs per square foot once plants mature. No space? Try a freestanding frame or hanging pockets!
How often should I water my vertical garden?
Vertical gardens dry out faster! Water deeply every 2–3 days in hot weather, or daily if using lightweight fabrics (like felt pockets). Drip irrigation or self-watering systems save time. Check soil moisture—stick your finger 1” in; if dry, it’s time to hydrate. Mulch helps retain moisture too!
What do I do if pests attack my vertical plants?
Start with prevention: Neem oil or insecticidal soap deter aphids and caterpillars. For slugs/snails, add copper tape to edges. If pests strike, isolate affected plants and prune damaged leaves. Ladybugs and lacewings are natural allies—invite them with companion plants like marigolds!
Can I grow herbs, veggies, AND flowers together?
Pair companion plants like basil with tomatoes (pest control) or nasturtiums with cucumbers (traps aphids). Avoid overcrowding—leave 6–12” between hearty veggies (e.g., peppers) and 3–6” for herbs. Flowers add beauty and pollinators! Try calendula or borage for dual-purpose power.
Wrapping up and next steps
Mary’s Garden Patch isn’t just about saving space—it’s a game-changer for urban gardeners, small-space growers, and anyone eager to grow more with less. By stacking your edibles vertically, you’ll double (or even triple!) your harvest while keeping weeds, pests, and water waste at bay.
Whether you’re a beginner or a seasoned green thumb, this system makes gardening accessible, efficient, and rewarding.
Ready to transform your balcony, patio, or backyard? Start small—pick one corner, gather your supplies, and let your plants climb! 🌱 Your next step: Sketch your design, then dive into planting!